This article will show you how to create a Web Submission Form.
Administrators can share a Web Submission Form anywhere online by copying and pasting its HTML code. Web Forms are also accessible through a Contact’s Member Portal, but you can limit access to certain types of Members as an Administrator.
Continue reading for tips on how to create Web Submission Forms, and for details on how to manage them.
Creating a Web Form
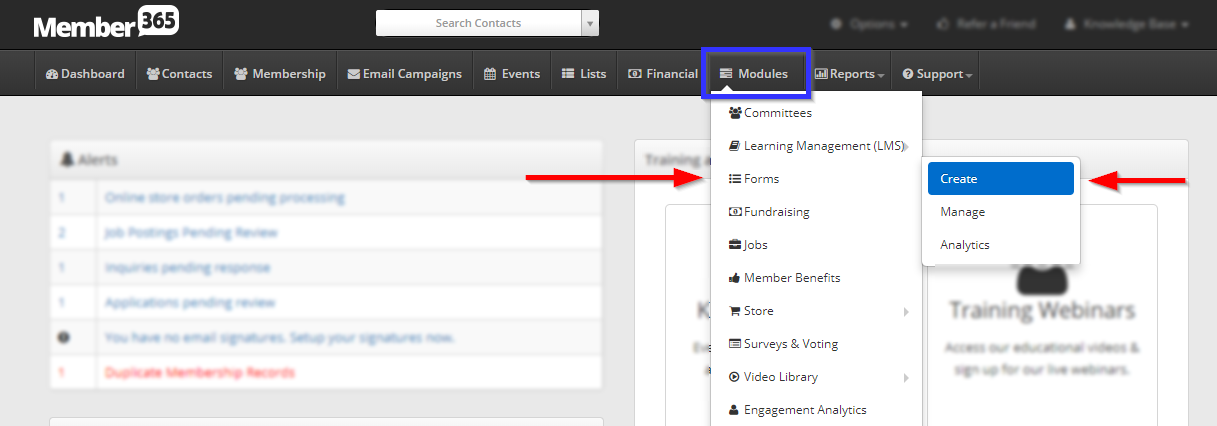
1. From the Member365 Administrator Dashboard, click ‘Modules’ on the bar at the top of the page.
2. Hover over ‘Forms’ on the drop-down menu that appears, then click ‘Create’ on the next drop-down menu.
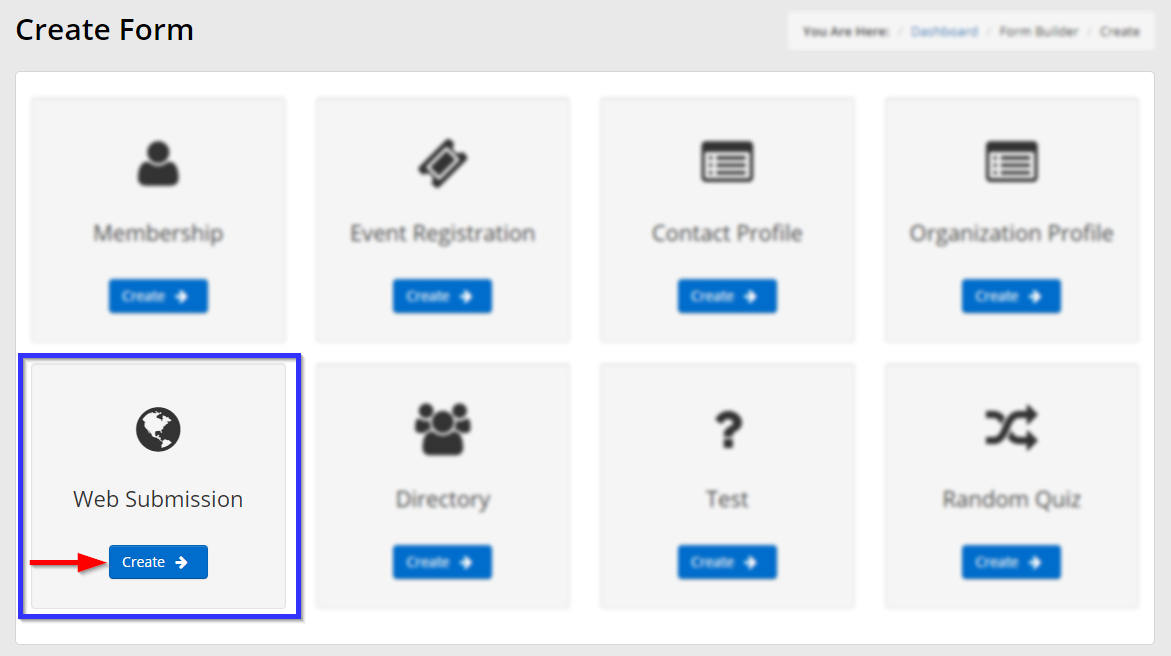
3. On the page that follows, click ‘Create‘ under the ‘Web Submission’ option.
Tab One: Setup
The Setup Tab will allow you to specify general properties for your Web Form like its name and layout.
Name & Category
Give a name to your Web Form. Select its Category from the drop-down menu, or create a new Category.
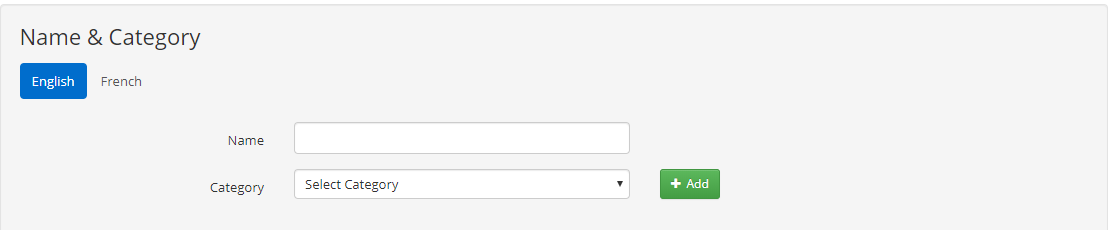
The Category of your Web Form does not change its functionality, and is simply to help you stay organized.
Question Setup
Choose from the drop-down menu how you want your questions to display to respondents.

All questions on one page – The entire Web Form loads as one continuous page when someone is responding.
By Section / Table of Contents – Allow for more sophistication with the way your Web Form loads. When building your questions you will have the option to create ‘Sections’, and they will serve as spots your respondents can jump to!
Configuration
The series of options in the Configuration section allow you to further customize how your Web Form works.
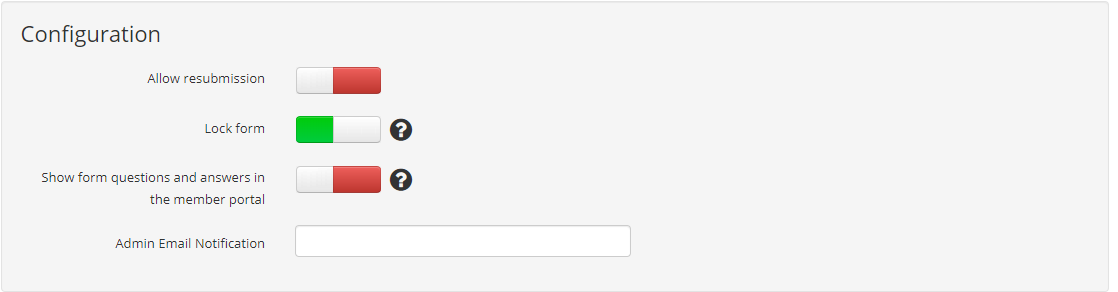
Allow resubmission – Toggle ON to allow Contacts to submit the Web Form more than once. Toggle OFF to only ever allow one submission per Contact.
Lock Form – This toggle is a safeguard to stop you from deleting the Web Form accidentally. Leave this toggled ON, unless you wish to delete the form.
Show form questions and answers in the member portal – Will you allow Contacts to view this form’s analytics? Continue reading here to learn more.
Admin Email Notifications – If you enter an email address into this field, that email address will receive an email notification every time someone responds to your Web From.
Open/Close Dates
Use the calendar icons to specify a date range for your Web Form.

Nobody will be able to access your Web Form before the ‘Open On’ date, or after the ‘Close On’ date.
Tab Two: Messages
The next tab will allow you to customize the messages your respondents see upon starting and finishing your Web Form! The Web Form cannot be saved if either of these fields are blank.
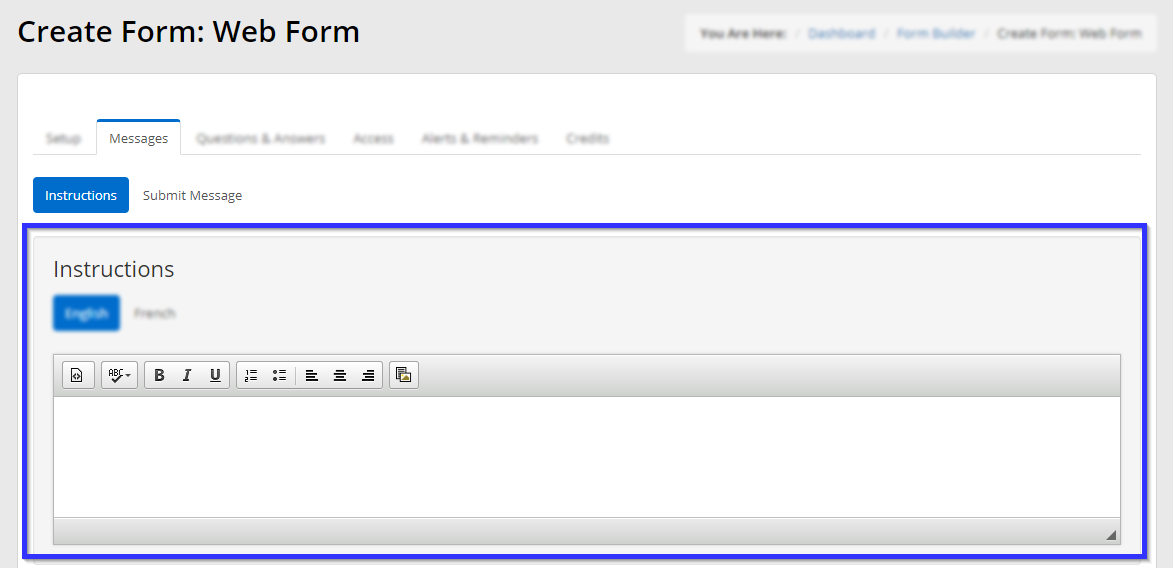
Instructions
Use the text editor to customize the ‘Instructions’ message for your Web Form! The content you add here will display to respondents before the start your form.
Submit Message
Click the next sub-tab to customize your ‘Submit Message’. The content you add here will display to respondents after they complete your form.
Tab Three: Questions & Answers
You will build the content of your Web Form in this third tab! Follow the steps below to learn how to configure questions and answers.
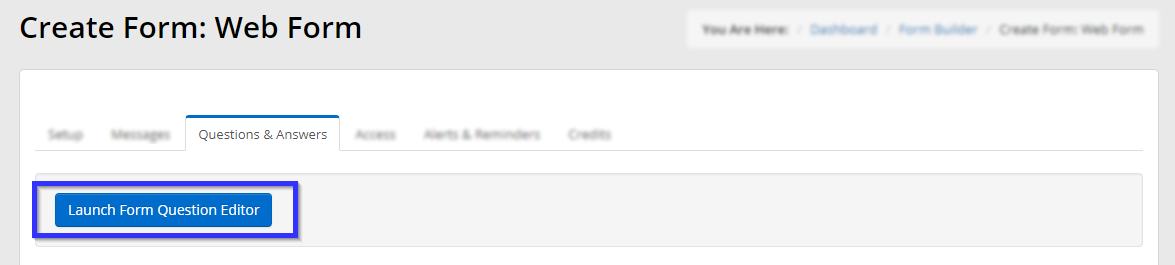
The Form Question Editor
You can build your questions after clicking the ‘Launch Form Question Editor‘ button. We have a Knowledge Base article on the Form Question Editor if you need help using it.
Remember to ‘Save’ each individual question, and to ‘Save’ your entire series of questions within the Form Question Editor to confirm your changes and return to the Web Form setup.
Tab Four: Access
The fourth tab allows you to choose who can and cannot access your Web Form! Consult the series of options below to learn how to share your Web Form with a subset of Contacts that is as specific as you need.
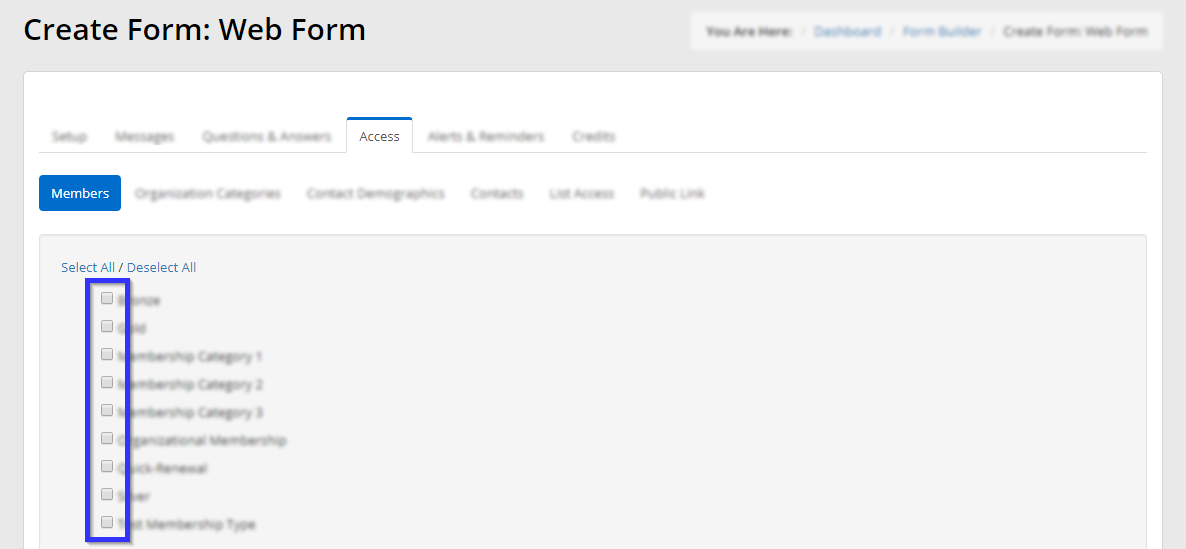
Members
This sub-tab displays a series of check boxes, representing each Membership Category in your system. If you check a box, all Active Members of that Category will be able to submit to your Web Form.
Organization Categories
You can create and assign categories for Organizations in Member365. You can choose to give Web Form access to Contacts who belong to Organizations of a specific category.
Contact Demographics
Contact Demographics allow you to classify Contacts in a way that’s independent of Membership Category or Membership Status. You can assign Web Form access to Contacts of a specific demographic.
Contacts
The Contacts sub-tab allows you to assign Web Form access to individual Contacts on a case-by-case basis! Type their name or email address in the search field to allow them to submit to the Web Form.
List Access
Use the drop-down menu if there is a specific Contact List that you wish to be able to submit to your Web Form.
Public Link
Copy the HTML code from the Public Link sub-tab to embed your Web Form on your own website, and to share access to the Web Form with whoever you wish.
Tab Five: Alerts & Reminders
Configure how your Contacts will see the Web Form, through their Member Portals or via email.
Portal Alert
Toggle ON ‘Add alert to portal dashboard’ for a link to this Web Form to display on the Member Portal.
Only Contacts who have been granted access from the ‘Access’ tab will see the alert and a link to the Web Form upon logging in.
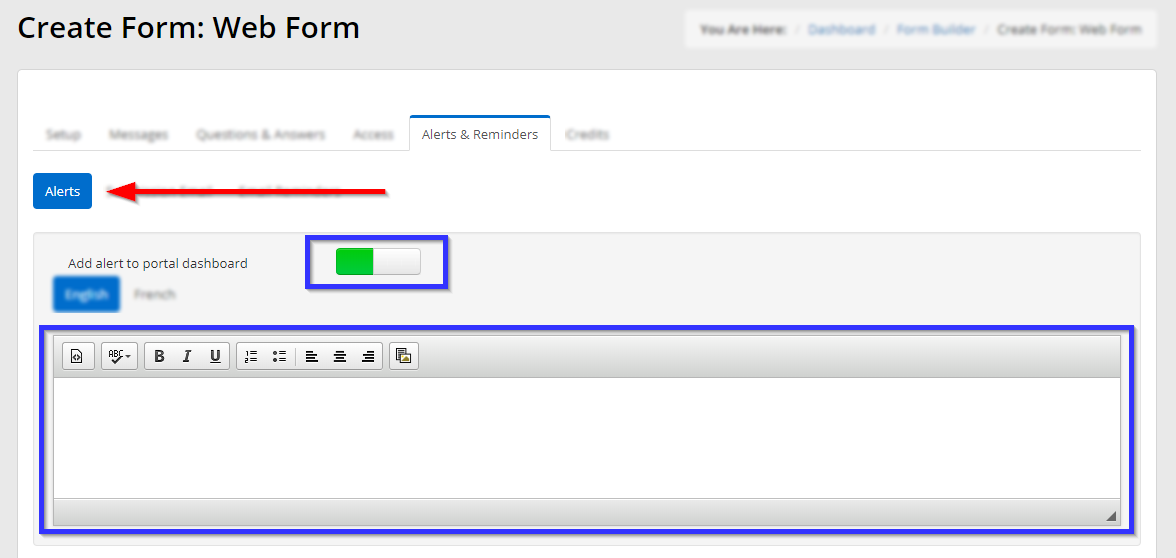
Use the text area below the toggle to add your own custom messaging for the dashboard alert that will accompany the Web Form link!
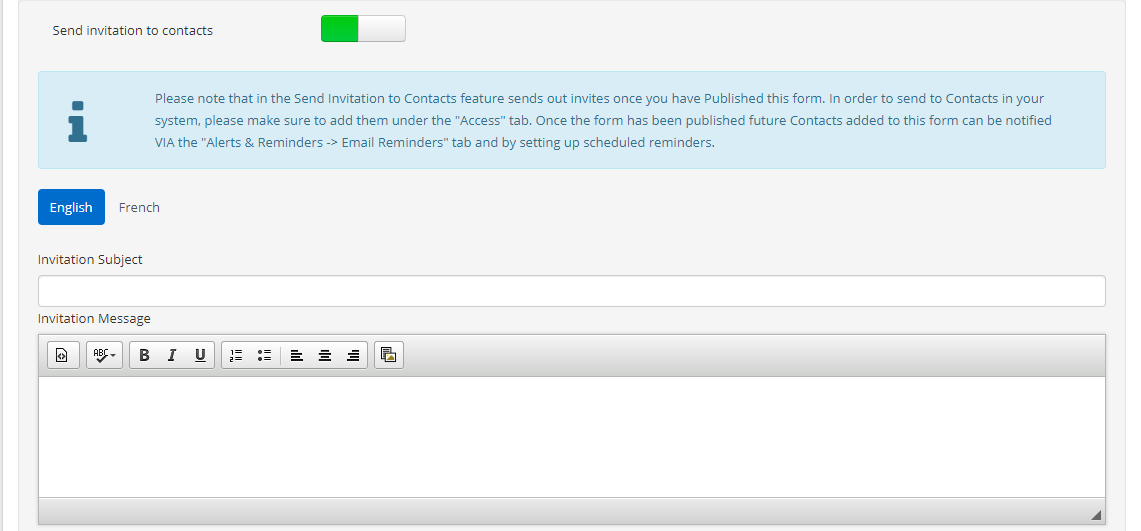
Email Invitation
Toggle ON ‘Send invitation to contacts’ to configure an email that contains a link to your Web Form.
When you click to Publish your Web Form, all Contacts who you have assigned access in the ‘Access’ tab will receive this invitation email with a link to the Web Form.
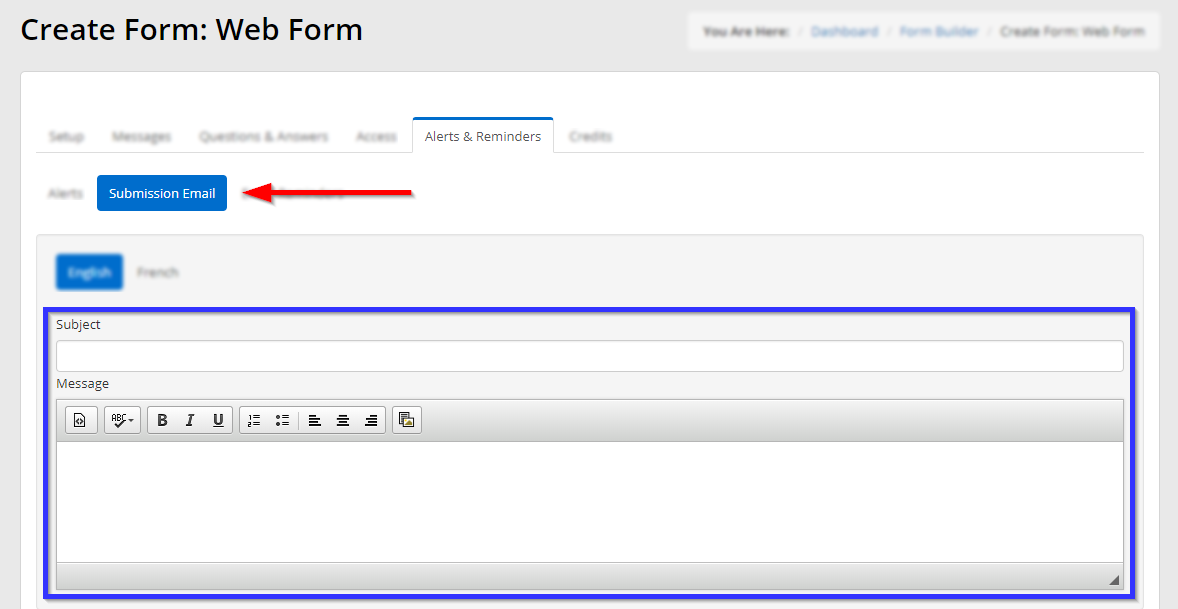
Submission Email
Configure a Submission Email if you wish for respondents to receive an automatic email upon completing your Web Form.
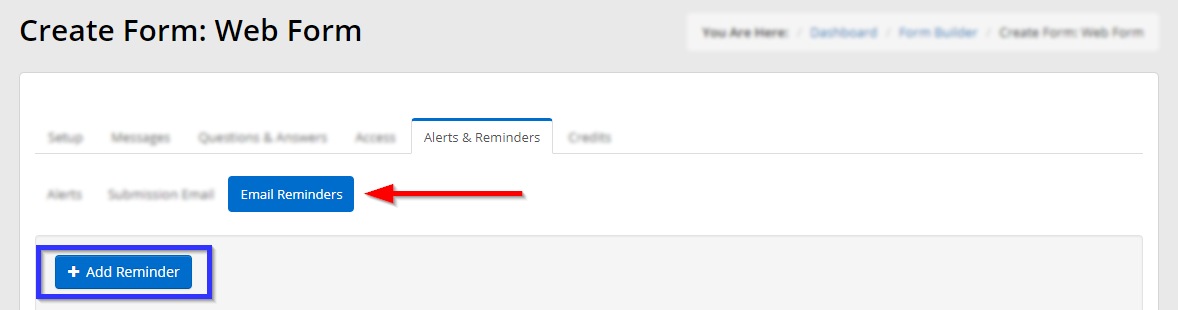
Email Reminders
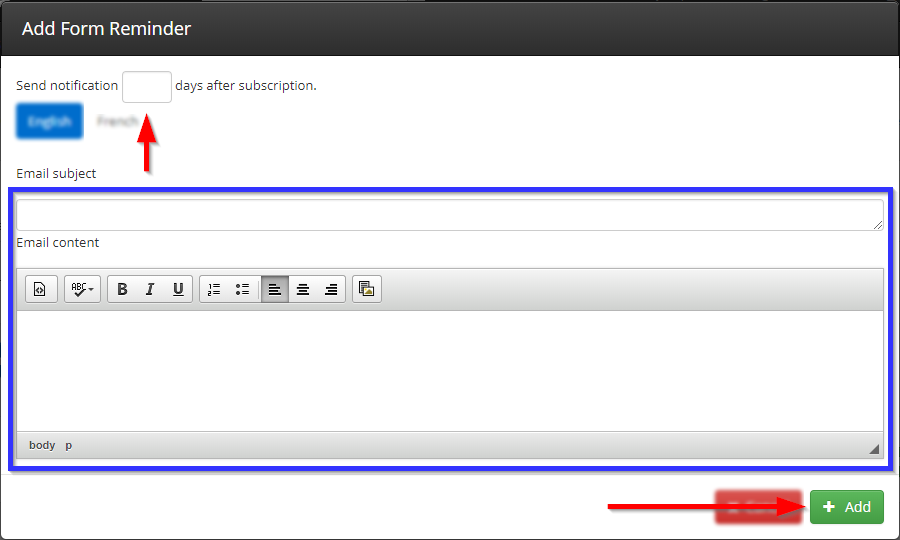
You can add Email Reminders that will send automatically to Contacts who have not yet completed the Web Form! Under the ‘Email Reminders’ sub-tab, click ‘+ Add Reminder’.
Contacts who are assigned to the Web Form via the settings in your ‘Access’ tab will receive these Email Reminders automatically on the date that you specify.
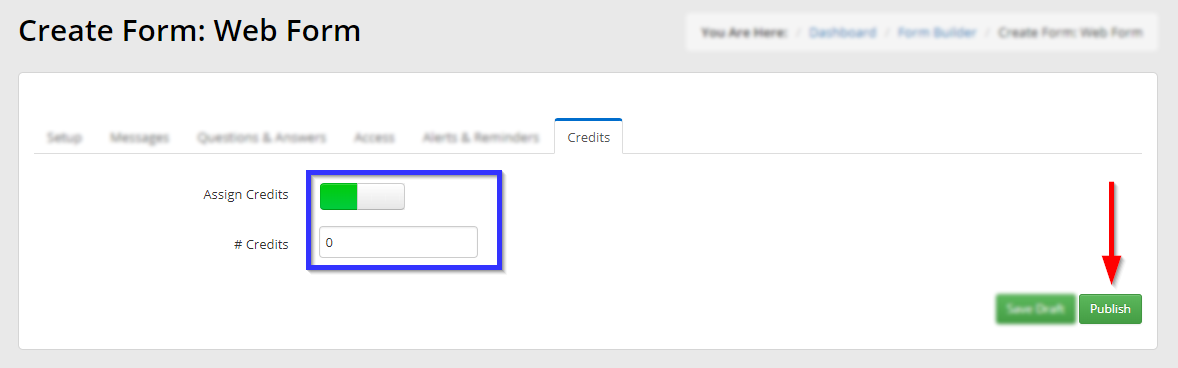
Tab Six: Credits
Use the ‘Credits’ sub-tab if you wish to turn this Web Form into an Activity in your Continuing Education Module.
Specify the amount of Credits and the Activity Level as needed.
If your organization does not use Continuing Education, you can ignore this tab!

Congratulations, you now know how to create and configure a Web Form in Member365!