The Primary Contact of an organization’s Group Membership is responsible for payments, email correspondence, and renewals on behalf of the group. Read this article to learn how to check or change an organization’s Primary Contact.
Accessing the Organization Record
1. From the Member365 Administrator dashboard, click ‘Contacts’ at the top of the page.
![]()
2. Click ‘Manage’ next to ‘Organizations’.

3. Find the Organization whose Primary Contact you wish to edit, then click its name.
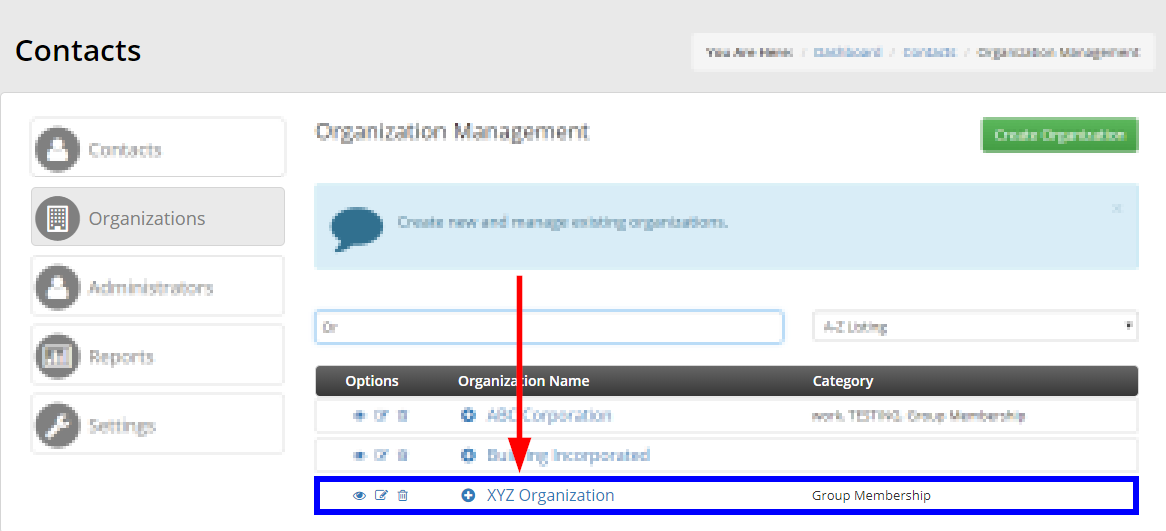
Checking the Primary Contact
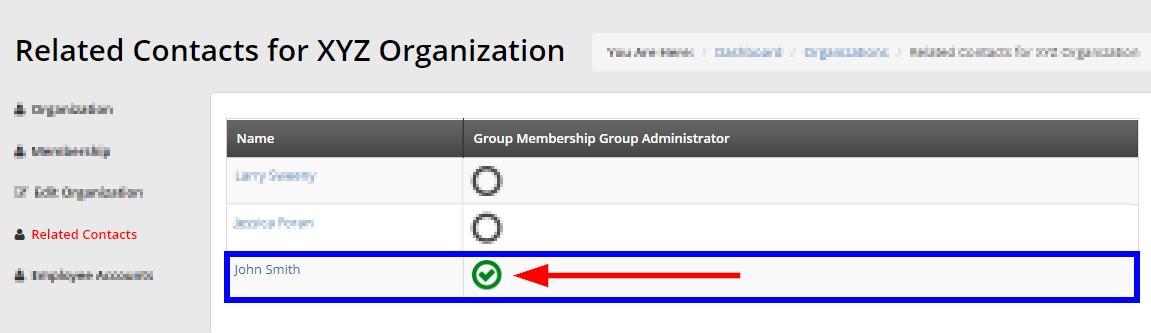
4. Click ‘Related Contacts’ on the left of the page.

5. The organization’s Primary Contact will be denoted by the green check mark symbol.
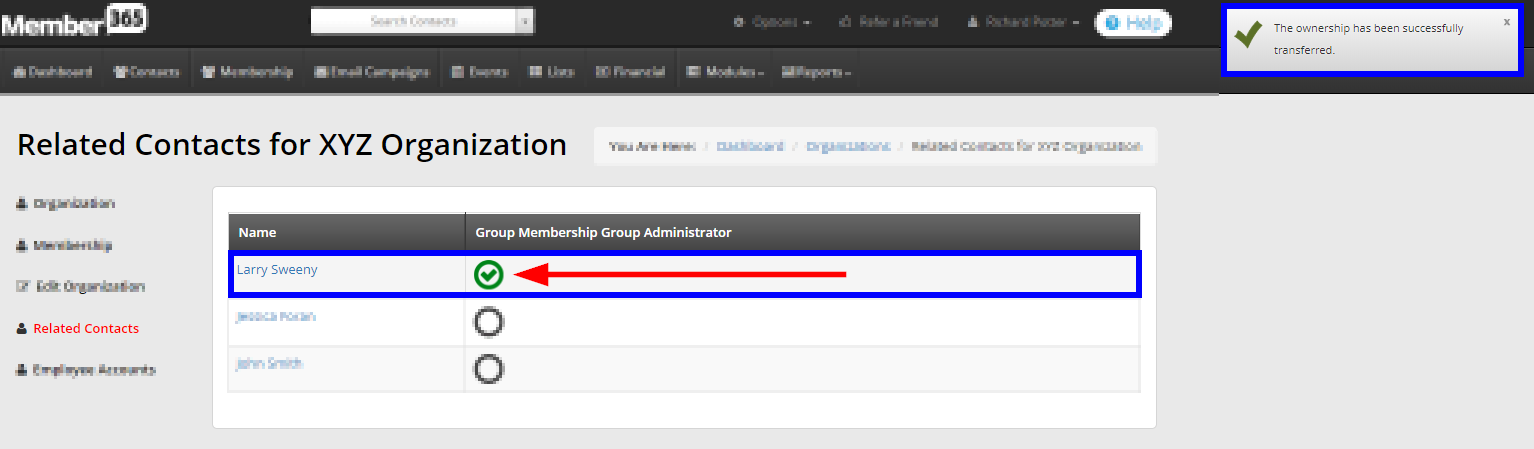
Changing the Primary Contact
6. Click the circle next to a contact’s name to assign them group ownership. They will be the organization’s new Primary Contact.
Creating an Employee Account for the old Primary Contact
The old Primary Contact may still wish to be part of the Group Membership. To keep the old Primary Contact on board, you will need to add them as an Employee Account under the organization’s new Primary Contact.
This can be skipped if the old Primary Contact is no longer with the organization.
Deleting the Employee Account of the new Primary Contact
If the new Primary Contact had an Employee Account already, they will show up in the reporting twice. Nothing else will be impacted, so the following steps are optional.
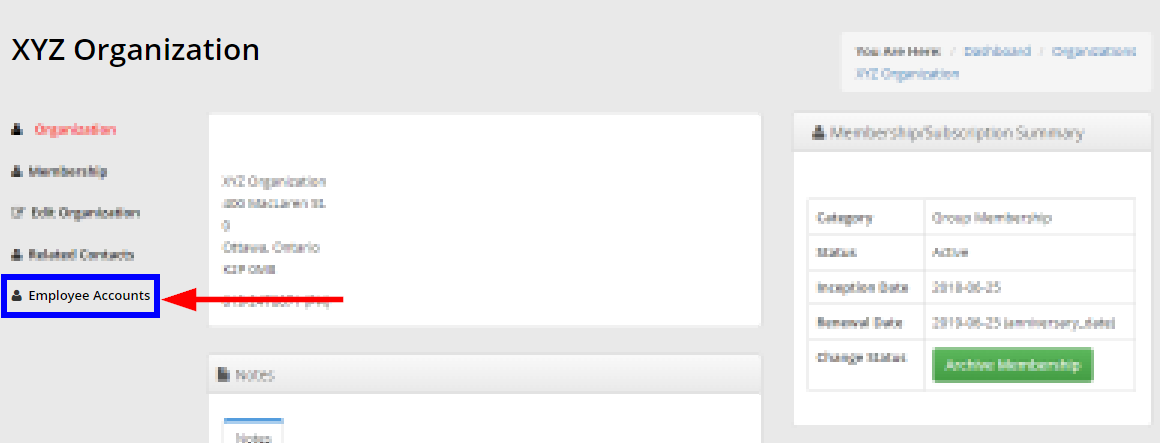
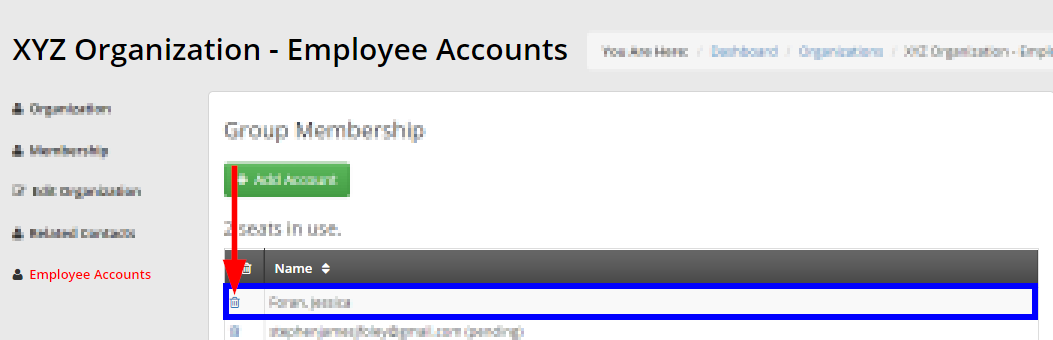
7. From the Organizational Record in Steps 4 through 6, click ‘Employee Accounts’ on the left of the page.
8. If your new Primary Contact had an Employee Account, find them in the list. Click the trash icon next to their name.
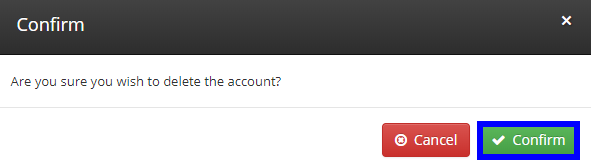
9. Click ‘Confirm’ on the box that pops up to delete the unnecessary Employee Account.
Congratulations, you can now check and re-assign the Primary Contact of an Organizational Group Membership!