Several modules in Member365 have a Description Field. Whether you are writing the Description for a Membership Category, or changing the Member Portal Welcome Message, you can upload and attach a file!
The steps in this article will work for any Module that has a field with an editable text area.

Attach a File
Within the text editor, highlight the piece of text to which you are linking your attachment.
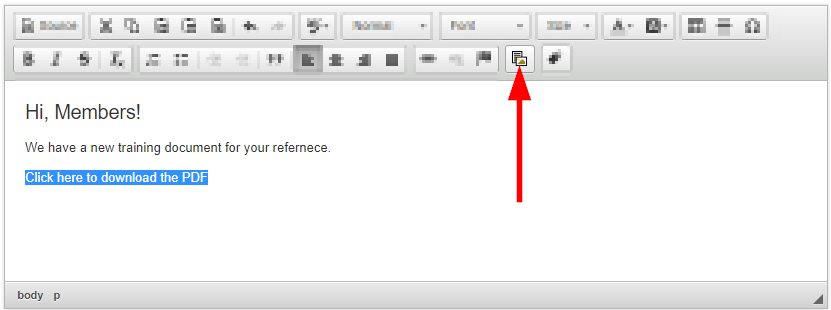
Click the Upload File icon to attach your file.
![]()
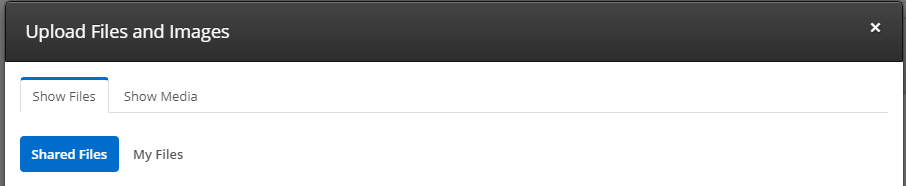
Unless you are inserting an Image or other media into the Description box, stay under the ‘Show Files’ tab, and select your sub-tab as necessary.
Upload a File
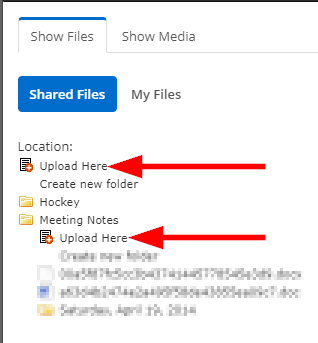
If the file you wish to attach has not already been uploaded, navigate to whichever folder you’d like under the ‘My Files’ tab then click ‘Upload Here’.
Click ‘Choose Files’ from the prompt that appears at the bottom of the file manager window, then locate and select the desired file from your device.

Once your file has uploaded, click its name from within the file management window, then click the ‘Insert’ button.

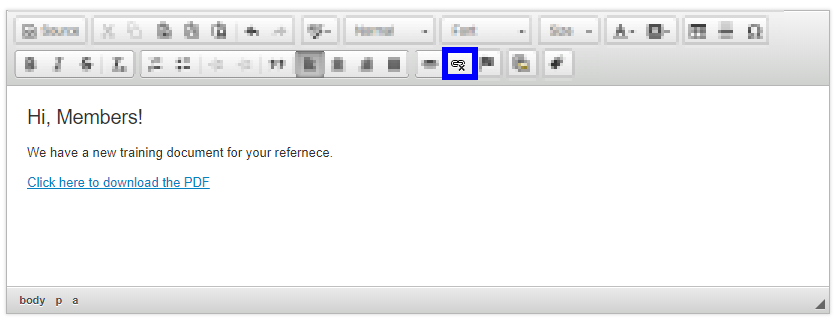
Our file is now attached to the text! When Members click the ‘Click here to download the PDF’ link, their browser will download a copy of the file we have just uploaded and attached!
You can unlink a file at any time by clicking its linked text, then clicking the ‘Unlink’ icon.
Congratulations, you now know how to upload and attach documents to text description fields in Member365!