1. Home
  2. Membership Management
  3. Membership Categories
  4. How to Insert an Image Into a Description
  1. Home
  2. Events
  3. How to Insert an Image Into a Description
  1. Home
  2. Misc
  3. How to Insert an Image Into a Description

How to Insert an Image Into a Description

Several modules in Member365 have a Description field. If you wish to add an image to the description of an Event, a Membership Category, or any other module to which a description can be applied, continue reading.

Edit the Description

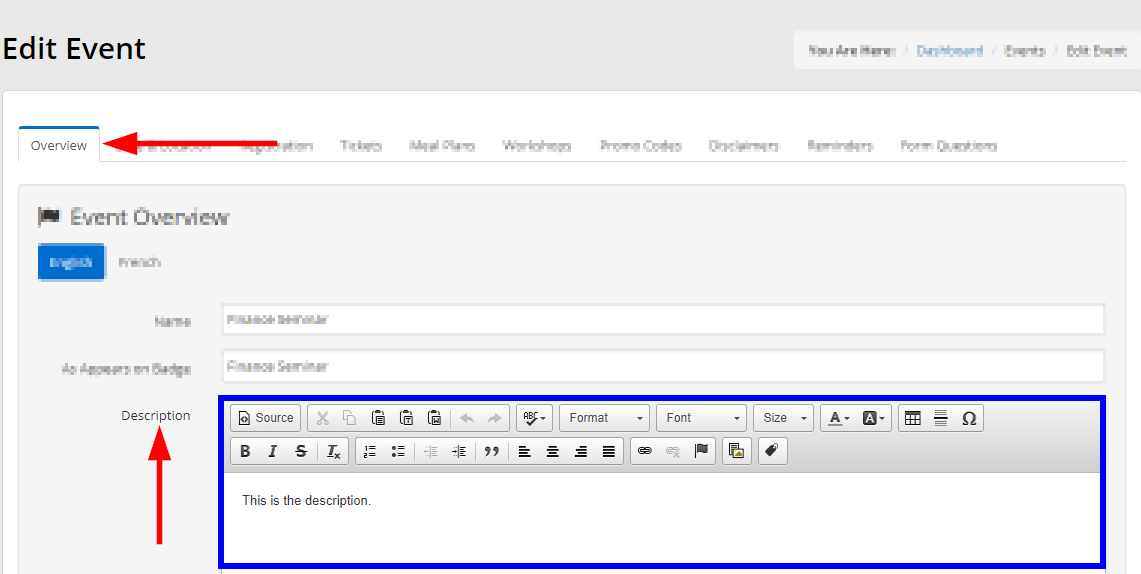
1. Locate the ‘Description’ field. This is usually on the first page when creating or editing a module. When configuring Membership Categories or Events, it will be in the ‘Overview’ tab. For this example we will be using an Event description, however the same process applies for inserting images into any description.

Image indicating the 'Description' field for an Event

If you are not familiar with the process to create an Event, or the process to create a Membership Category, consult those Knowledge Base articles first.

Uploading the Image

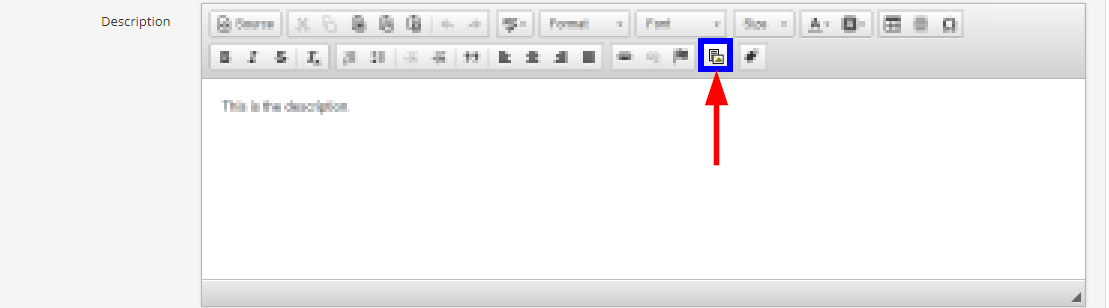
2. Click the ‘Upload File’ icon. It is the button with an image of a file on it. The button is located on the bottom row of icons that appear above the ‘Description’ text box.

Image indicating the 'Upload File' icon for a Description.

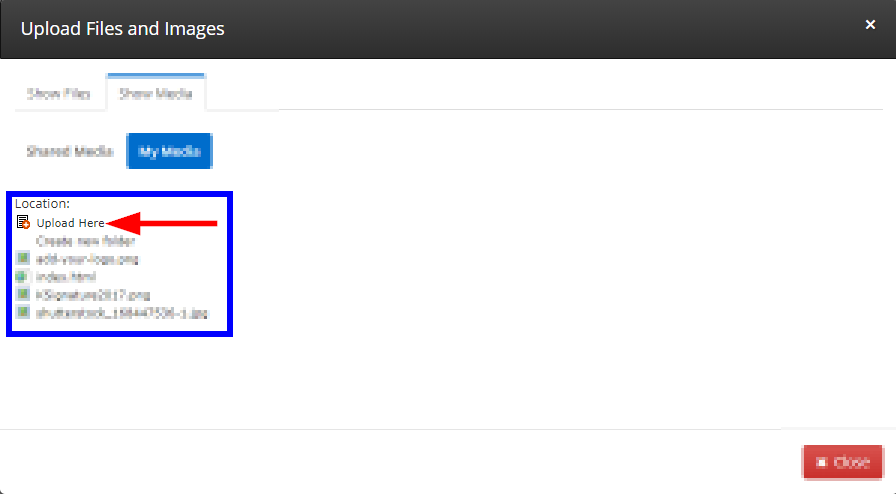
3. On the pop-up window that appears, click the ‘Show Media’ tab.

Image indicating the 'Show Media' tab when inserting a file.

4. Select which library you wish to use.

‘Shared Media’ is a site-wide library of images that you and other administrators have uploaded.

‘My Media’ is a site-wide library of files that only you have uploaded.

Uploading a New Image

If you wish to insert an image that you have used before, and if the image is already in your library, skip to Step 9 under the ‘Inserting an Image into the Description’ subheader.

If you are uploading a new image, continue reading.

5. Click the ‘Upload Here’ button.

Image indicating the 'Upload Here' button when adding files to a description.

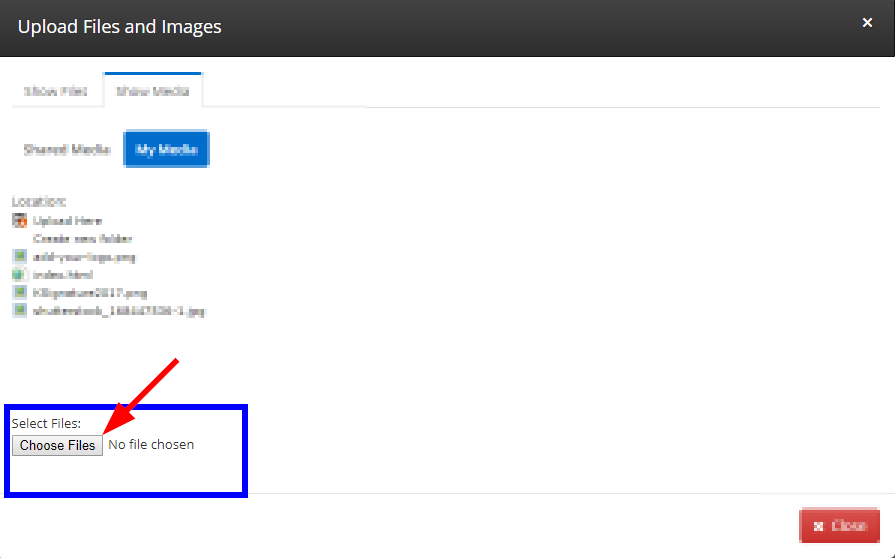
6. A ‘Choose Files’ button will appear. Click it to upload your image.

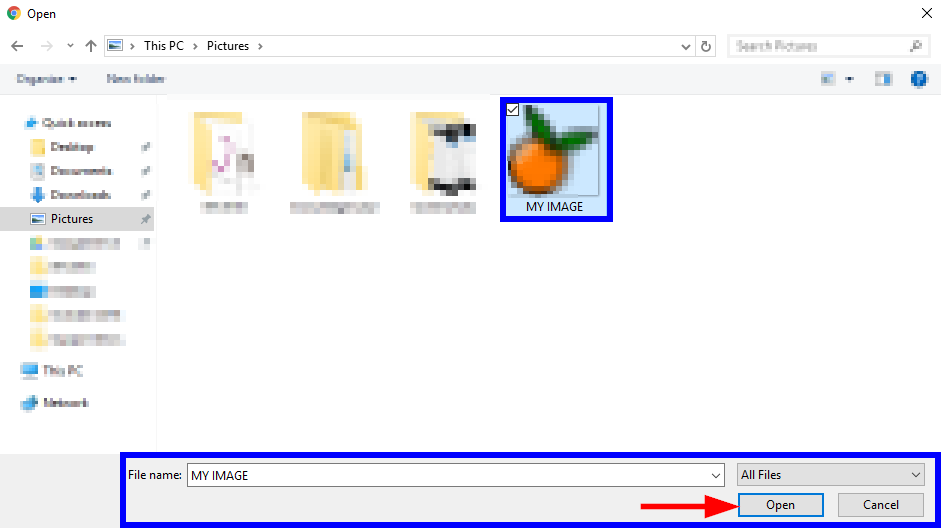
7. Locate the image you wish to upload from your device’s file library. This process may vary depending on your device and web browser. Typically, you just need to click the file, then click ‘Open’. 

Example image showing the file upload menu.


A note on file names and extensions:

For best practice, avoid image names with dashes (), underscores (_), or any other special characters. We recommend keeping your image names simple: use only numbers or letters if possible, and rename your files before uploading them to Member365 as needed.

We recommend choosing image files with .jpg, .png, or .gif extensions. Other image extensions may not be compatible with Member365 depending on the module.

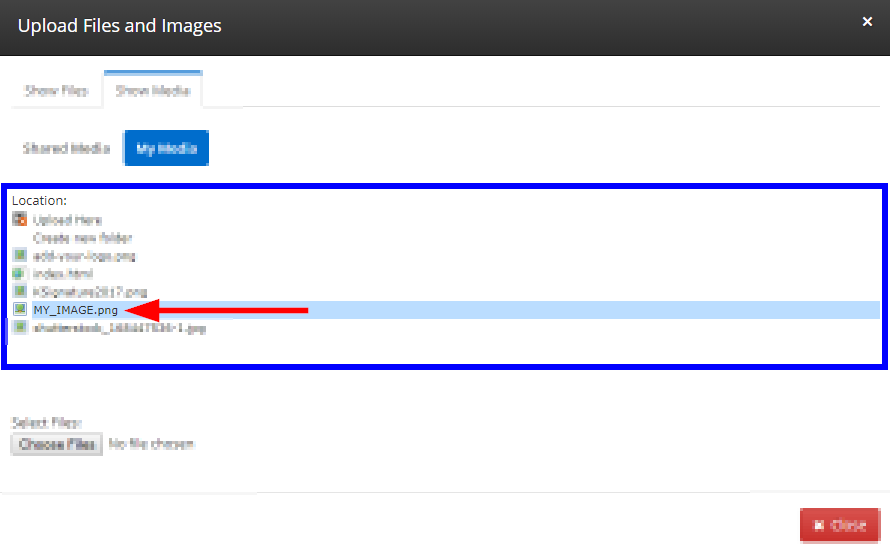
8. Upon successful upload, your image will now show in the list of media files.

Inserting an Image into the Description

9. Locate the image you wish to upload from the list of media files, then click its name.

Image showing the new file in the list of files.

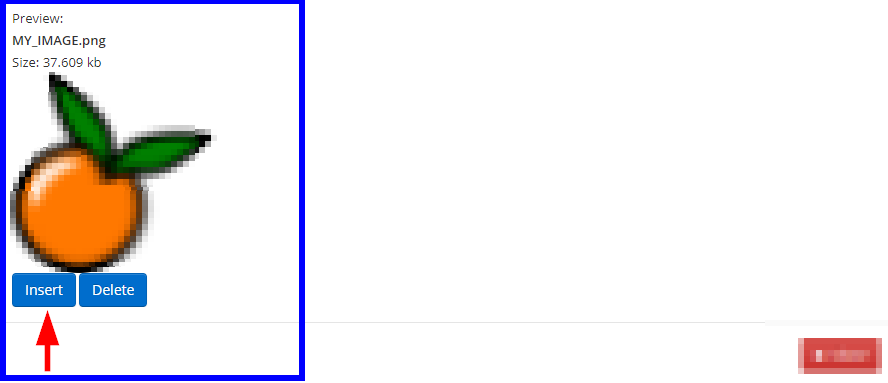
11. A preview of the image will appear. If you are satisfied, click the ‘Insert’ button to add the image to the body of your description.

Image showing a preview of the new image you are inserting.

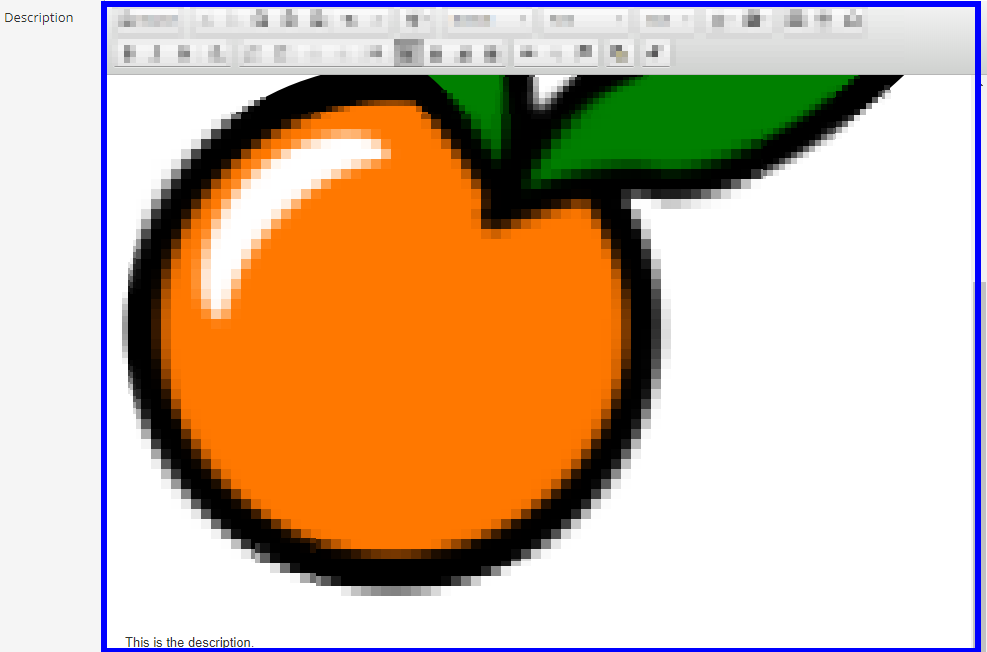
12. Your image will now display in the ‘Description’ box. You can move it around alongside the text as you wish.

The new image is now in the 'Description' box.

Congratulations, you can now add images to descriptions!


Was this article helpful?

Related Articles