This article will guide you through editing the email addresses and senders that appear on automated emails sent out by Member365 on your behalf.
Accessing Your Organization Profile
1. Log in to your Member365 Administrator Dashboard.
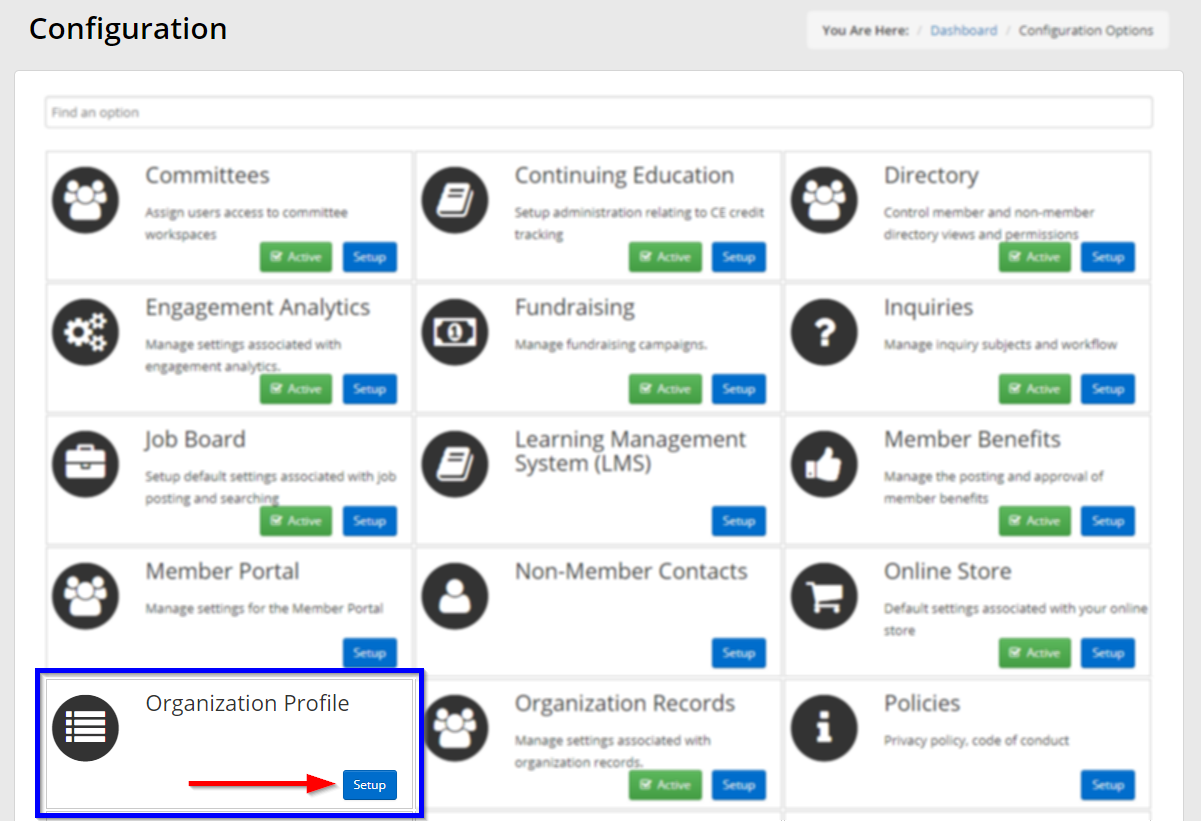
2. In the upper-right, click ‘Options‘, and then ‘Configuration‘ from the drop-down menu that appears.

3. In the section marked ‘Organization Profile’, click ‘Setup‘.
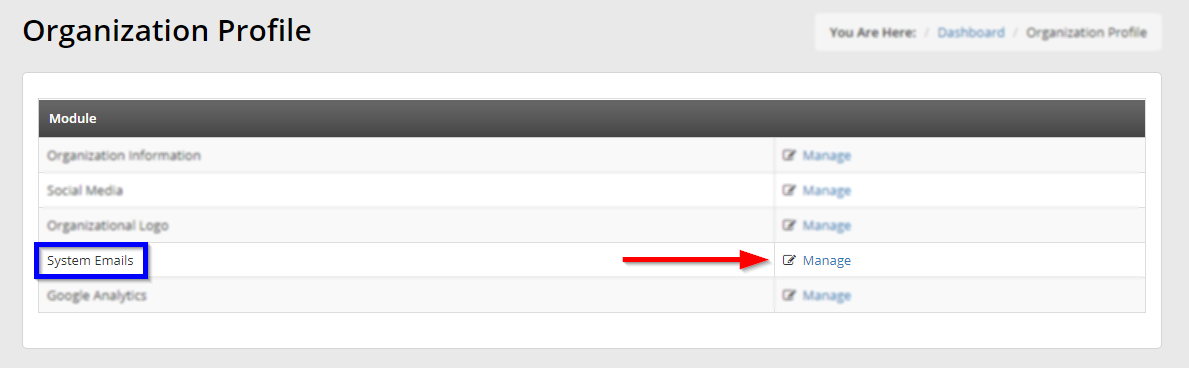
4. Next to ‘System Emails’, click ‘Manage‘.
Updating Your System Email Addresses
5. On this page, you can enter the email addresses and the sender names that will be associated with them.
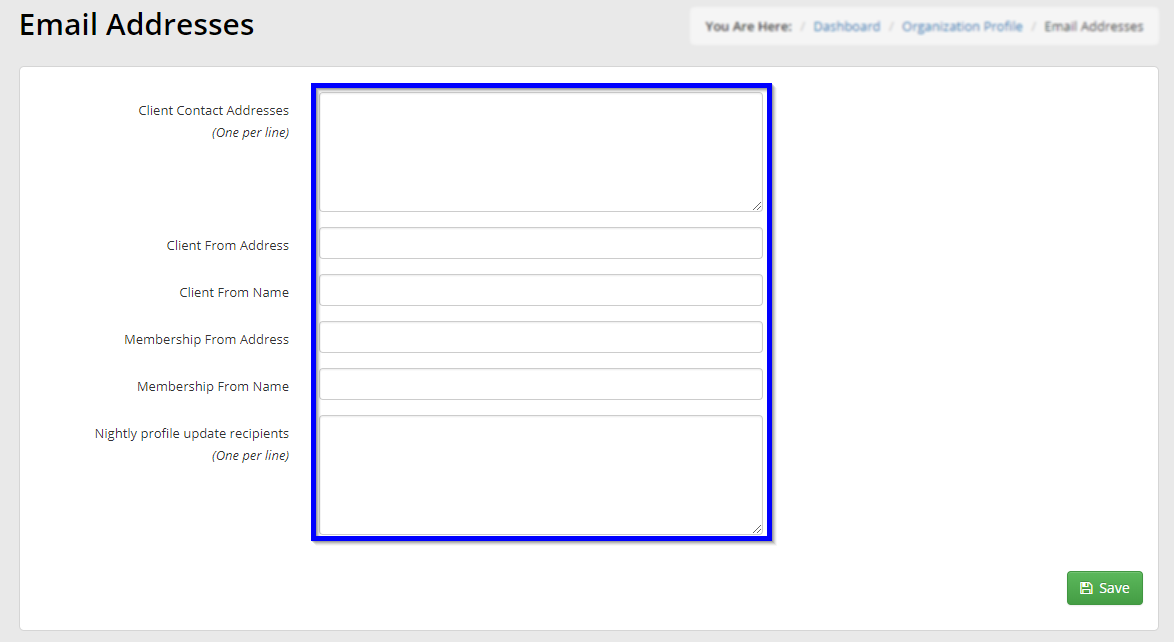 Client Contact Addresses: Enter an email address you intend to use in interacting with Member365 here; this address will not be displayed in emails that the system sends.
Client From Address: This email address is used on all system-generated communication, except for membership-related emails.
Client From Name: This name is used on all system-generated communication, except for membership-related emails.
Membership From Address: All membership-related email will originate from this address.
Membership From Name: This name is displayed on all membership-related email.
Nightly Profile Update Recipients: Individuals listed here will be notified when a user updates their profile.
6. Once you’re finished, click ‘Save‘.
Congratulations, you have updated your system email addresses and sender names!