This article will guide you through editing the email address that appears as the sender when your organization sends out any kind of automated email; this includes Workspace and committee notifications. We will achieve this by accessing and editing your organization profile.
Accessing Your Organization Profile
1. Log in to your Member365 Administrator Dashboard.
2. On the top bar, click ‘Options‘ and then ‘Configuration‘ from the drop-down menu that appears.

3. In the ‘Organization Profile‘, click ‘Setup‘.

Configuring Sender Options
4. Next to ‘System Emails’, click ‘Manage‘.

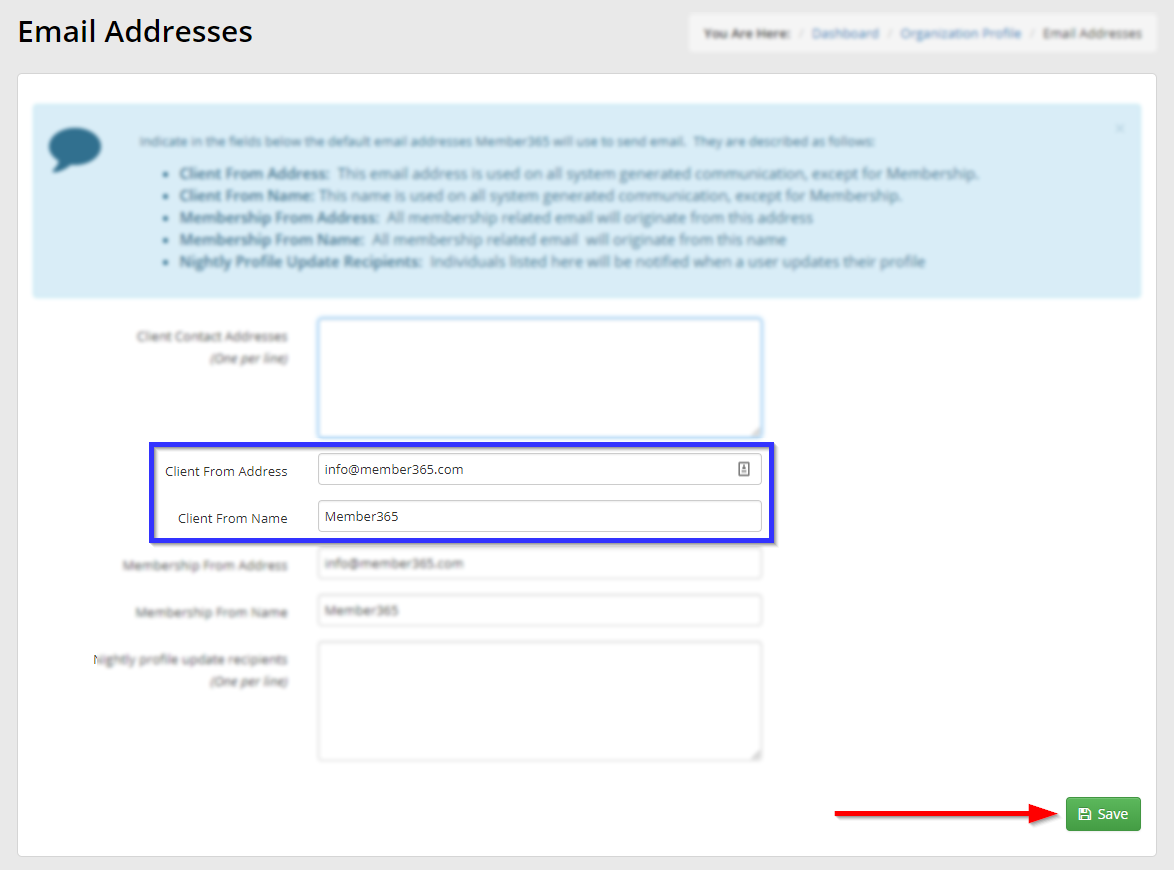
5. Enter the desired ‘From’ address and name into the indicated text fields, and then click ‘Save‘.
Congratulations, you have changed the name and email address attached to your system emails!