This article will guide you through the process of adding a paid course to your online store. This guide assumes that you have already created the course; first, we will modify a setting attached to the course that lets it become a store item, and then we will go to the store and add it as a product.
Enabling Online Course Purchase
1. Log in to the Member365 Administrator Dashboard.
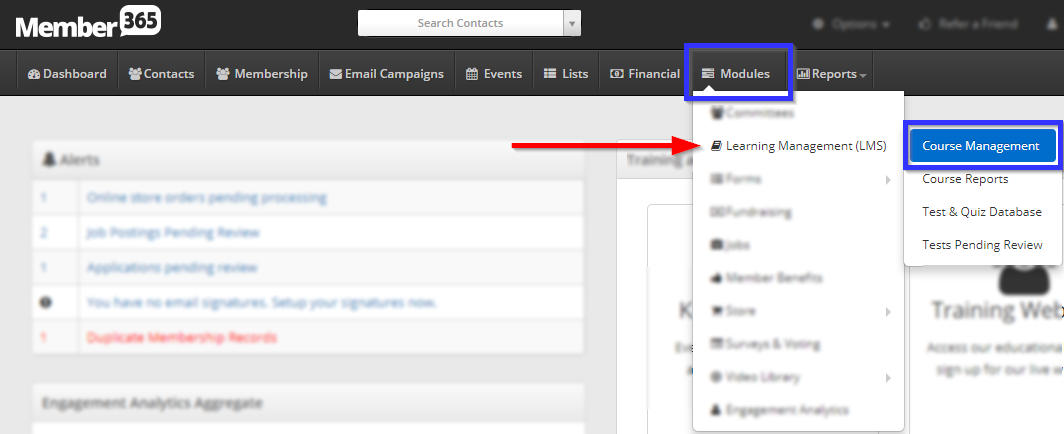
2. On the top bar, click ‘Modules‘, then hover over ‘Learning Management (LMS)’ and click ‘Course Management‘.
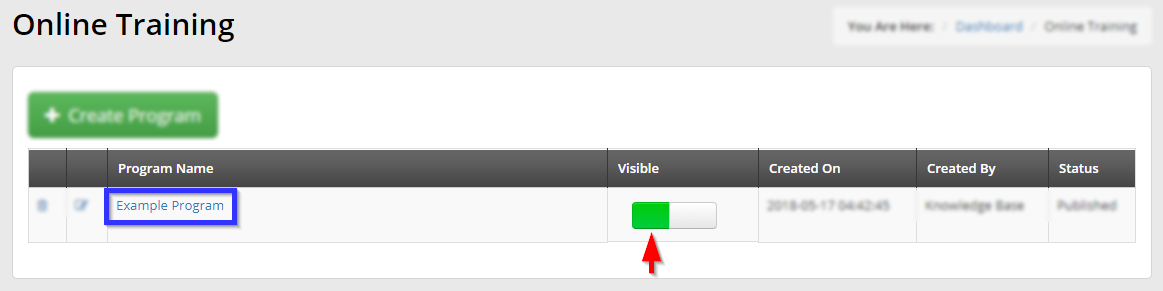
3. Find the name of the course you would like to add to the store, ensure that the ‘Visible?’ toggle next to its name is set to green, and then then click the name of the course.
4. Click the ‘Access‘ tab, then the ‘Store‘ sub-tab.
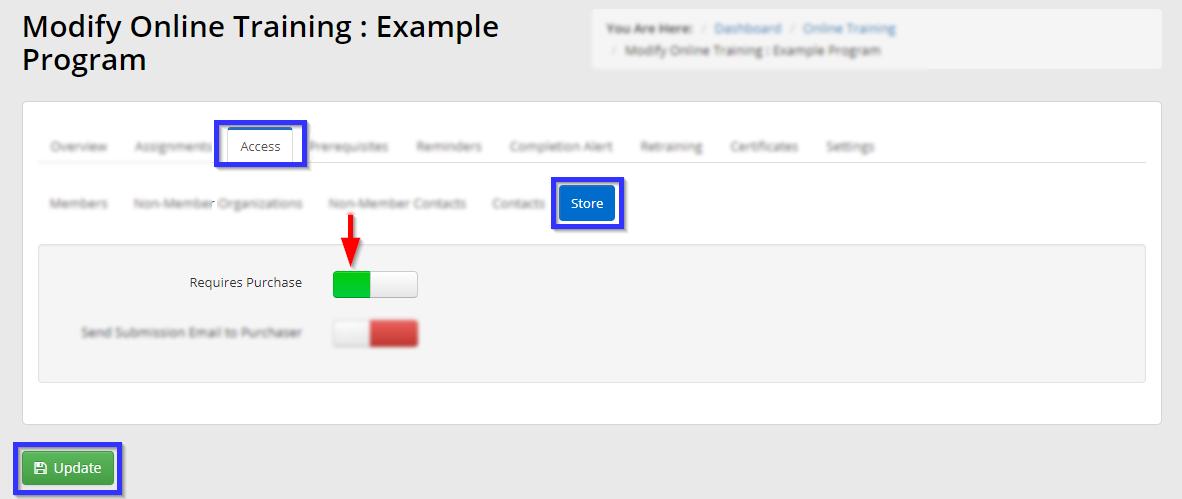
5. Ensure that the ‘Requires Purchase‘ toggle is set to green, then click ‘Update‘.
Adding the Course to the Store
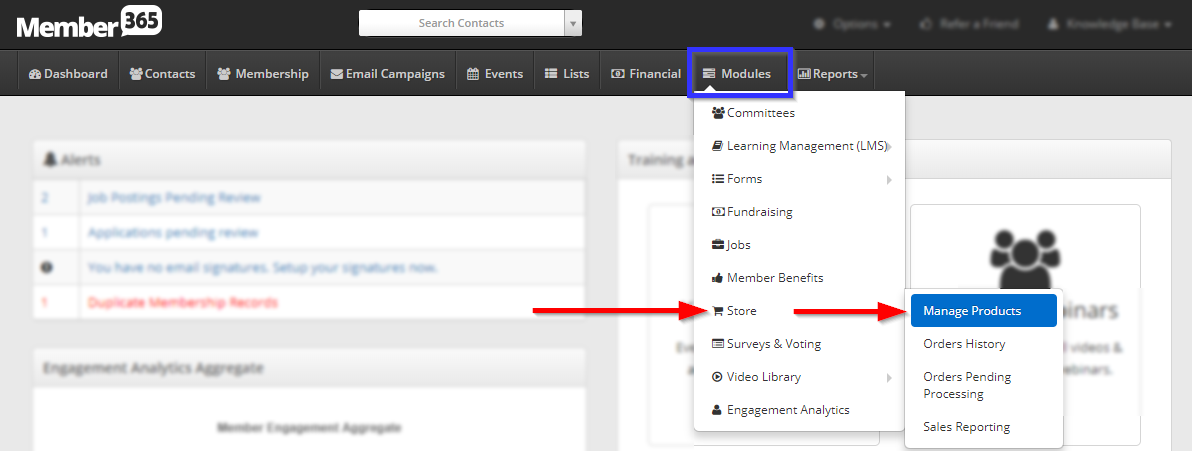
6. On the top bar, click ‘Modules‘, hover over ‘Store‘ and then click ‘Manage Products‘.
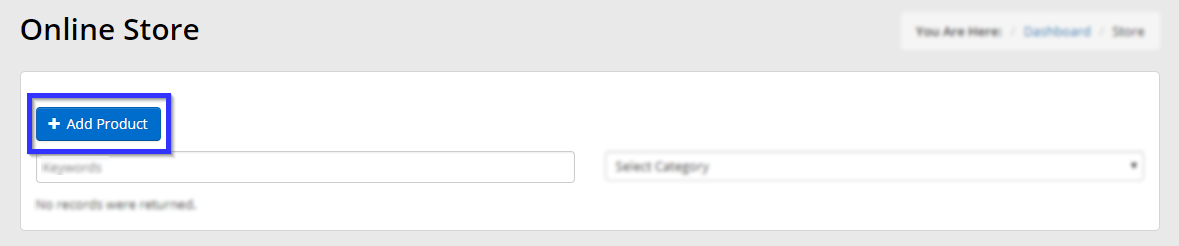
7. Click ‘Add Product‘.
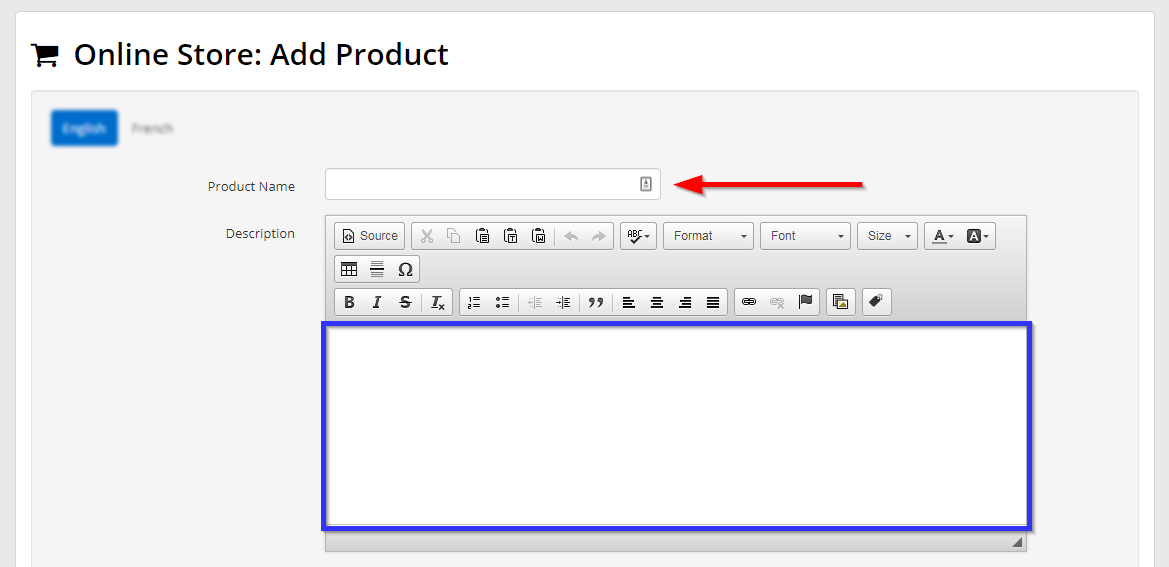
8. In the first part of the form, enter a name and description for your course.
9. In the second part of the form, select ‘Online Training Course‘ from the ‘Type’ drop-down menu. This will cause a new option to appear: a drop-down menu labelled ‘Training Course’; select your course from this list.
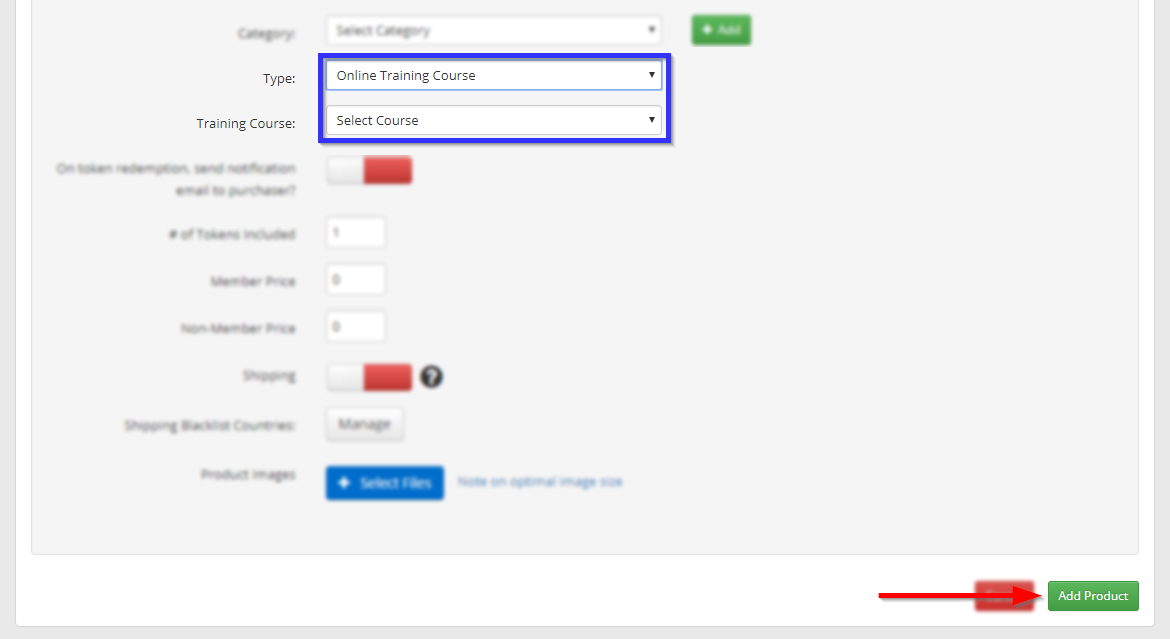
10. Adjust the rest of the options as needed, and then click ‘Add Product‘.
Congratulations, you have added this product to your online store!