This article will guide you through setting certain general settings for your online store.
Accessing Online Store Configuration
1. Log in to your Member365 Administrator Dashboard.
2. On the top bar, click ‘Options‘, and then click ‘Configuration‘ from the drop-down menu that appears.

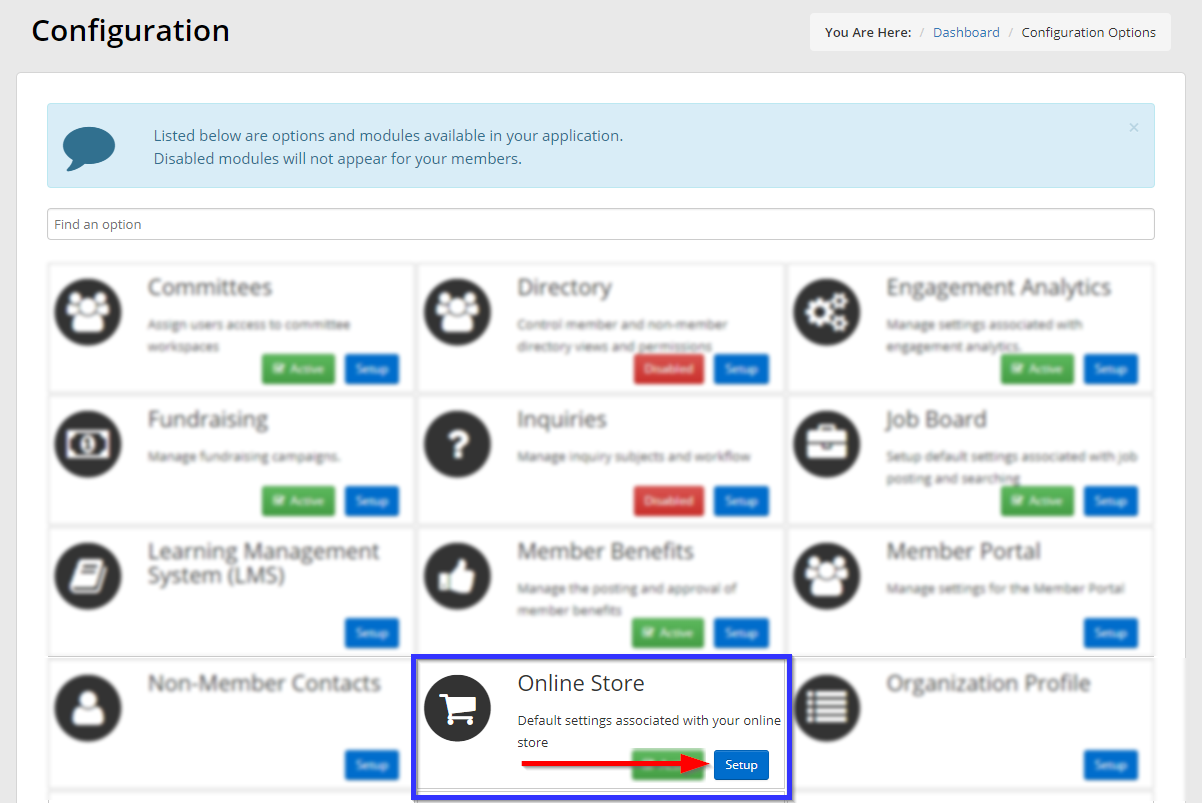
3. In the section marked ‘Online Store’, click ‘Setup‘.
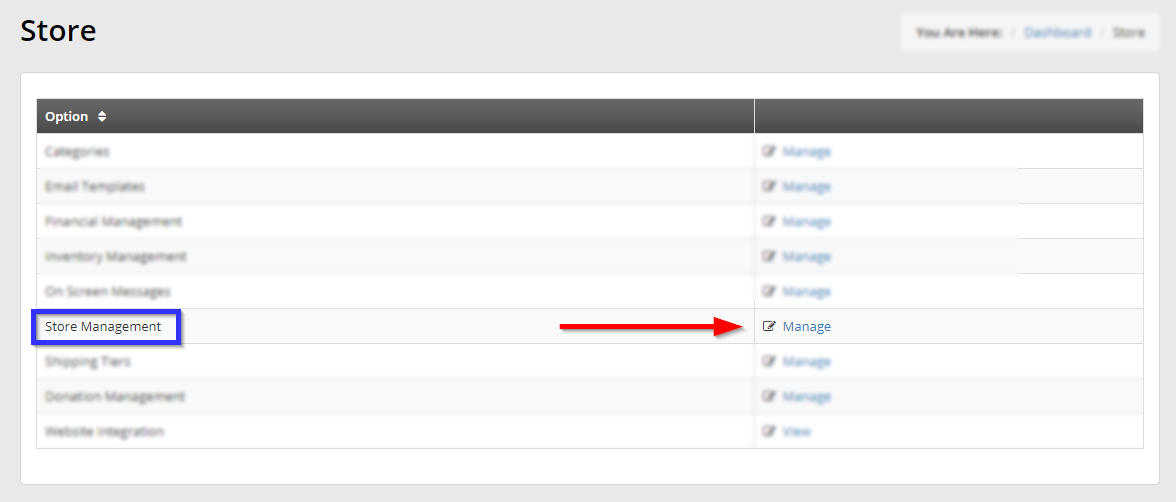
4. Next to ‘Store Management’, click ‘Manage‘.
General Store Settings
In this section, you will find a number of general settings important to maintaining your store.
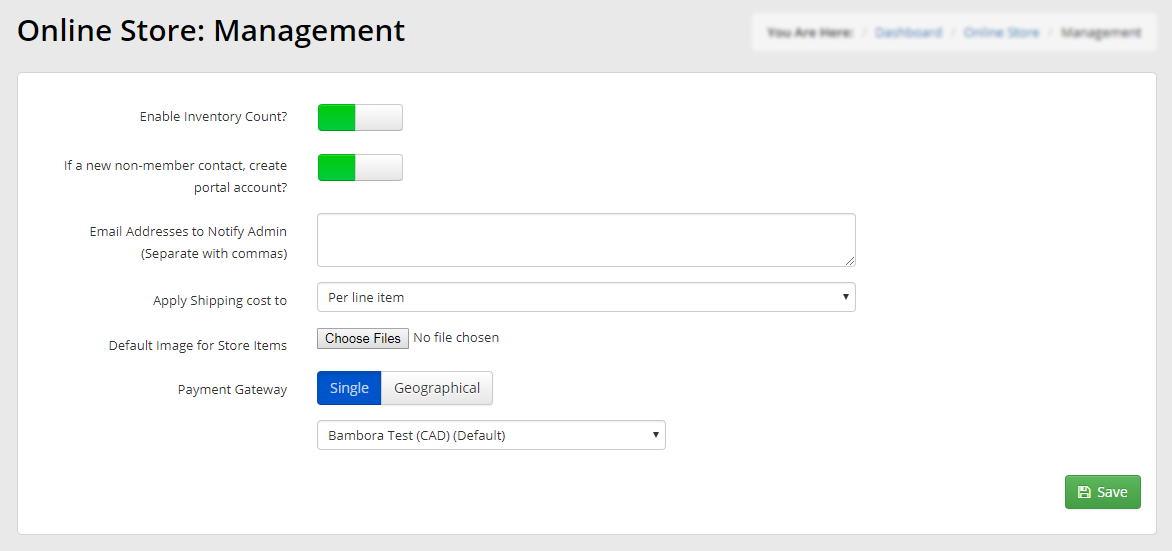
Enable Inventory Count: If enabled, allows the current stock level to be displayed to users in the store.
If a new non-member contact, create portal account: If this user has been provided access to the store and is a non-member, allows the user to create a portal account to use to access the store.
Email Addresses to Notify Admin: Enter an email address in this field to cause notifications about store activity to be sent to that address. To add multiple email addresses, separate them with commas.
Apply Shipping Cost to: Allows you to choose whether to apply your shipping costs for individual line items or for whole orders.
Default Image for Store Items: Allows you to select the image that will be used to represent store products if no image is designated for them.
Payment Gateway: Allows you to select the payment gateway or gateways that will be used for accepting payment.
If you only need to set up one currency, click ‘Single‘ and click the drop-down menu to select the corresponding gateway.
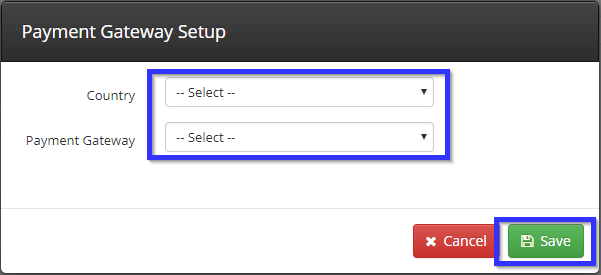
If you wish to accept multiple currencies for event payment, click ‘Geographical‘, then click the green ‘Add‘ button that appears.
In the pop-up window that appears, select both the country and the corresponding gateway from the drop-down menus, and click ‘Save‘. Repeat this step for every currency you wish to accept.
Confirming Your Settings
Click ‘Save‘ in the bottom-right corner of the settings page.
Congratulations, you have configured your store’s general settings!