This article will guide you through configuring who is able to access, enroll in and complete an LMS course.
Accessing Course Configuration
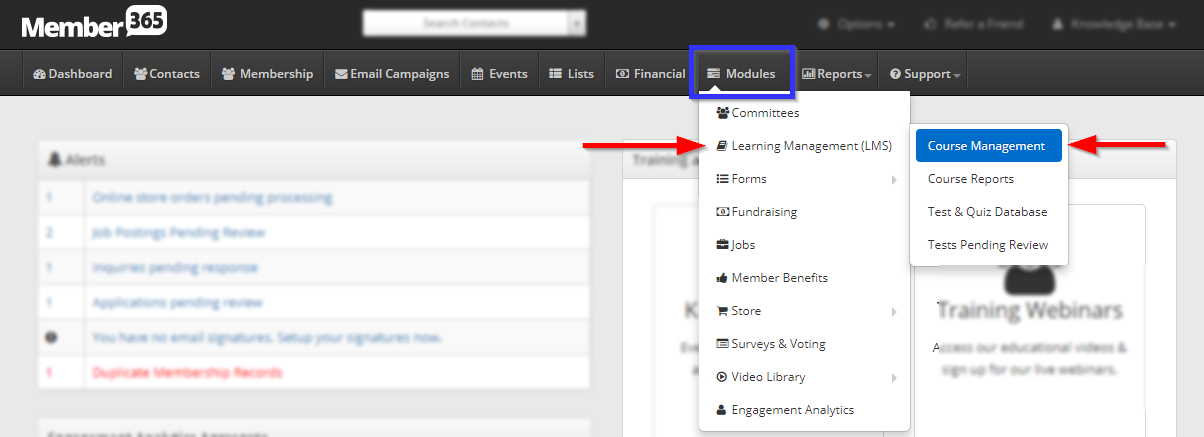
1. Log in to your Member365 Administrator Dashboard.
2. On the top bar, click ‘Modules‘, then hover over ‘Learning Management (LMS)‘ and then click ‘Course Management‘.
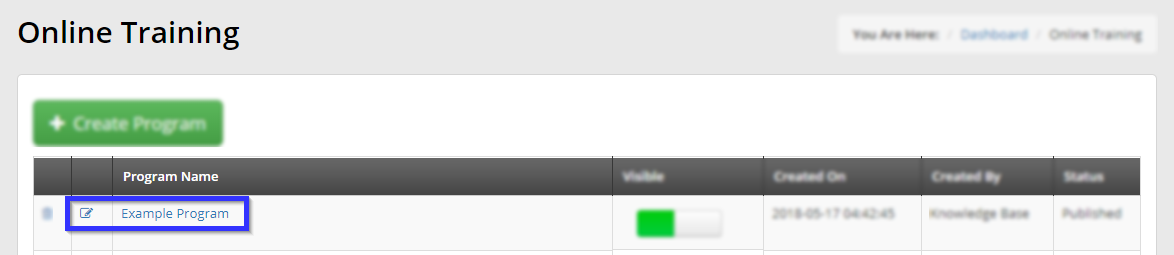
3. Click on the name of the course whose access settings you would like to configure.
Editing Access
4. Click the ‘Access‘ tab, and examine the sub-tabs that appear below it once you do so.
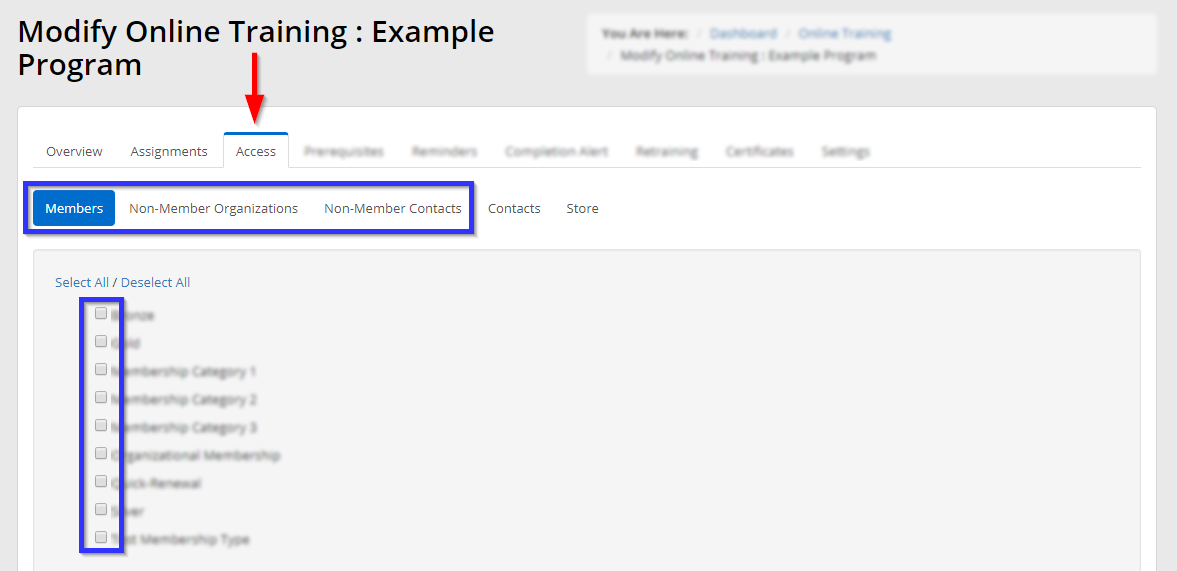
These first three sub-tabs work in the same way: upon clicking one of them, all of your options will appear below with checkboxes next to them. Fill in a checkbox to allow members in a specific category, non-member organizations, or non-member demographics, to access this course.
5. Click the ‘Contacts‘ sub-tab if you wish to grant access on an individual basis.
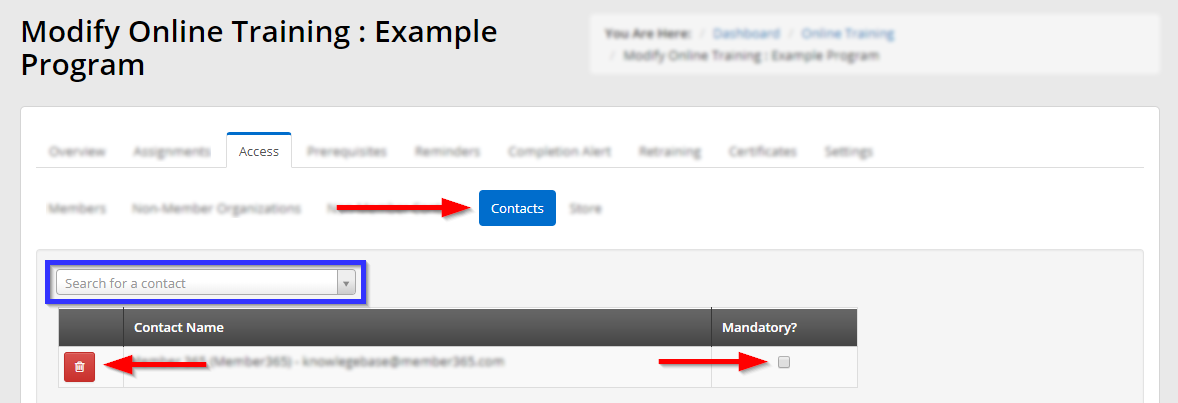
Enter a name into the ‘Search for a contact’ bar and click a name when it appears to add it to the list below. Fill in the checkbox on the right to make the course mandatory for this user; you may also click the red trash bin icon to remove a member from this list.
6. When you are satisfied, scroll down and click ‘Update‘.
Congratulations, you have configured who can access this LMS course!