This article will guide you through setting shipping rates for items in your online store. This process will allow you to create shipping tiers, which apply a shipping cost of your choice to purchases within a price range that you will also define.
Accessing Online Store Configuration
1. Log in to your Member365 Administrator Dashboard.
2. On the top bar, click ‘Options‘, and then click ‘Configuration‘ from the drop-down menu that appears.

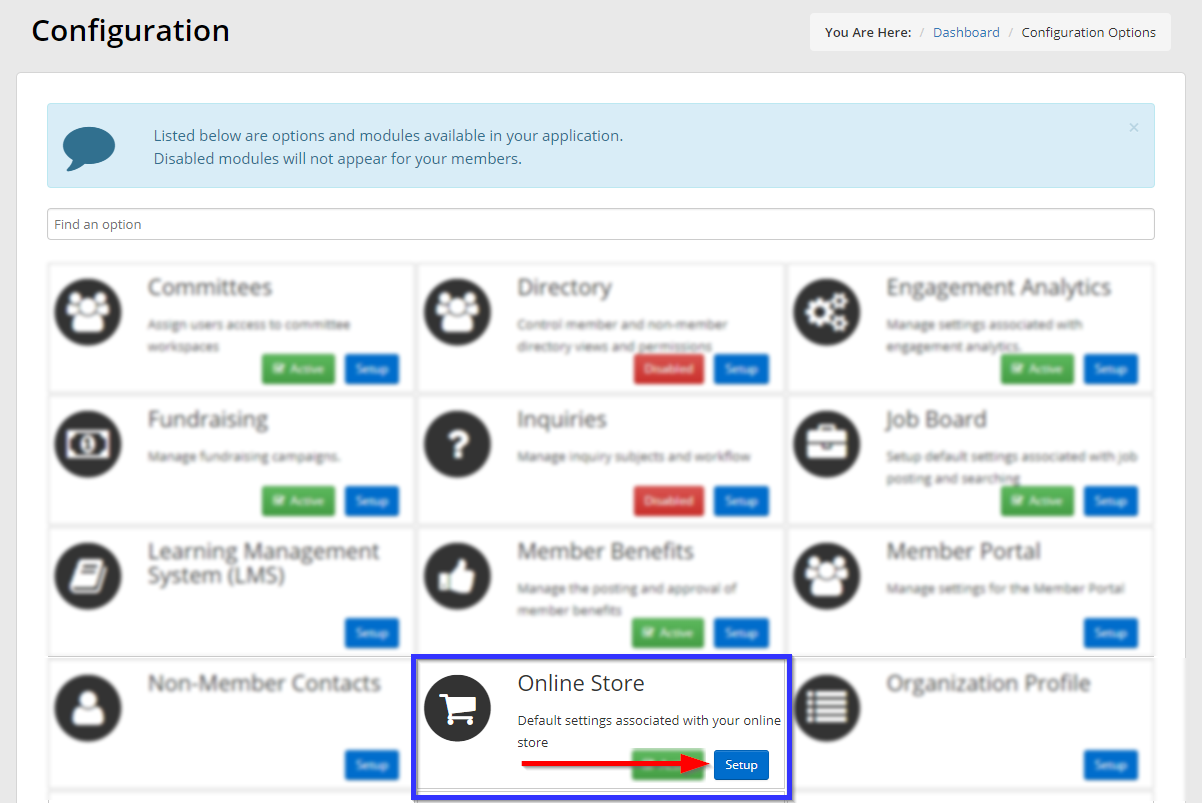
3. In the section marked ‘Online Store’, click ‘Setup‘.
4. Next to ‘Shipping Tiers’, click ‘Manage‘.
Adding a New Shipping Tier
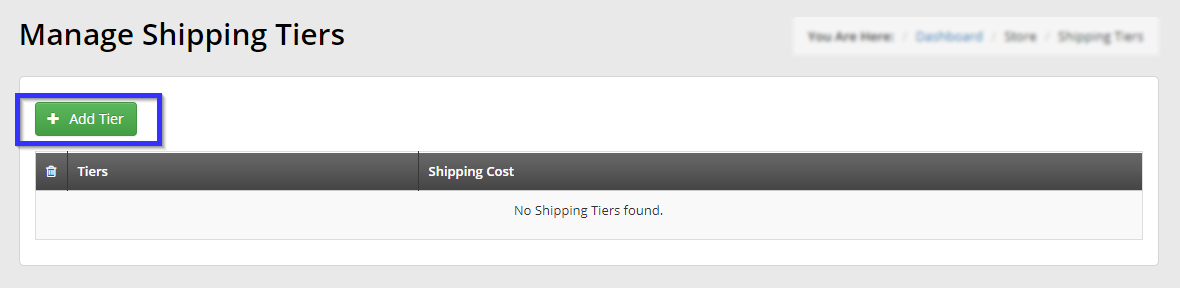
5. To create a new shipping tier, click ‘Add Tier‘.
6. In the window that pops up, use the ‘From’ and ‘To’ fields to set a price range, and use ‘Shipping Cost’ to set the shipping cost of purchases at that tier.
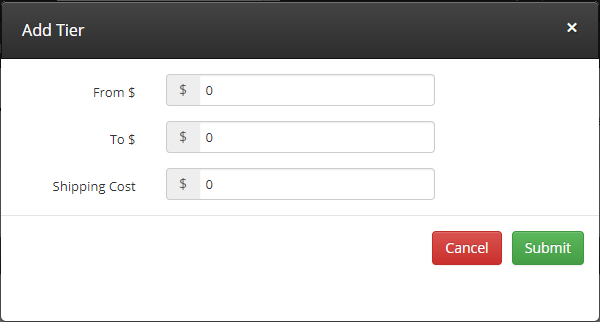
7. Click ‘Submit‘ when you are done.
Editing a Price Tier
1. Navigate to the ‘Manage Shipping Tiers‘ page by following the first four steps of this guide.
2. Click the price range of the shipping tier you would like to modify.
3. Make any desired changes, and then click ‘Submit‘.
Deleting a Price Tier
1. Navigate to the ‘Manage Shipping Tiers‘ page by following the first four steps of this guide.
2. Click the trash bin icon next to the tier you would like to delete.
3. Click ‘Confirm‘ in the dialogue box that appears.
Congratulations, you have added, edited or deleted a shipping cost tier!