This article will guide you through adding or removing products in your online store.
Adding a Product
1. Log in to your Member365 Administrator Dashboard.
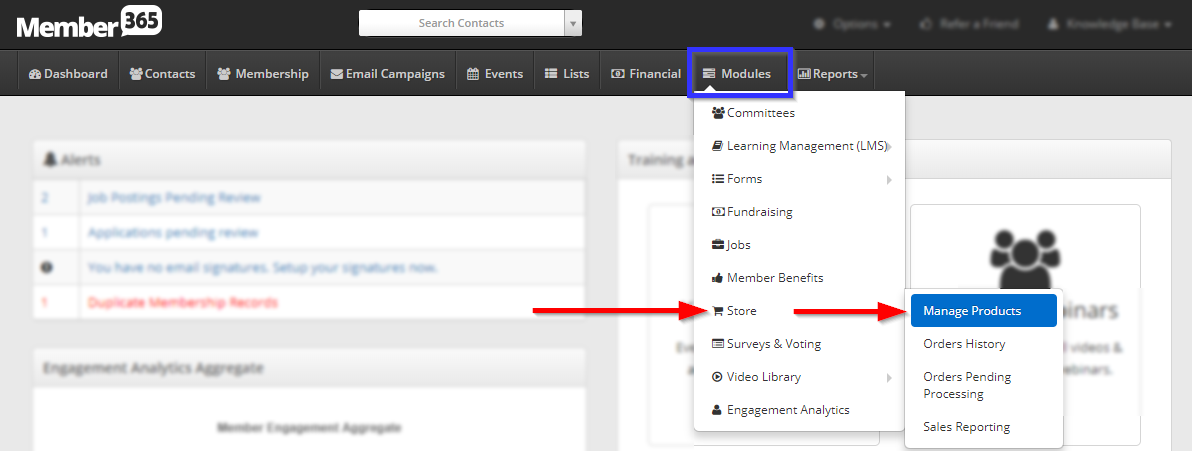
2. On the top bar, click ‘Modules‘, hover over ‘Store‘ and then click ‘Manage Products‘.
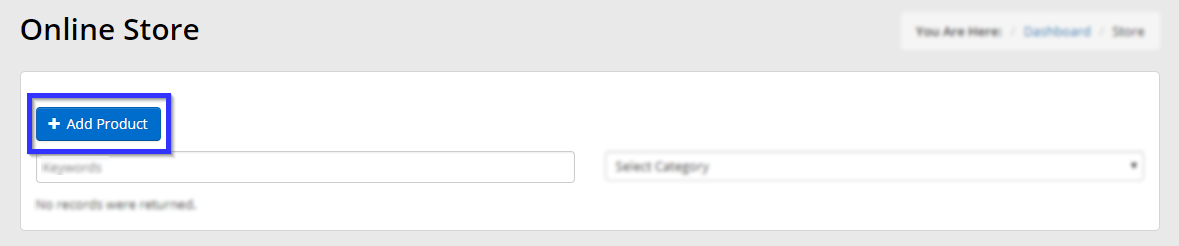
3. Click ‘Add Product‘.
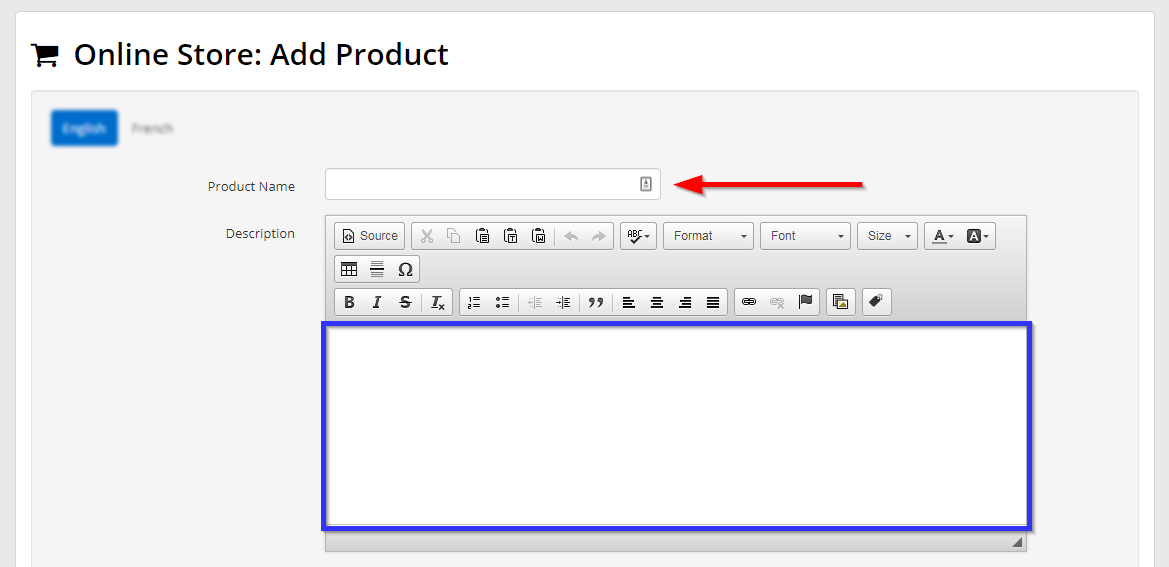
4. In the first part of the form, enter a name and description for your product.
5. The next part of the form allows you to set a number of options: product category and type, members and non-member price, limits to the available quantity, enabling/disabling shipping charges, blacklisting certain countries for shipping purposes, and uploading an image or images for the product.
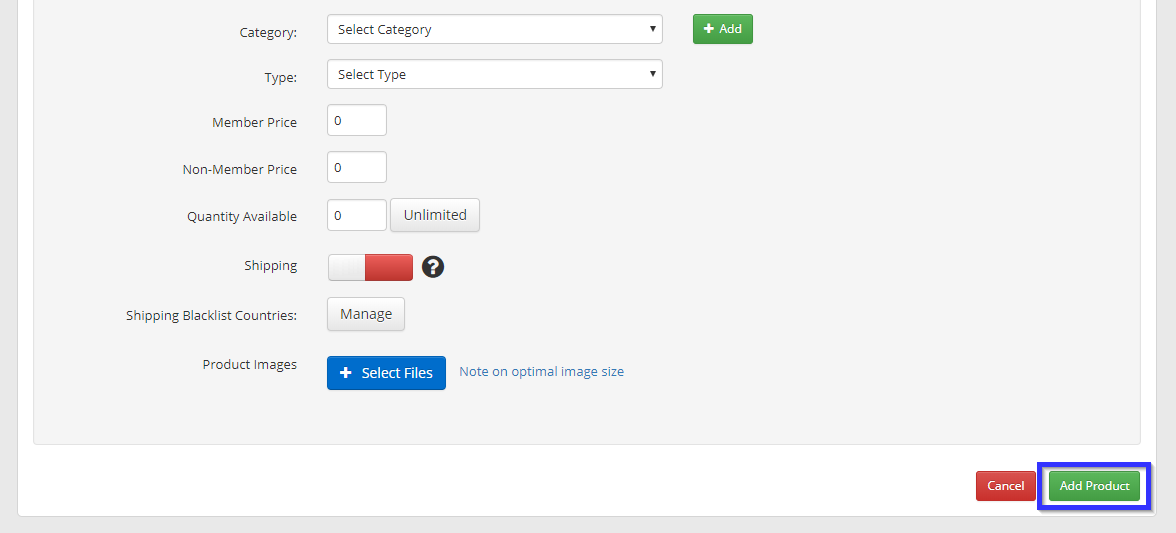
6. Click ‘Add Product‘ when you are satisfied.
Congratulations, you have added a new product!
Deleting a Product
1. On the top bar, click ‘Modules‘, hover over ‘Store‘ and then click ‘Manage Products‘.
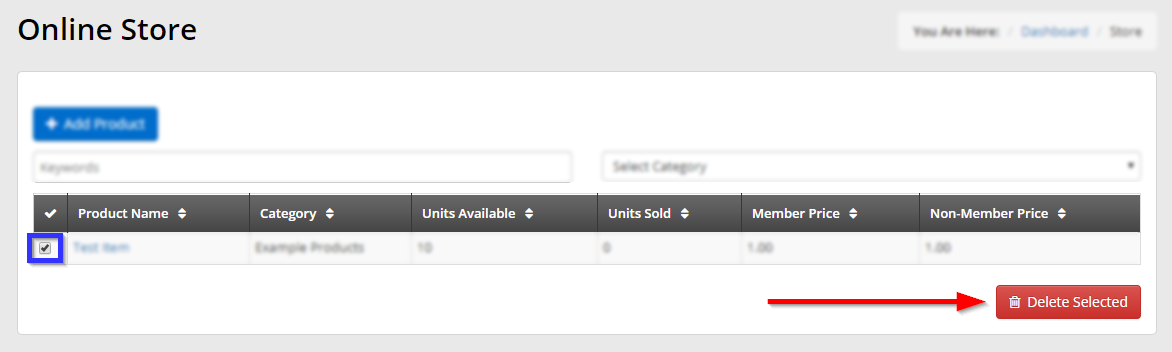
2. Click the checkbox next to one or multiple products, then click the ‘Delete Selected‘ button that appears at the bottom of the list. Note that this button will not appear until at least one is selected.
3. Click ‘Confirm‘ in the dialogue box that appears.
Congratulations, you have deleted a product!