This article will guide you through editing the date and location of an event.
Accessing Event Configuration
1. Log in to your Member365 Administrator Dashboard.
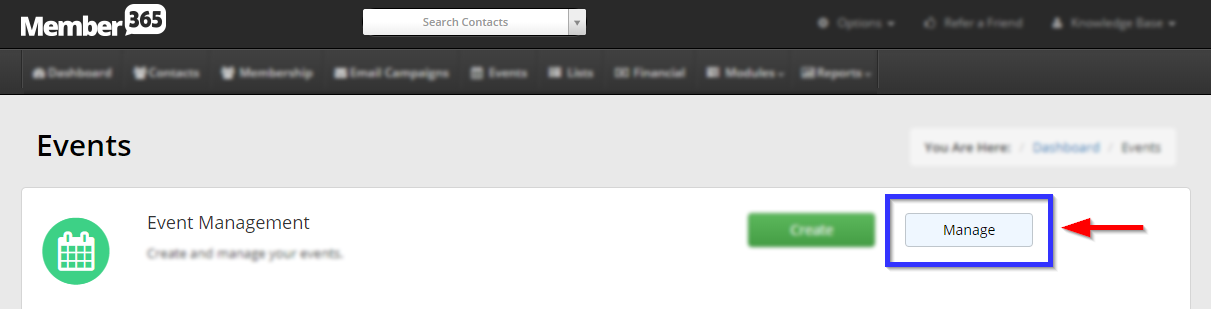
2. On the top bar, click ‘Events‘.

3. Next to ‘Event Management’, click ‘Manage‘.
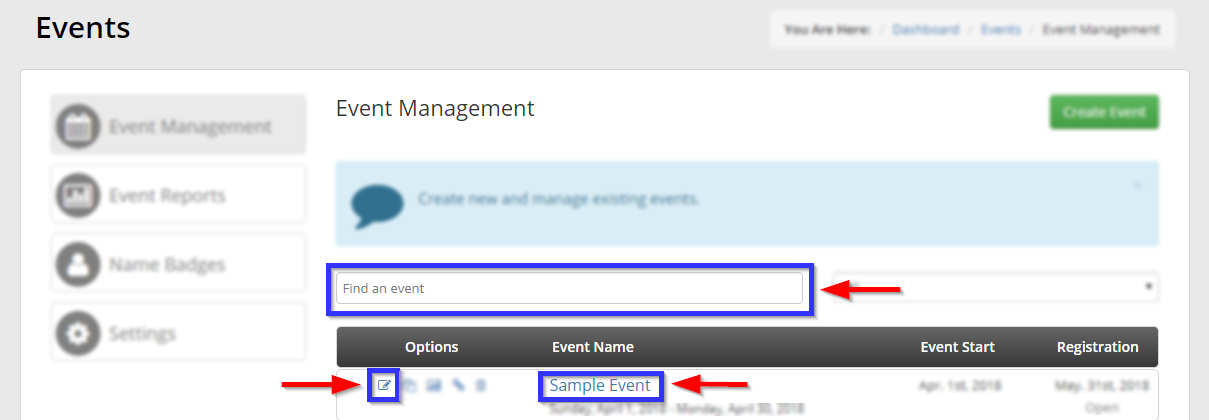
4. Find the event by typing its name into the search bar or finding it in the list, and then select its name or the pencil icon next to it.
Adding or Configuring a Workshop
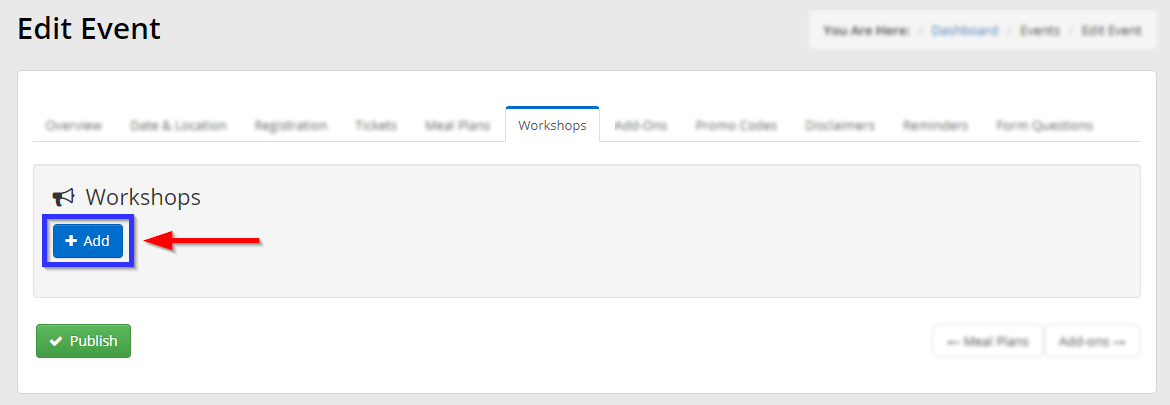
5. Click the ‘Workshops‘ tab.

6. Click ‘Add‘.
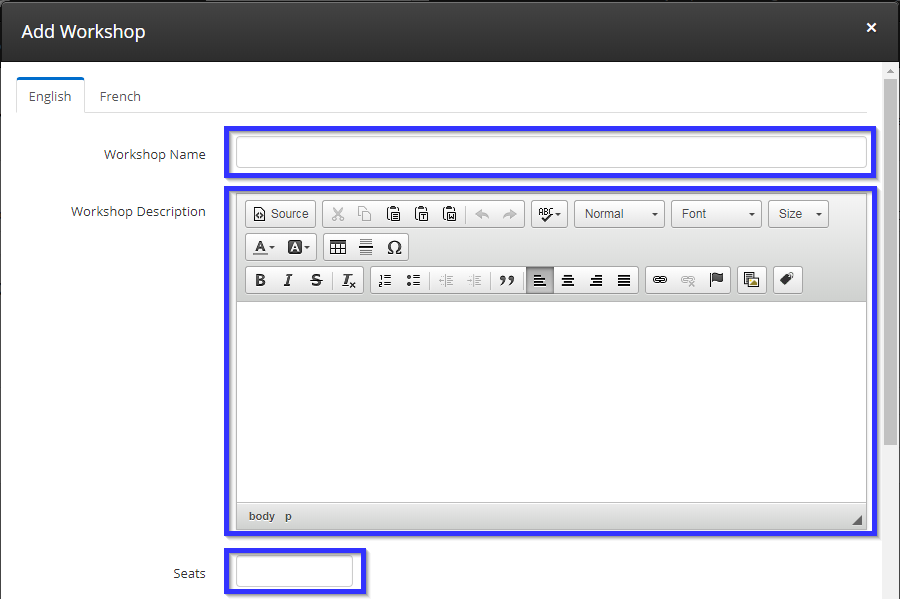
7. In the first part of the window that pops up, fill in the name of the workshop, a description, and the number of seats available.
8. In the next part of the window, check the boxes next to the membership categories to which you would like to make this workshop available. Then enter the date, the start and end times, and the fee, then click ‘Add‘.

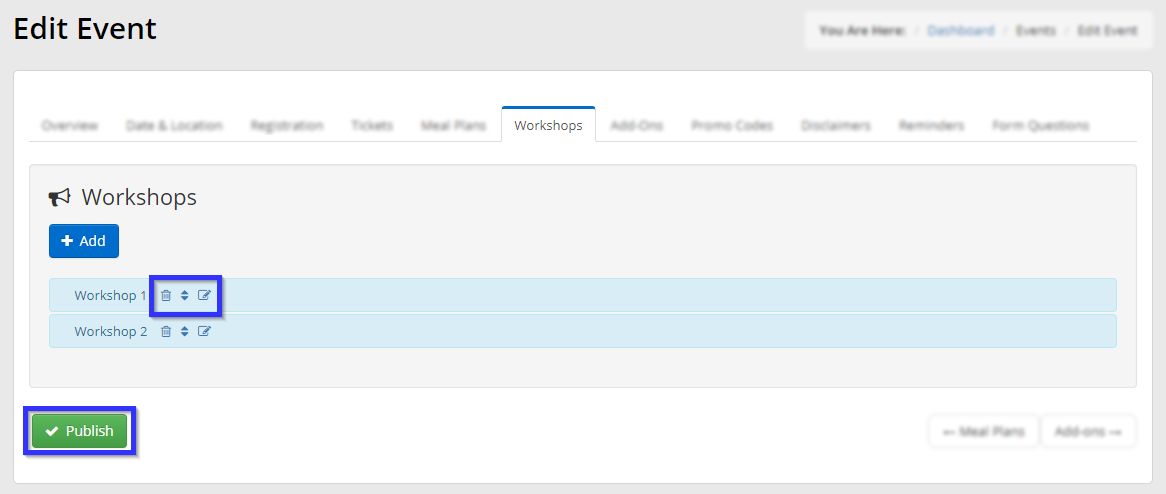
9. Once your workshop has been created, the three icons beside it will allow you to delete, re-order or edit the workshop details. Click ‘Publish‘ once you are satisfied.
Congratulations, you have successfully created or configured a workshop!