You have created an Event, and would like to preview the registration process. This article will cover the best way to test out your Event Registrations in Member365!
Find the Public Registration Link
Every Event in Member365 has a Public Registration Link. Consult this Knowledge Base article to learn more about what it does, and where you can find it.
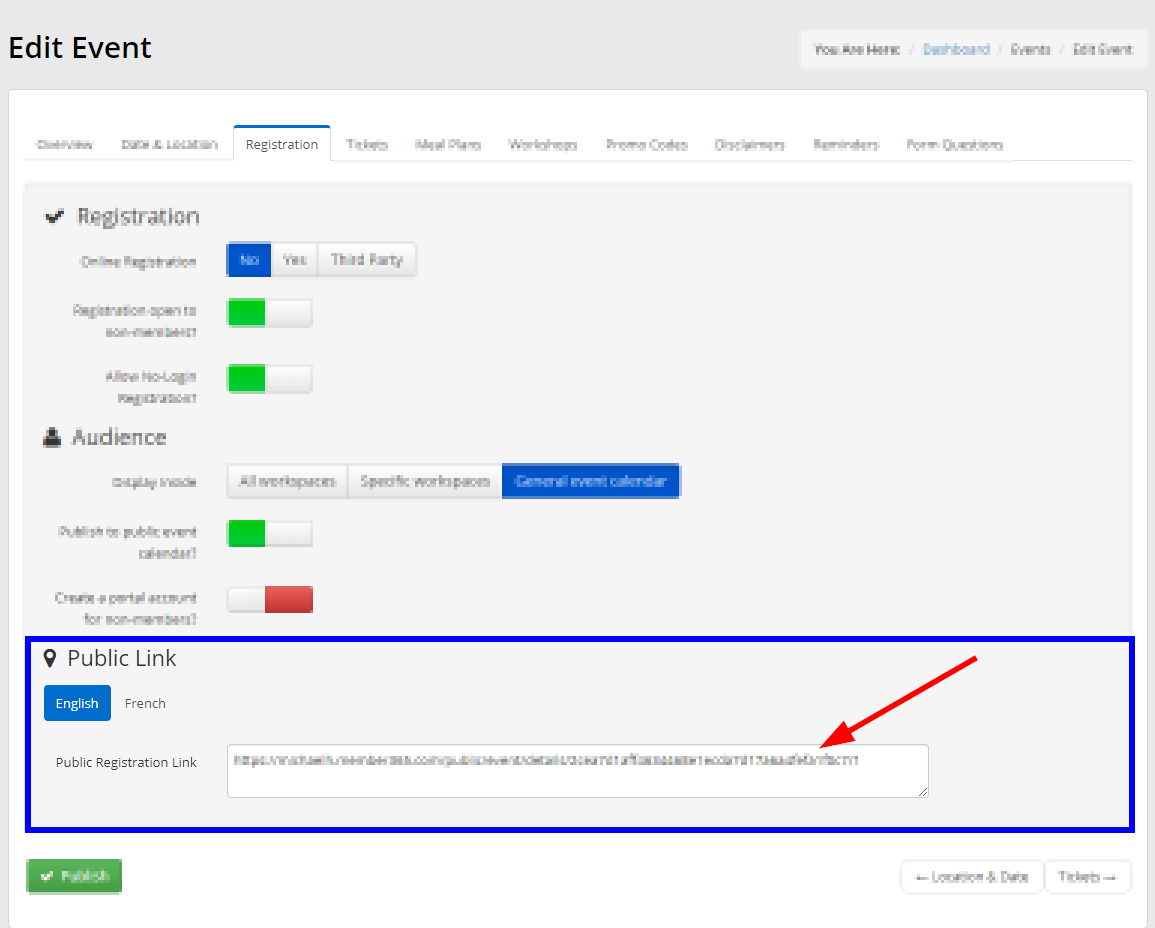
Copy the public link, and open a new browser window in Incognito Mode to test the registration with a clear cache.
- Internet Explorer
- Mozilla Firefox
- Google Chrome
- Safari
Click 'Settings', then 'Safety', then 'InPrivate Browsing', or press Control+Shift+P.
Click the icon with three stacked horizontal lines in the upper-right corner, then click 'New Private Window', or press Control+Shift+P.
Click the icon with a column of three dots in the upper-right corner, then click 'New incognito window', or press Control+Shift+N.
Click 'File' then 'New Private Window', or press Command+Shift+N.
Testing the Event Registration
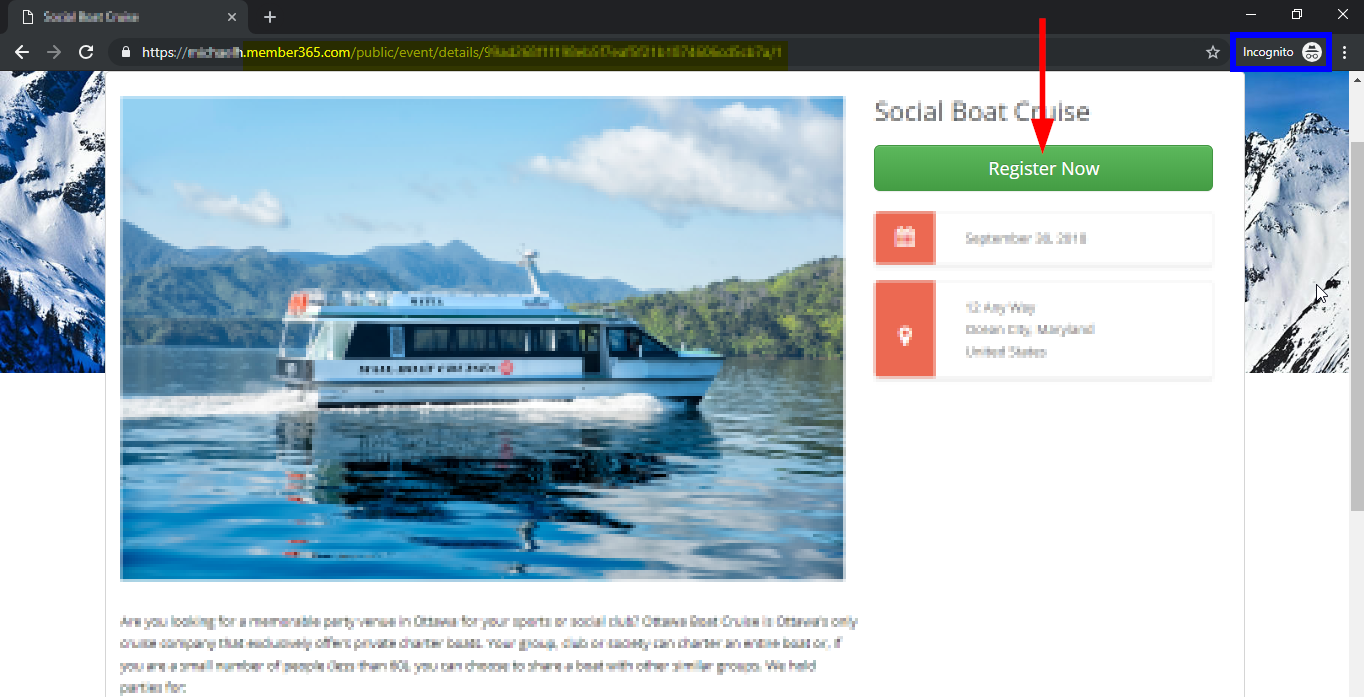
1. While in Incognito Mode, paste the Event’s Public Registration Link into your browser.
2. Click the button labeled ‘Register Now‘.
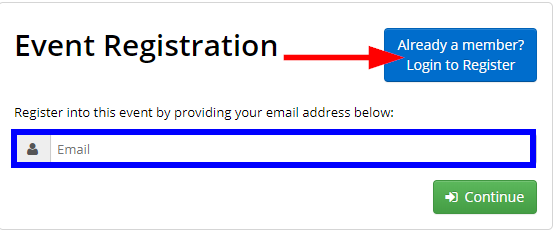
3. If want to test how the registration would look to a Member, click the ‘Already a member? Login to Register’ button.
Alternatively, simply enter their email address if you have No-Login Registration configured and would like to test that. Use the email box to test Non-Member Registrations as well.
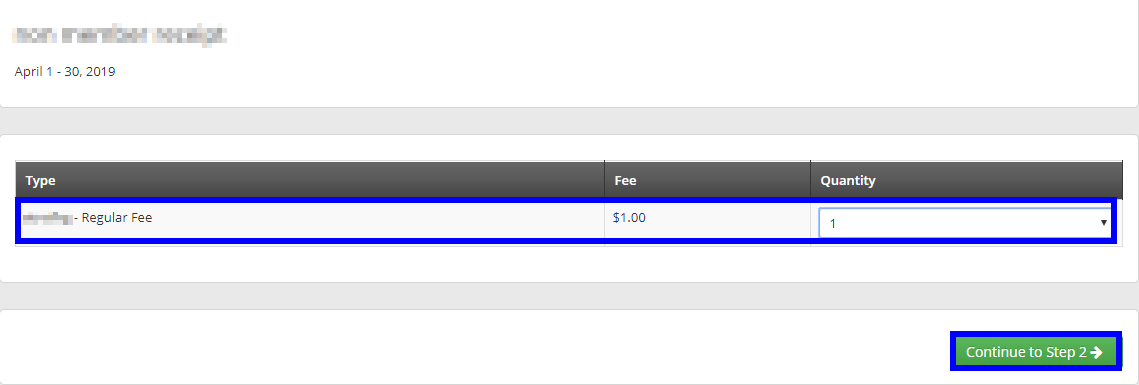
4. After clicking to Continue, you will select the ticket types and how much of each you would like to purchase. Use the drop-down menus as necessary, then click ‘Continue to Step 2’ and confirm when prompted.
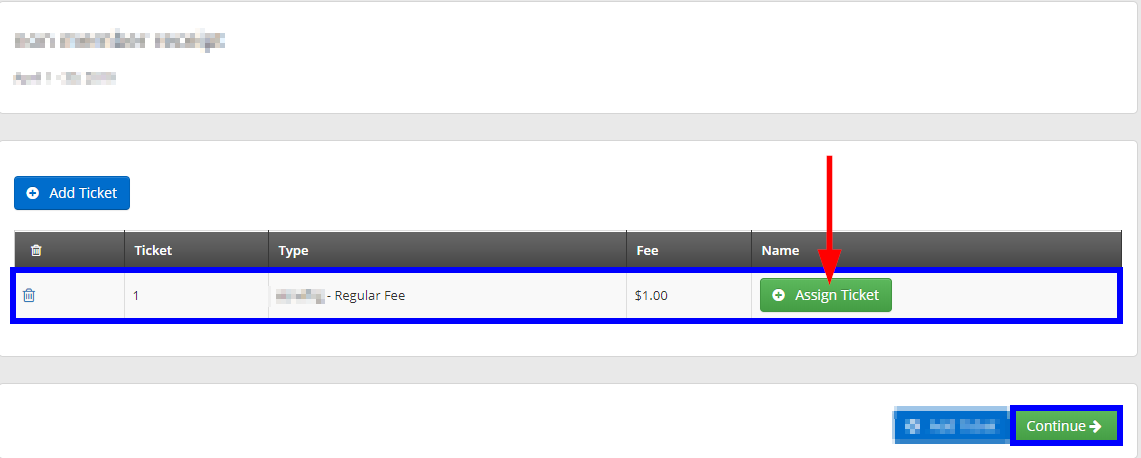
5. Assign the tickets you have purchased as necessary by clicking the ‘Assign Ticket’ button. If a ticket has an associated Event Form, you will be prompted to fill it out.
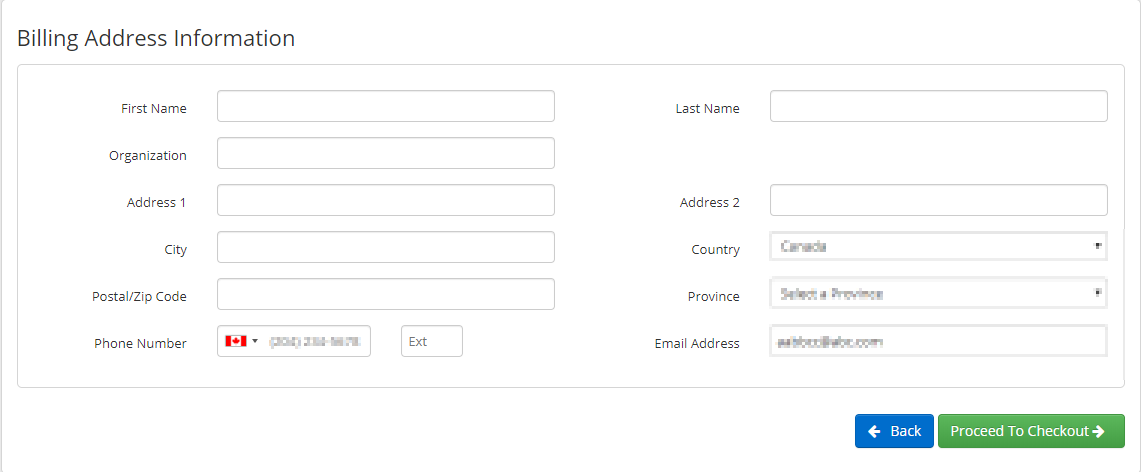
6. If your Event has a Form associated to the registration as a whole, you will be prompted to fill it out next. If not, you will be taken to the billing information screen.
7. You have completed most of the Event Registration, so your test can end here. If you would like to go all the way through and pay for this test registration, however, populate the Billing Information and proceed with the payment.
Congratulations, you now know how to test an Event Registration in Member365!