This article will provide you everything you need to know to create a basic event through Member365.
Finding The Event Management Screen
1. To get started, log into your Member365 administrator account.
2. In the top toolbar, click ‘Events’:
![]()
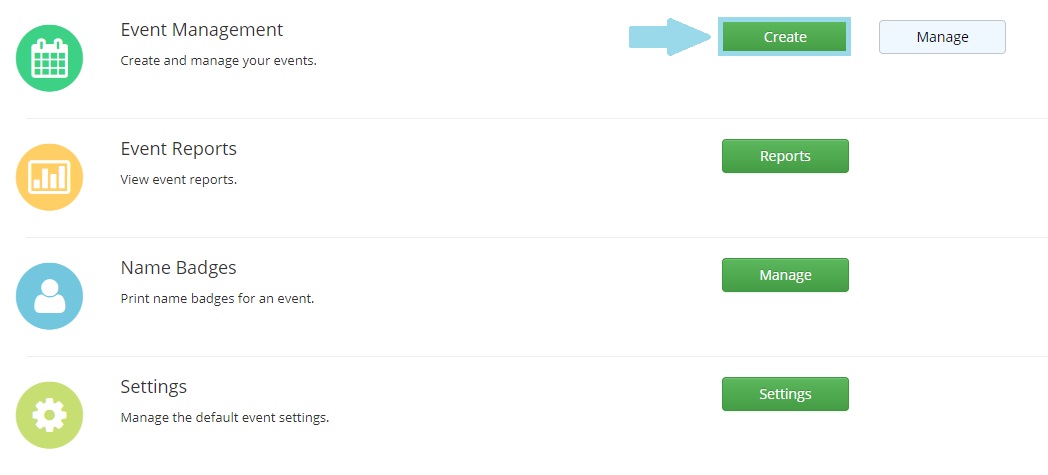
3. This will bring you to the Events screen, where you’ll click ‘Create’ in the ‘Event Managment’ section:
Creating Your Event
4. By now you’ll have found yourself on the ‘Create Event‘ screen. Under ‘Event Overview‘, input the name of your event and briefly describe it.

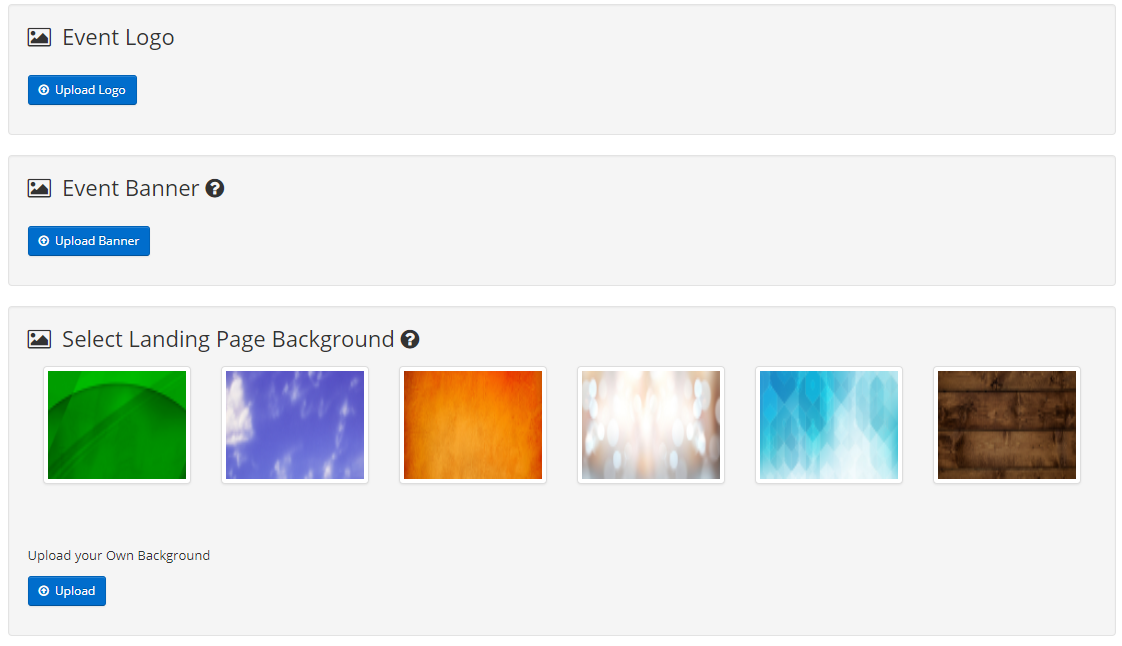
5. Continuing down the page, you’ll have the opportunity to add your logo, a banner, and a background to the event page Member365 will create for you. Feel free to pick from the files provided, or upload your own!
6. At the bottom of the page, you’ll notice on the right a small button titled ‘Location & Date’. Click it.

Location and Date Settings
Clicking will bring you to the Event Location and Date screen. Here’s how you use it:
Date Settings
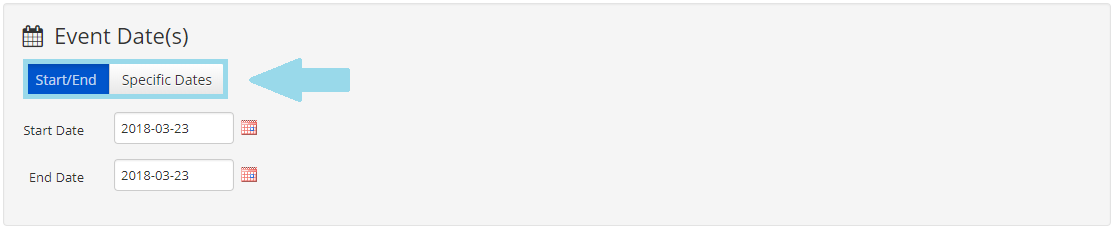
7. This screen will allow you to input important event location and date information. Near the top of the page, under ‘Event Date(s)‘, input the date or dates of your event.
Location Settings
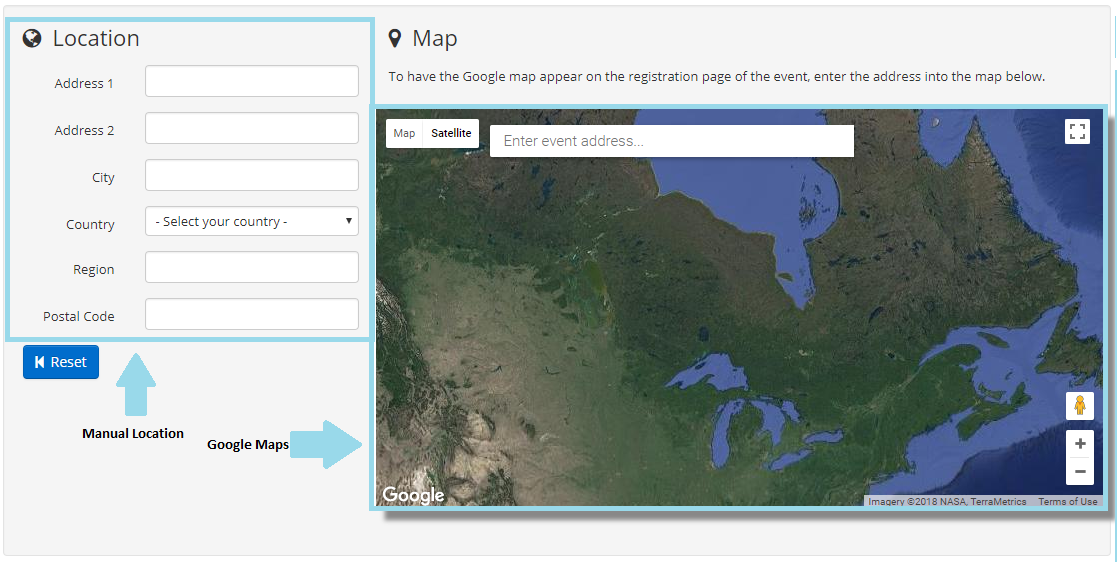
8. To input your event location, ‘Location’ settings will allow you to manually input the address of your event venue, or use Google Maps to do so automatically.
9. Once you’ve defined your event location, you’ll find a button saying ‘Registration’ at the bottom righthand corner of the page. Click it.
![]()
Configuring Registration
10. Clicking this button will bring you to a screen that allows you to set your event registration settings. This module offers lots of options for configuration to meet the needs of your events. We’ll step through these options here.
Registration
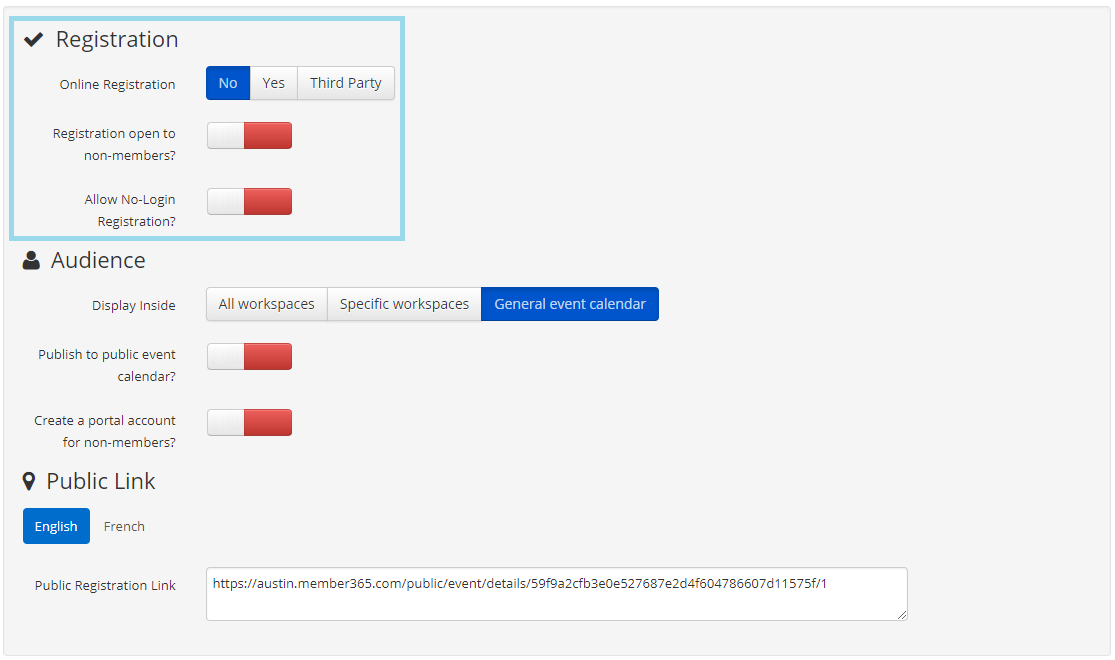
Online Registration: Do you want attendees to be able to RSVP to this event online? This button will allow you to allow or deny them to.
Registration Open to Non-Members?: This button allows you to designate your event as member-exclusive, or open to 3rd parties and/or the public.
Allow No-Login Registration?: Clicking this will allow members and non-members alike to register for your event without logging into their Member365 Member Portal.
Audience

Audience settings allow you to make your events specific to particular member sub-groups, your whole membership base, or the general public.
Display Inside: If you’ve set up Workspaces, this setting allows you to make your event visible to specific membership-subgroups. Set to ‘general event calendar’ if you’d like it visible to all your members.
Publish to Public Event Calendar?: If this event is open to the public, enable this setting to have Member365 automatically post it to your website event calendar.
Create A Portal Account For Non-Members?: If you’d like to engage your event attendees at your event and online, this setting allows registered attendees access to an event-specific member portal.
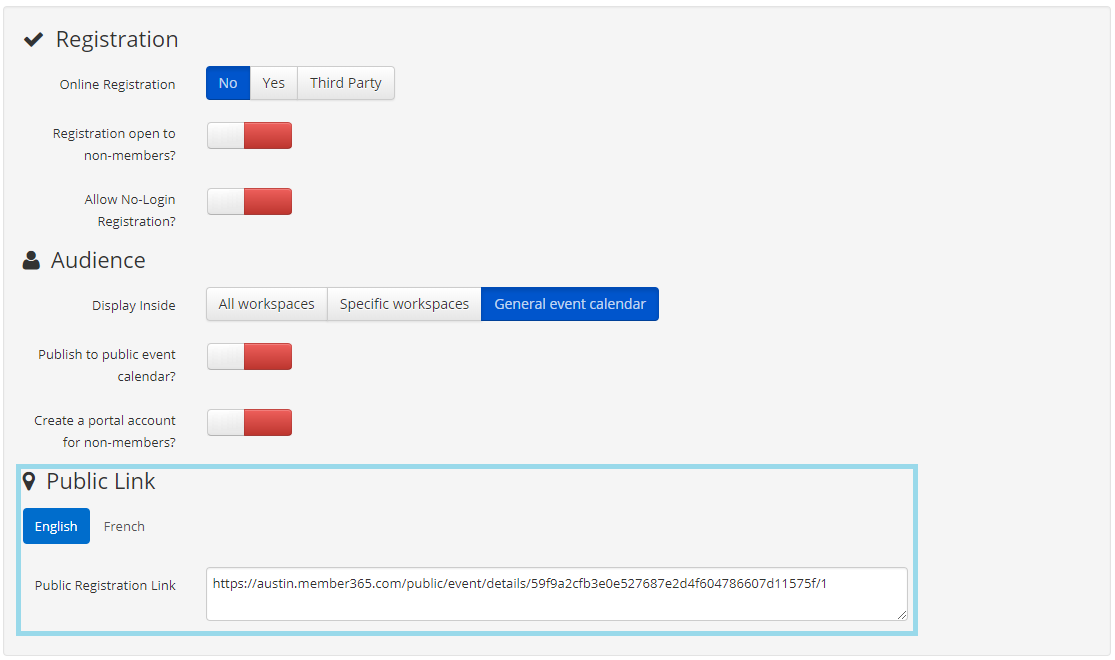
Public Link
Public Links are a quick and easy way to spread awareness of your events. Spread and share this link across email and social media to bring audiences from far and wide to your event!
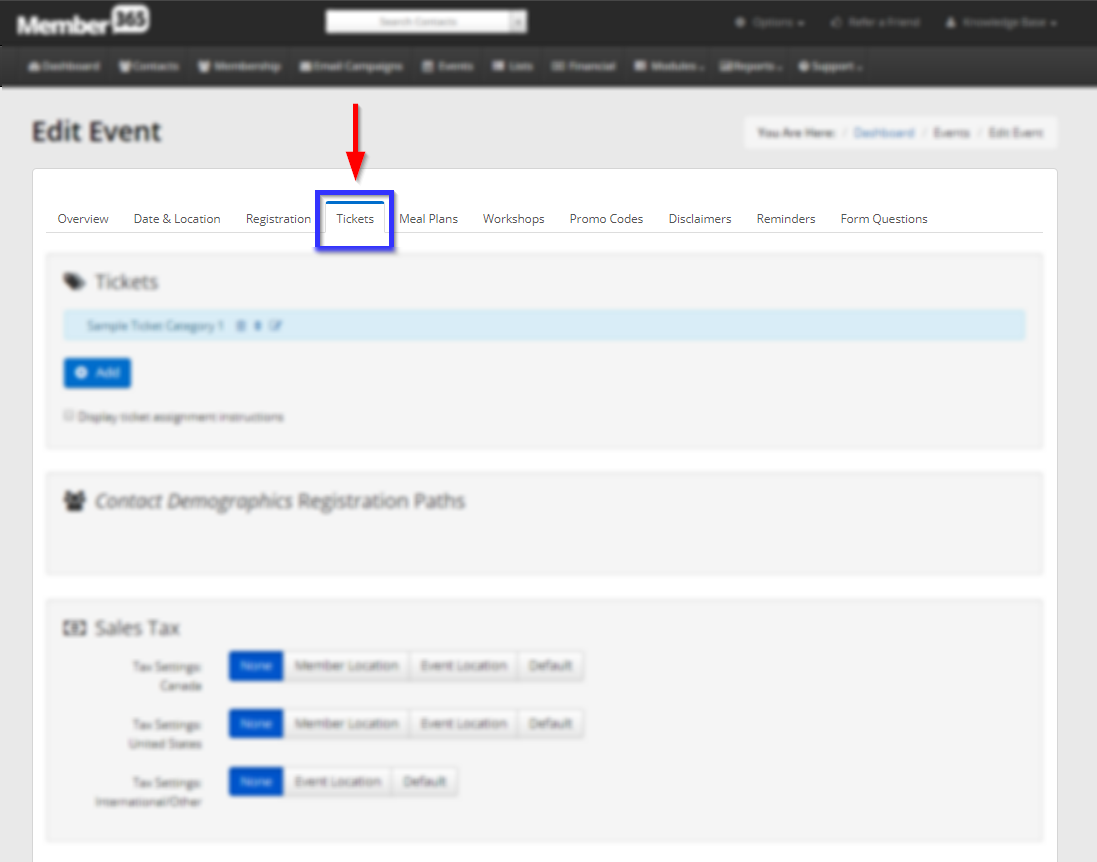
Create Event Tickets
11. Click the ‘Tickets’ tab in the ‘Edit Event’ screen.
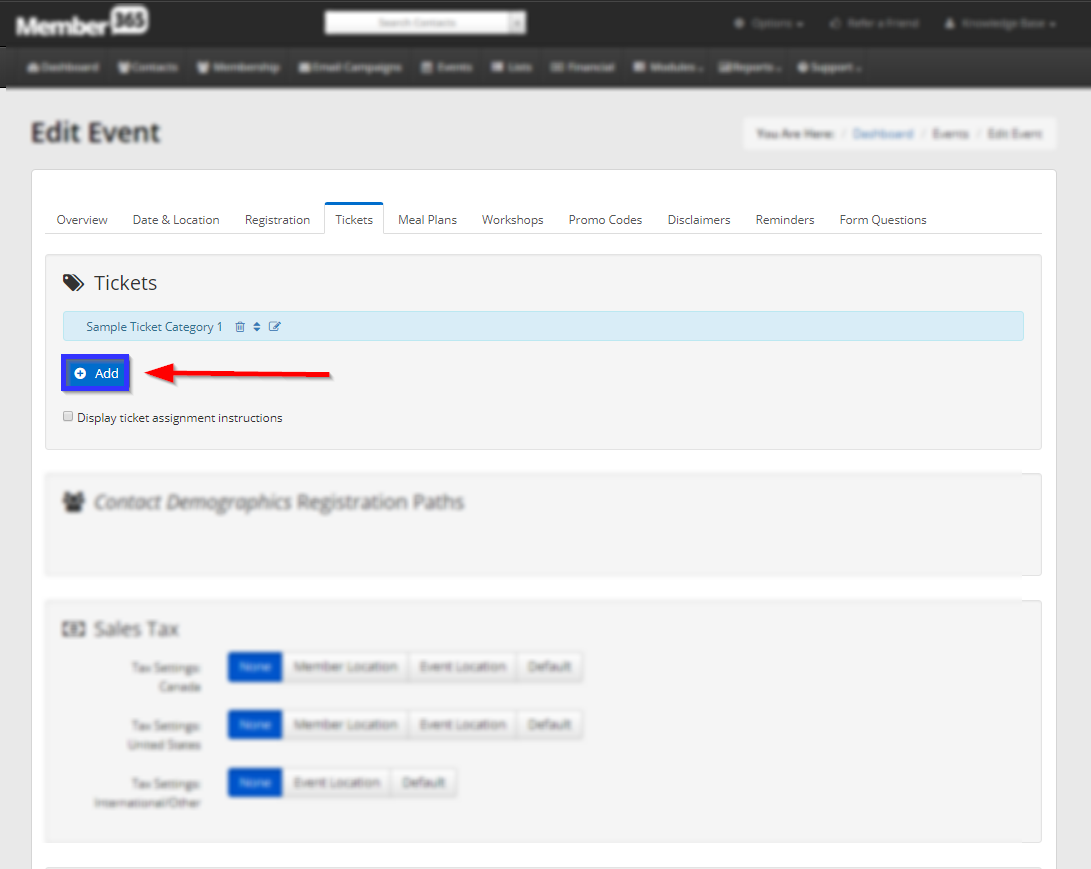
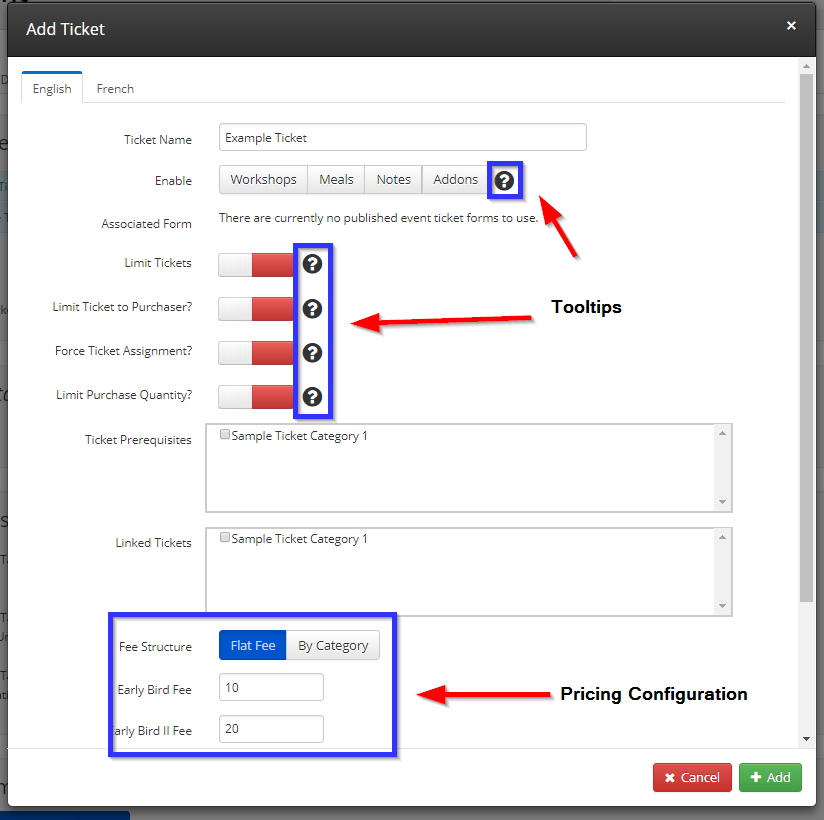
12. Under ‘Tickets’, click ‘+Add‘
13. Name your ticket, and apply the configuration and pricing options right for you. For the purpose of this tutorial, we’ll keep them all in the ‘off’ state (red).
14. Under ‘Fee Structure’, select ‘Flat Fee’, and input the prices you would like to charge for the ticket type you are creating.
15. Click ‘+Add‘
15. Set the Sales Tax settings for your ticket, and select the payment methods you would like to accept.
16. Click ‘Publish‘ to save your ticket type.
Finalizing Your Event
11. After you’ve configured your registration settings as you’d like them, all that’s required to finish your basic event is to click ‘Publish’! This will create your event in Member365, and allow you to begin registering attendees!
![]()
Advanced Settings
Member365 offers more settings to further configure your events. Learn to use these advanced settings by exploring our knowledgebase!