IMPORTANT NOTE: Member365 does not accept Automated Recurring Billing (ARB) with Pay Pal Pro.
In order to configure Member365 to recognize PayPal Pro as your credit card payment processor, you’ll need to first navigate to Member365’s Payment Gateway settings.
Finding Payment Gateway Settings
1. From your administrator dashboard, click ‘Financial‘ in the top toolbar.

2. From the menu, click ‘Settings’
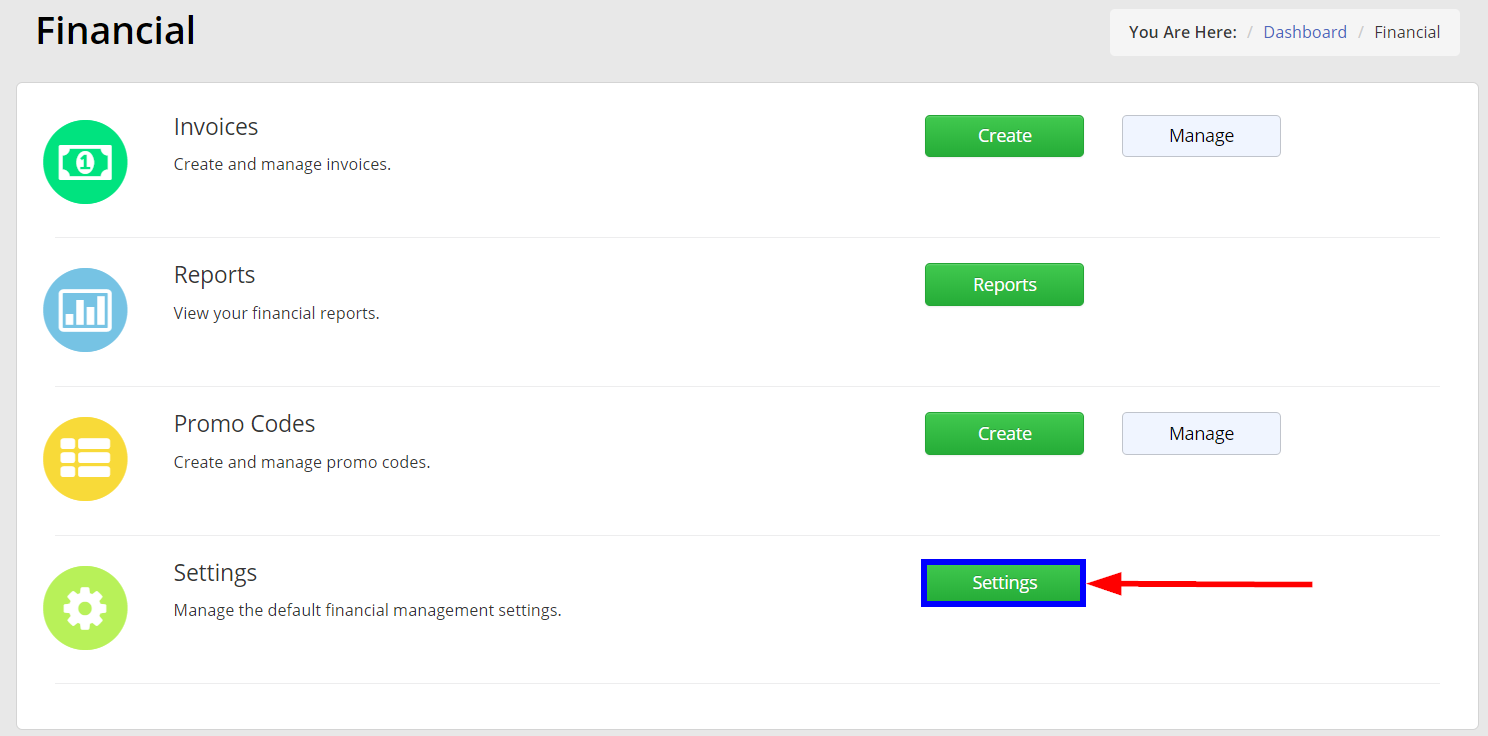
3. From the resulting options, click ‘Payment Gateways‘.
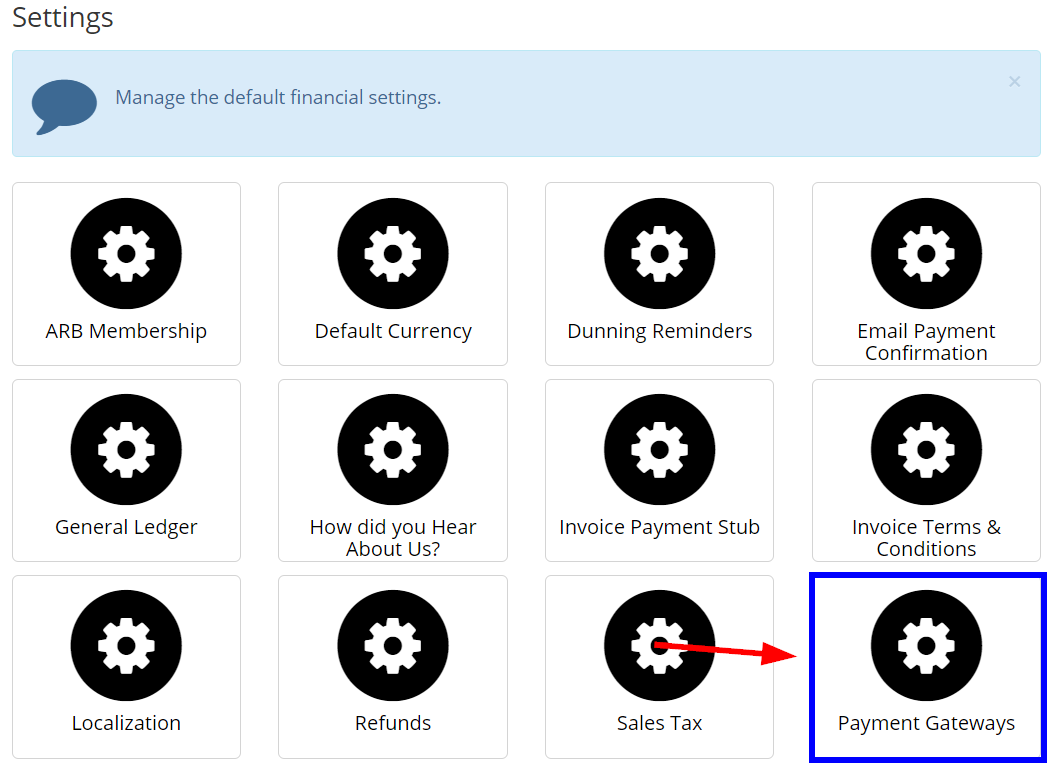
4. Click ‘Create Payment Gateway‘

5. Using the ‘Merchant’ field, select ‘Paypal‘ from the drop-down options. After doing so, you’ll see this:
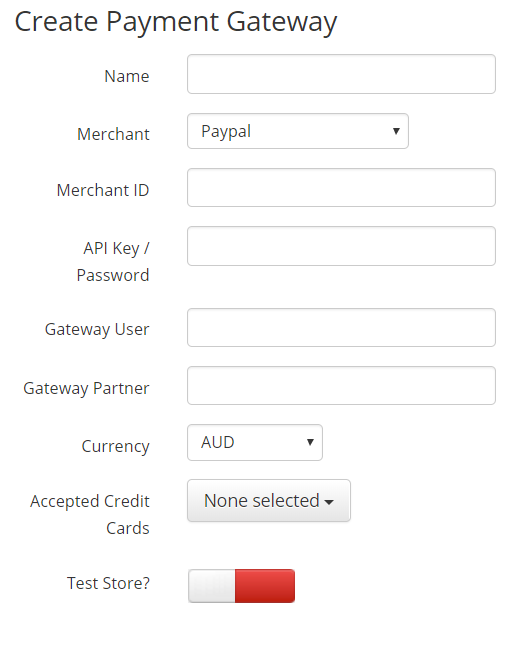
6. Fill the ‘Name’ field with any name you’d like.
In order to complete this process, you’ll need to get some information from your PayPal Pro Account to fill the remaining fields in Member365. Here’s how:
Finding your PayPal Pro Info
7. Log into your PayPal pro manager account here: https://manager.paypal.com.
8. Navigate to Account Administration, and click ‘Manage Users‘.
9. Select your desired user, and ensure that they are set to ‘Admin‘.
10. Find the information under PayPal’s ‘User Login Information’ section here to the ‘Create Payment Gateway’ screen in Member365 by using the guide below:
- Merchant ID = Merchant Login
- API Key / Password = Password
- Gateway User = User Login Name
- Gateway Partner = Partner
Configuring your Paypal Pro Account
To complete the process of integrating PayPal Pro as your payment gateway, you’ll need to do a small bit of configuration from your PayPal Pro account.
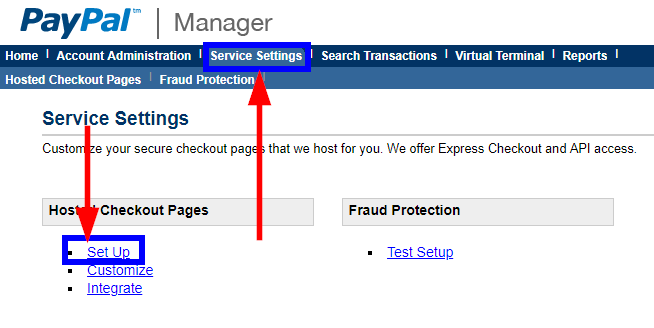
11. Log into your PayPal Manager account with the credentials provided to your organization from PayPal.
12. From the available tabs, click ‘Service Settings‘, then click ‘Set Up’ on the page that follows.
13. Scroll to the ‘Display Options on Payment Page’ section, and find ‘Enter Cancel URL’ and ‘Enter Error URL’ boxes. Fill them with the following links:
Enter Cancel URL: https://<YourURL>.member365.com/crm/api/purchaseApproved
Enter Error URL: https://<YourURL>.member365.com/crm/api/purchaseDeclined
14. Scroll down to the ‘Payment Confirmation’ sub-header. Choose to show ‘On my website’ for the confirmation page, choose ‘GET’ for the return method, and enter https://<YourURL>.member365.com/crm/api/purchaseApproved for the return URL.

15. As a final step, under the ‘Choose your settings’ menu in the setup screen, ensure ‘Transaction Process Mode’ is set to ‘Live’
![]()
Final Steps
16. Once you’ve copied all this information, finish configuring your payment gateway by selecting your currency type and the credit cards you would like to accept.
IMPORTANT NOTE: In Member365 gateway setup when selecting Credit Card types we only control what images will appear at the checkout (Visa/MC/AMEX logos) – we DO NOT control what Credit Cards are eligible for use. That is done within the gateway itself.
17. Confirm all your data is correct, and click ‘+ Create Payment Gateway’ to finish!