Administrators can register members manually. Follow the steps below to sign someone up for any membership given their email address.
Accessing Manual Registrations
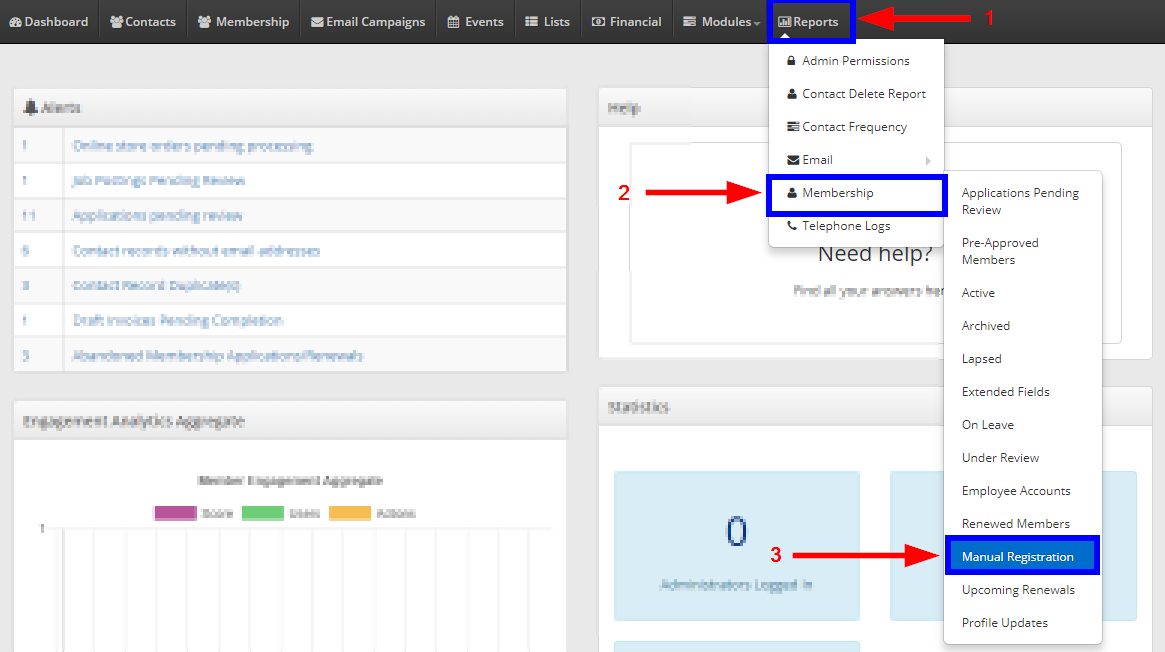
1. From the Member365 Administrator Dashboard, click ‘Reports’ at the top of the page.
2. Hover over ‘Membership’ on the drop-down menu that appears.
3. On the next drop-down window, click ‘Manual Registration’.
Registering Members
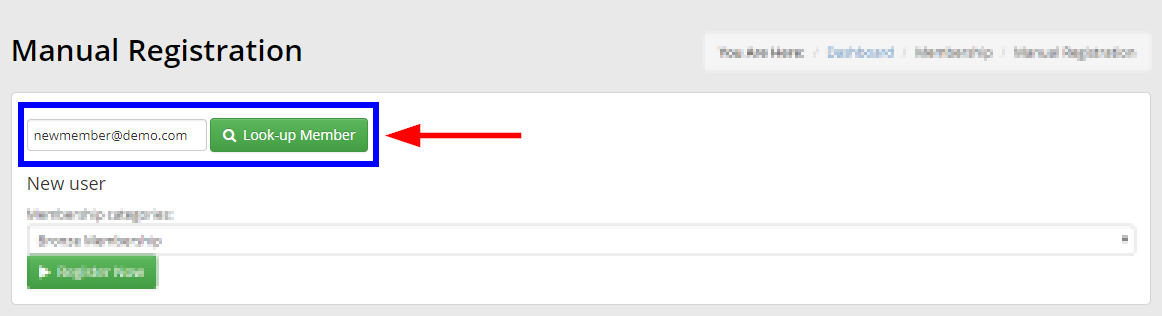
4. Enter the email address of the member you want to register. Click ‘Look-up Member.’
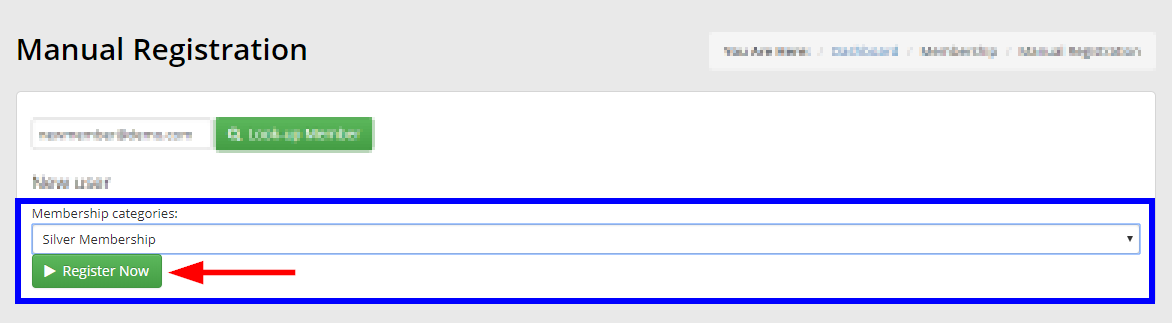
5. Select your desired Membership Category from the drop-down menu, then click ‘Register Now’.
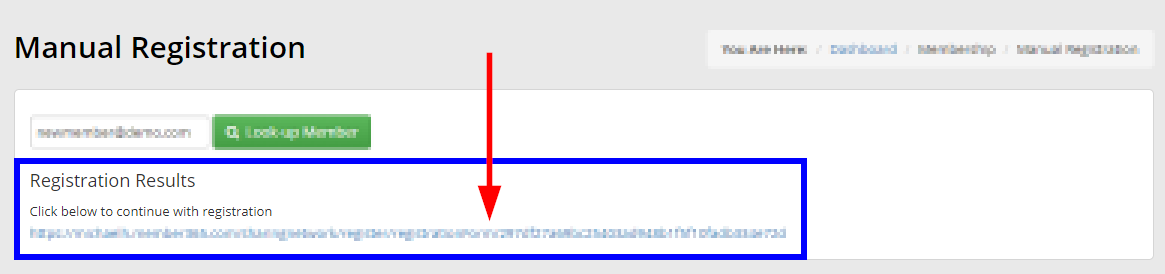
6. Click the auto-generated link to proceed with your manual registration.
7. You will be taken to the registration page for your selected Membership Category. Fill out the fields as if you are impersonating the member in question. Proceed through the Membership Application to complete your manual registration.

Congratulations, you have registered a member manually!