This article will describe how to manage the notifications you receive when a membership application is received and when a membership is renewed.
Selecting the Membership Category
1. Login to the Member365 Administrator Dashboard.
2. From the bar at the top of the dashboard, click on “Membership”.

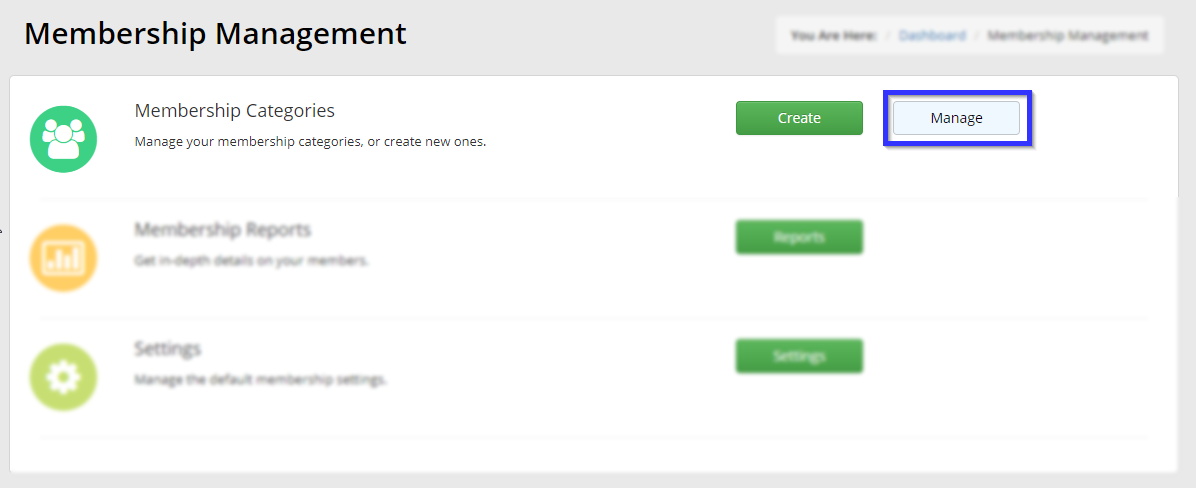
3. In the section labelled “Membership Categories”, click “Manage”.
4. Click the name of the membership category whose notifications you would like to manage.

Editing Membership Notification Settings
5. Click the tab labelled “Configuration”.

6. Click the sub-tab labelled “Membership”.

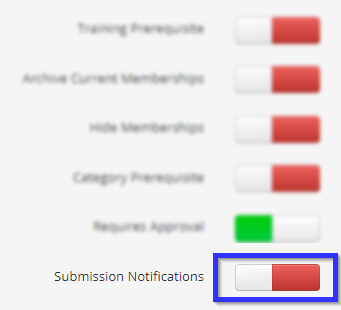
7. Scroll down until you see “Submission Notifications”; if it is not already green, click the space immediately left of the red button and ensure that it is green.
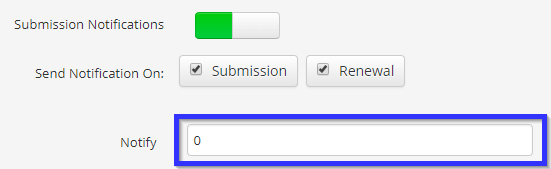
8. If successful, a number of options will appear immediately underneath. If the box by “Submission” is checked, then a notification will be sent to you upon receiving a new application, and if “Renewal” is checked, then a notification will be sent when a membership is renewed. The notifications will be sent to the email address in the box next to “Notify”; a user with the settings below would not receive email notifications until their email address had been entered.
9. Click “Publish” in the bottom-right corner to save your work.
Congratulations, you have turned on or edited your membership notification settings!