This article will guide you through providing access to individual members in a Workspace. This will also allow them to access the file library.
Accessing Workspace Settings
1. Log in to the Member365 Administrator Dashboard.
2. Delete everything after “.com/” in the URL in order to access the Member Portal.
3. Click on ‘Administration‘ in the top-right corner.

4. Find the name of the workspace to which you are trying to grant access, and click the pencil icon next to its name.

Granting Individual Access
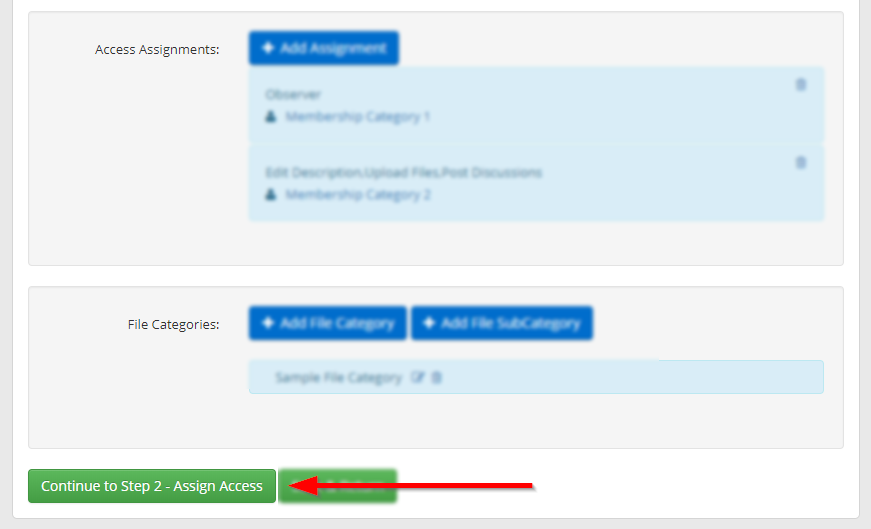
5. Scroll to the bottom of this page and click ‘Continue to Step 2 – Assign Access‘.
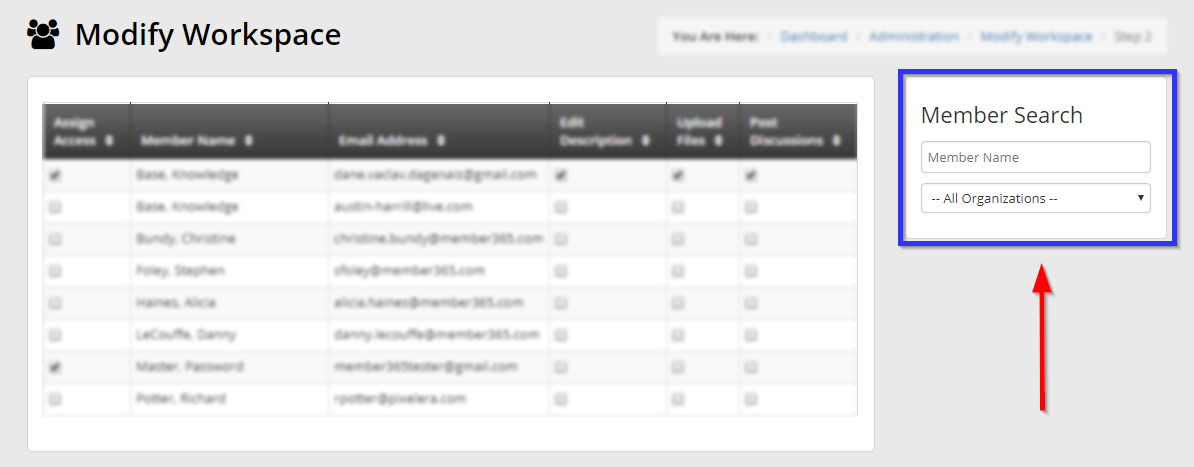
6. This page may present a list too long to search manually: if so, use the ‘Member Search‘ box to narrow down your list by either entering a member’s name in the text field or choosing an organization from the drop-down menu below it.
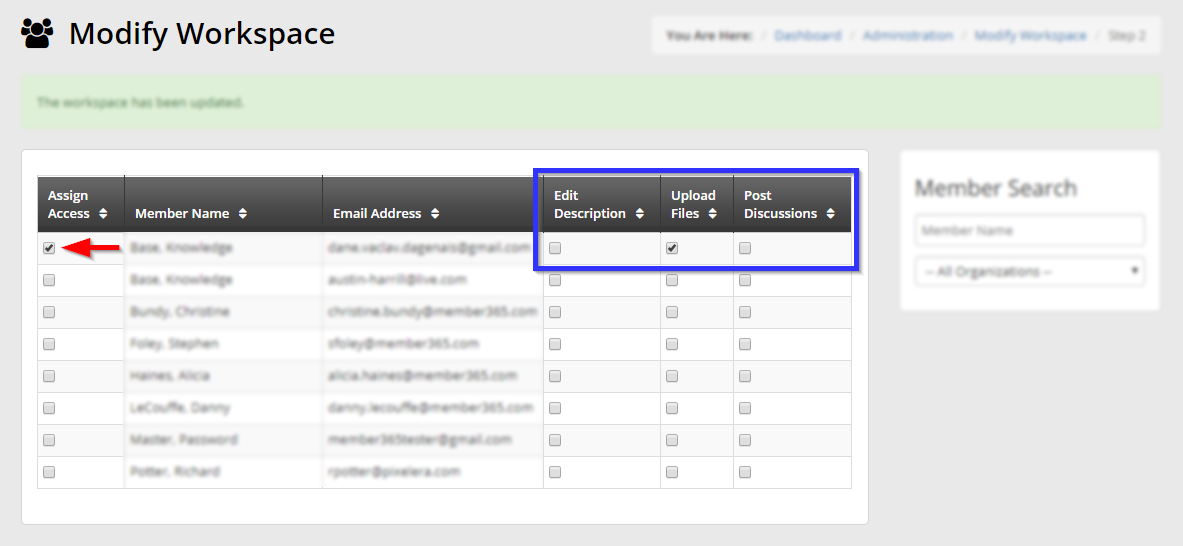
7. Once you have narrowed down the list, fill in the checkbox to the left of a member’s name to grant them access to the workspace and the files in its file library. The checkboxes on the right allow you to permit a member to either edit the workspace description, upload files to the file library, or post discussions.
Please note that enabling any of the three permissions on the right-hand side automatically fills the ‘Assign Access’ checkbox.
All changes are applied instantly, so there is no need to confirm with an additional ‘Save’ button, and changing the ‘Member Search‘ filters so that the list does not show the entry you just edited will not undo changes you have made.
Congratulations, you have just granted workspace and file library access to these members!