This article will guide you through creating a Member Portal job posting manually, as an administrator.
Creating a Job Posting
1. Log in to your Member365 Administrator Dashboard.
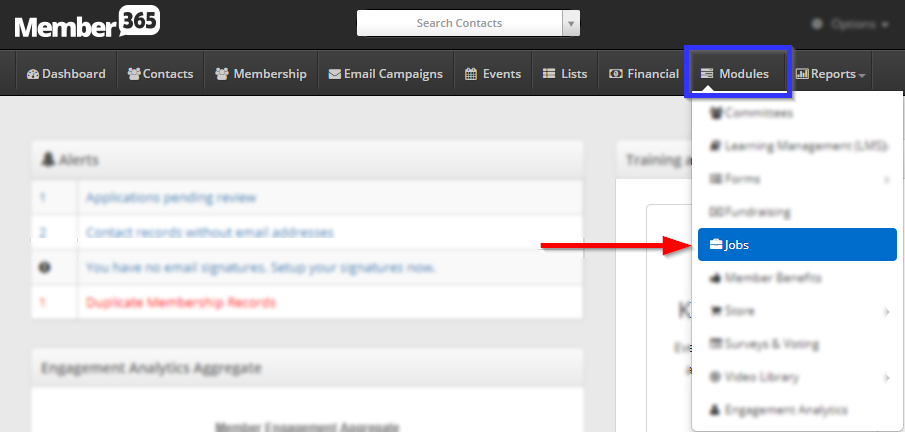
2. On the top bar, click ‘Modules‘, then click ‘Jobs‘ in the drop-down menu that appears.
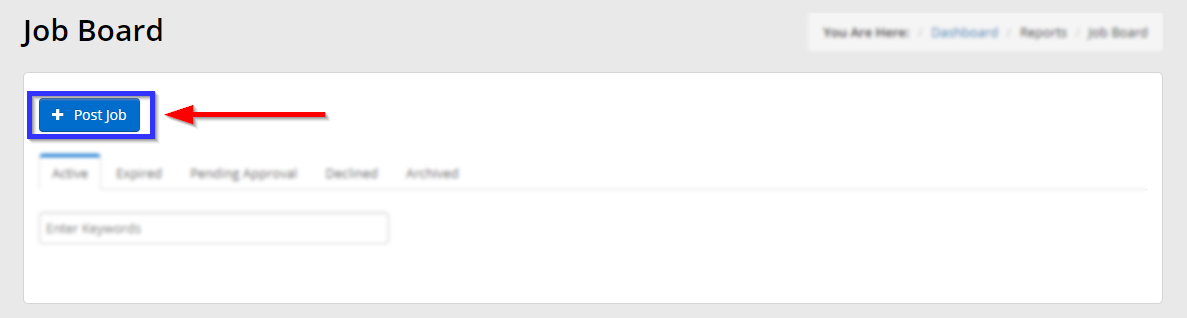
3. Click ‘Post Job‘.
4. Select the person who will act as the point of contact for this listing by entering their name in the ‘Search Contacts‘ bar, and then clicking their name when it appears.

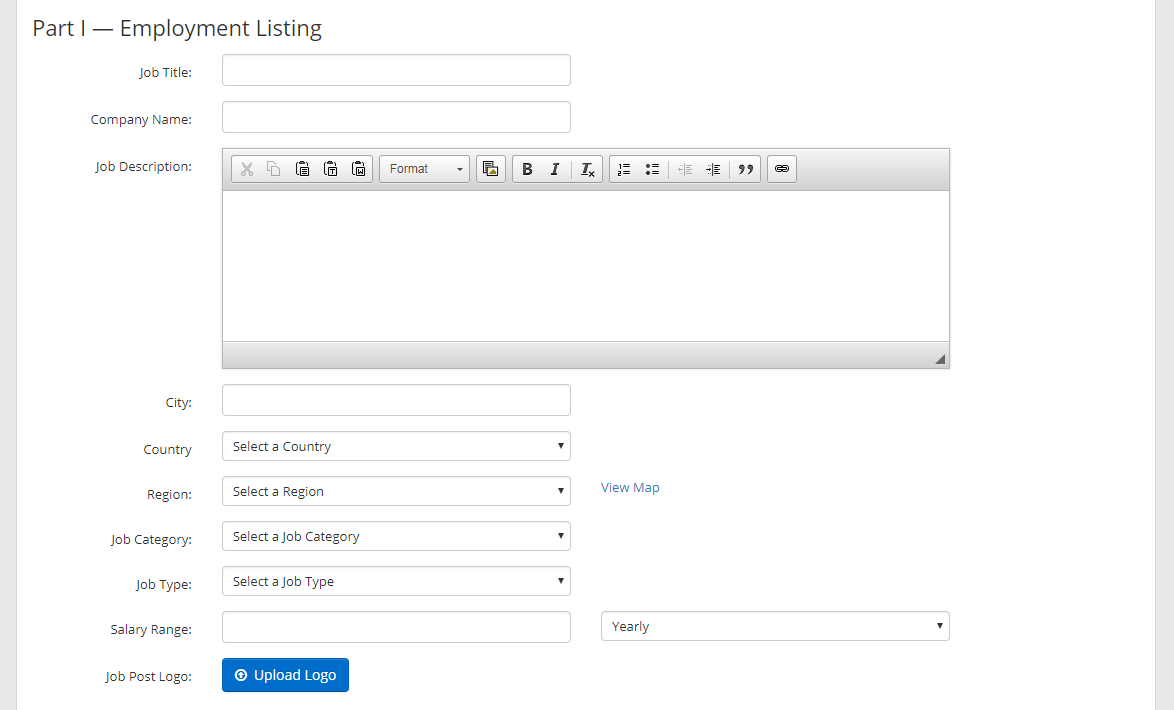
5. Selecting a contact will cause the rest of the form to appear. In the first part of the form, enter the basic details that will be displayed to the member: the job title, company name, job description, location, and financial details, as well as the option to add a logo or other image to this posting.
6. Scroll down to the second section to select how interested users can reply to the posting. Selecting ‘Email‘ or ‘Direct to Website‘ will cause a new text field to appear, and there you can specify an email address or website that will be linked to in the application. If you select ‘None‘, be sure to specify in the posting how members can apply.
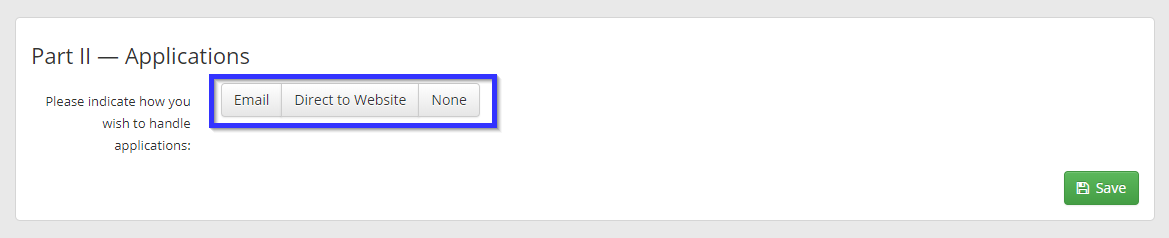
7. When you are done, click ‘Save‘.
Congratulations, you have created a new job posting!