This article will guide you through attaching a membership certificate to an application for a specific membership category: upon completing an application and being approved for this membership type, the member will receive the attached certificate.
This process will have to be repeated for every membership category to which you intend to provide a certificate.
Accessing Membership Categories
1. Log in to your Member365 Administrator Dashboard.
2. On the top bar, click ‘Membership‘.

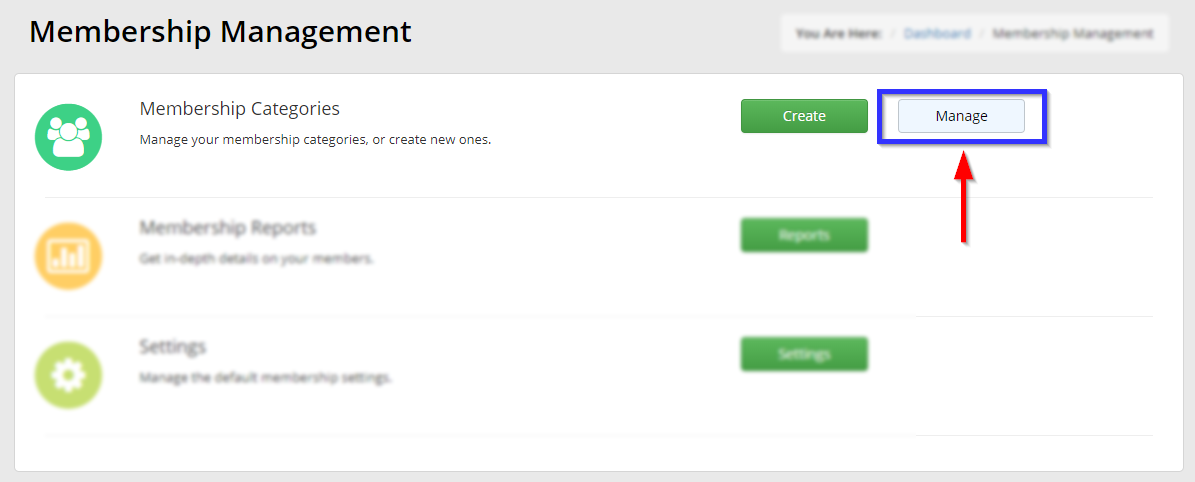
3. Next to ‘Membership Categories’, click ‘Manage‘.
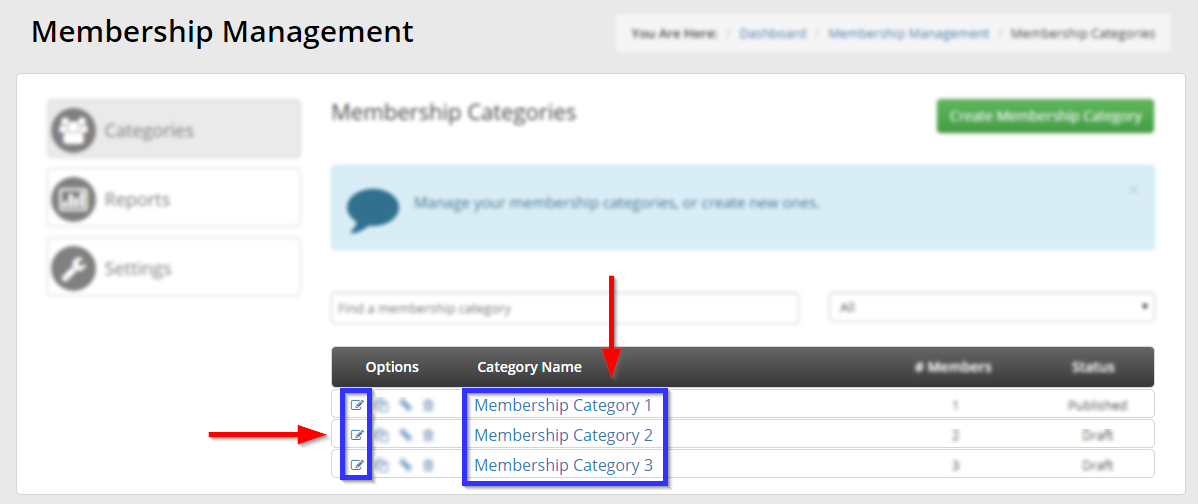
4. Find the membership category you are looking to edit, either by typing its name into the search bar or by locating it in the list, and click its name or the pen-and-paper icon to the left of its name.
Attaching a Certificate
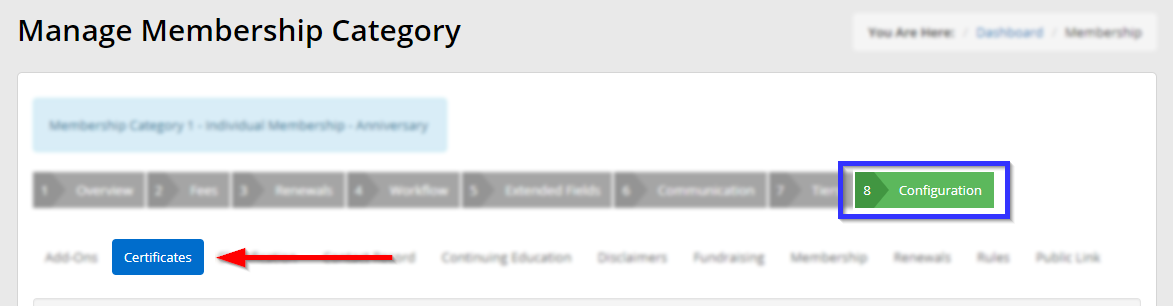
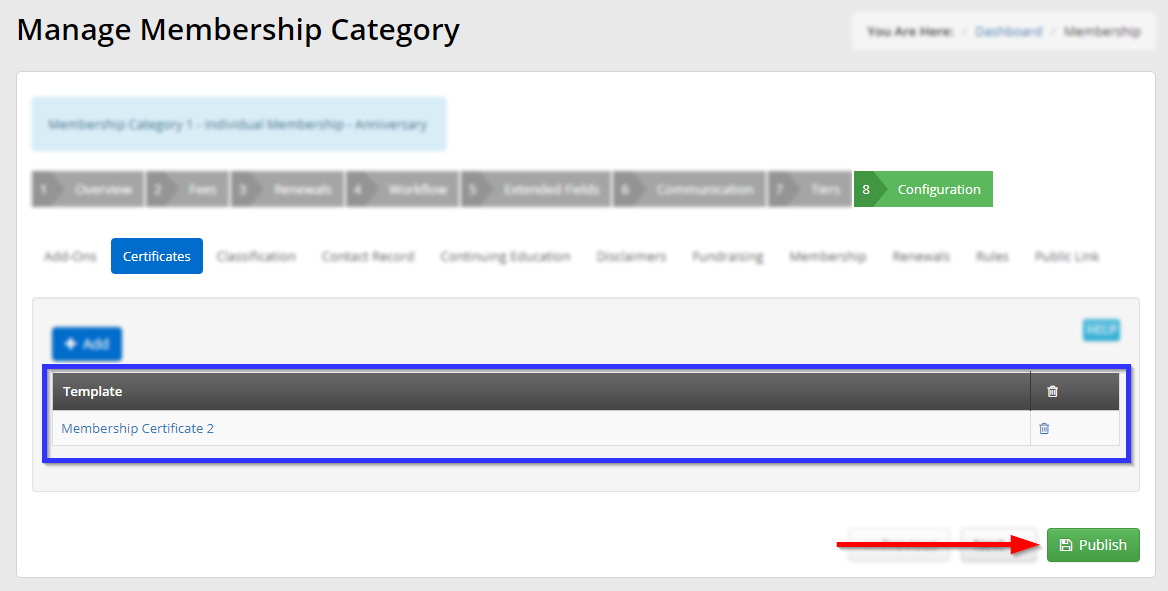
5. Click the ‘Configuration‘ tab, and then click the ‘Certificates‘ sub-tab.
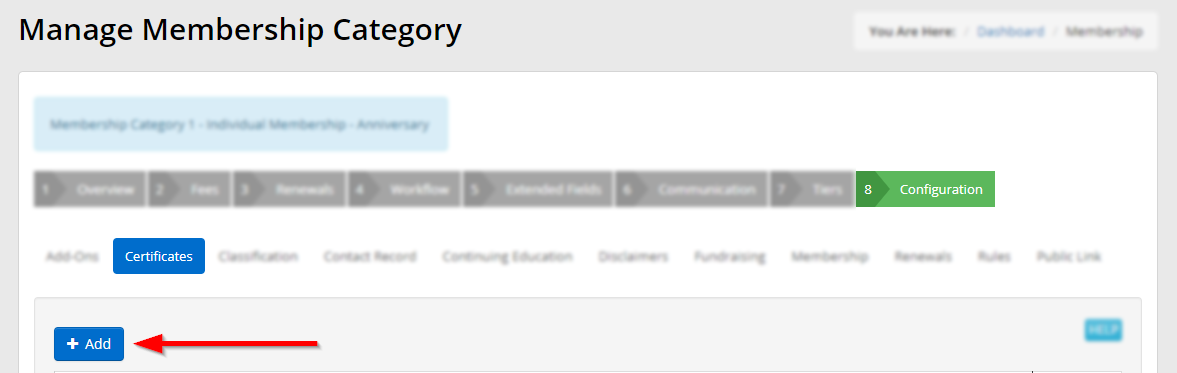
6. Click ‘Add‘.
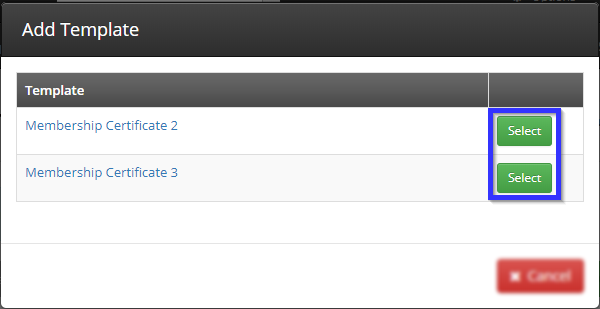
7. In the window that pops up, click the ‘Select‘ button next to the certificate you wish to add.
8. Check that your selected certificate shows up in the indicated list, and then click ‘Publish‘.
Congratulations, you have attached a certificate to this membership type! The member can access this certificate through the My Account menu in the Member Portal.