This article will guide you through reviewing and responding to inquiries submitted via the Inquiries feature.
Accessing Inquiries
1. Log in to your Member365 Administrator Dashboard.
2. On the top bar, click ‘Support‘, and then click ‘Inquiries‘ from the drop-down menu that appears.

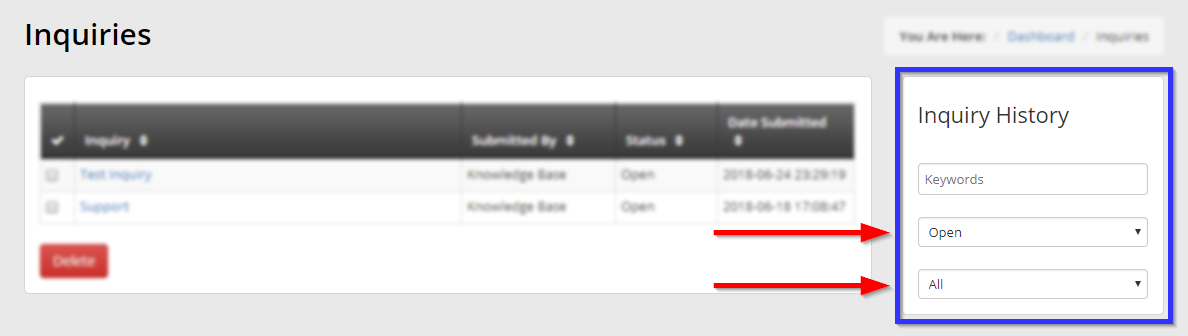
3. You will arrive at the inquiries page, which defaults to showing all open inquiries. If you wish, use the options in the ‘Inquiry History’ box to filter them: you may enter keywords into the text box, filter by status (‘All’, ‘Open’, ‘Closed’) via the first indicated drop-down menu
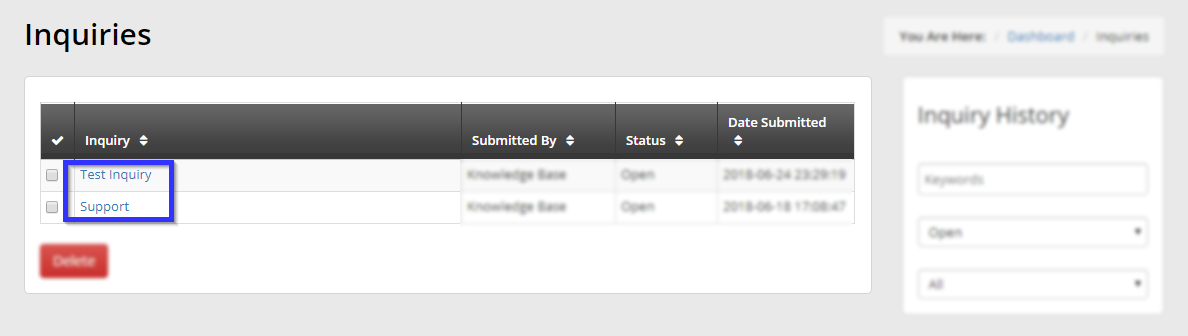
4. Once you have applied the desired filters, you may click the subject of an inquiry in the list to review the message within.
Reviewing and Replying to an Inquiry
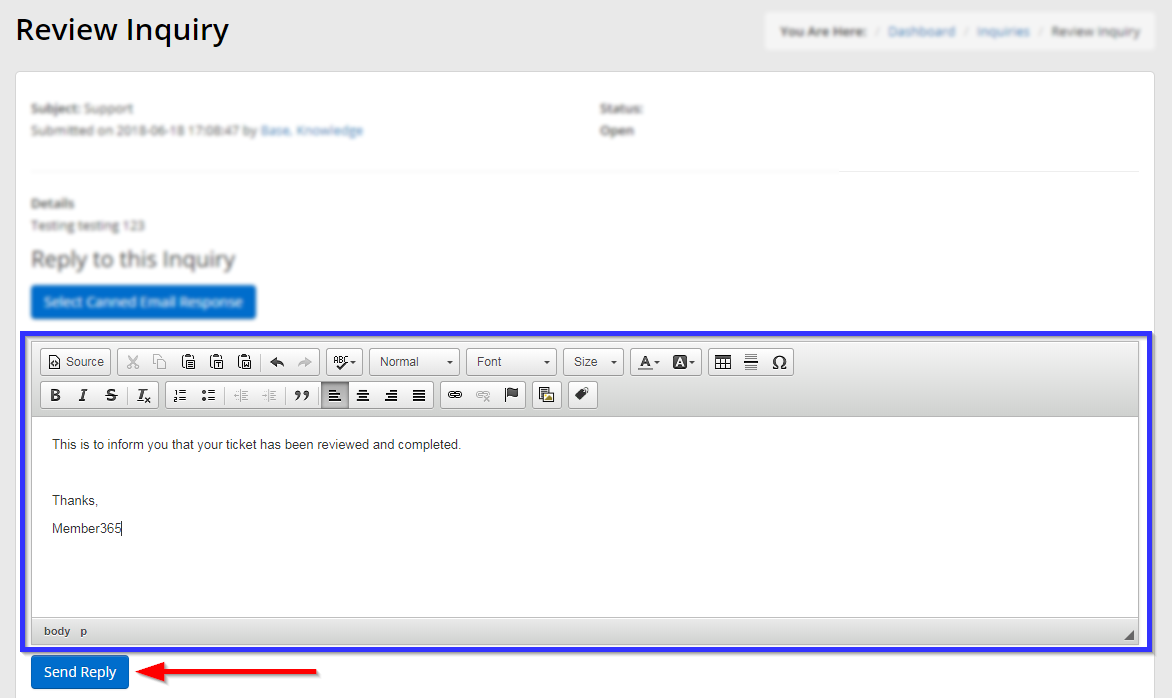
5. Once you have clicked a review, you can see the inquiry subject, sender name, submission date, and contents of the message in the first blue box indicated below:
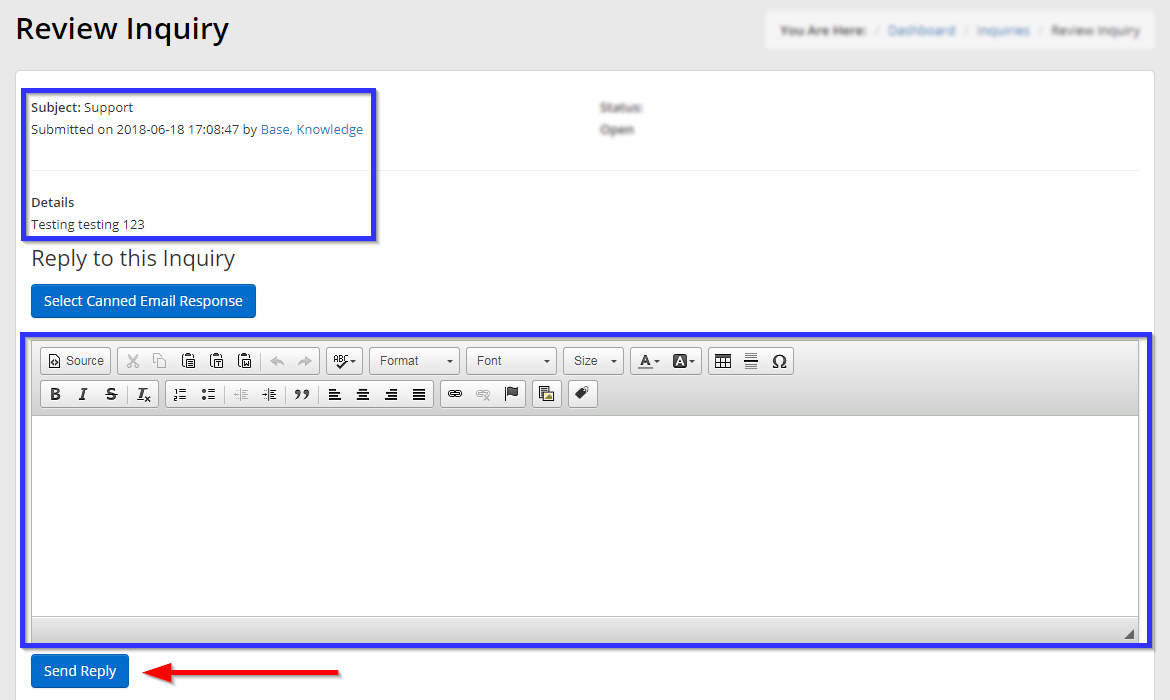
6. Use the rich text editor indicated in the second box to create your reply to this inquiry; click ‘Send Reply‘ when you are satisfied. Note that you may instead use a pre-made standard/canned response; consult our Knowledge Base article for guidance on how to create them. To use a standard, pre-made response, do not click ‘Send Reply‘ and instead continue reading.
Replying Using a Standard Response
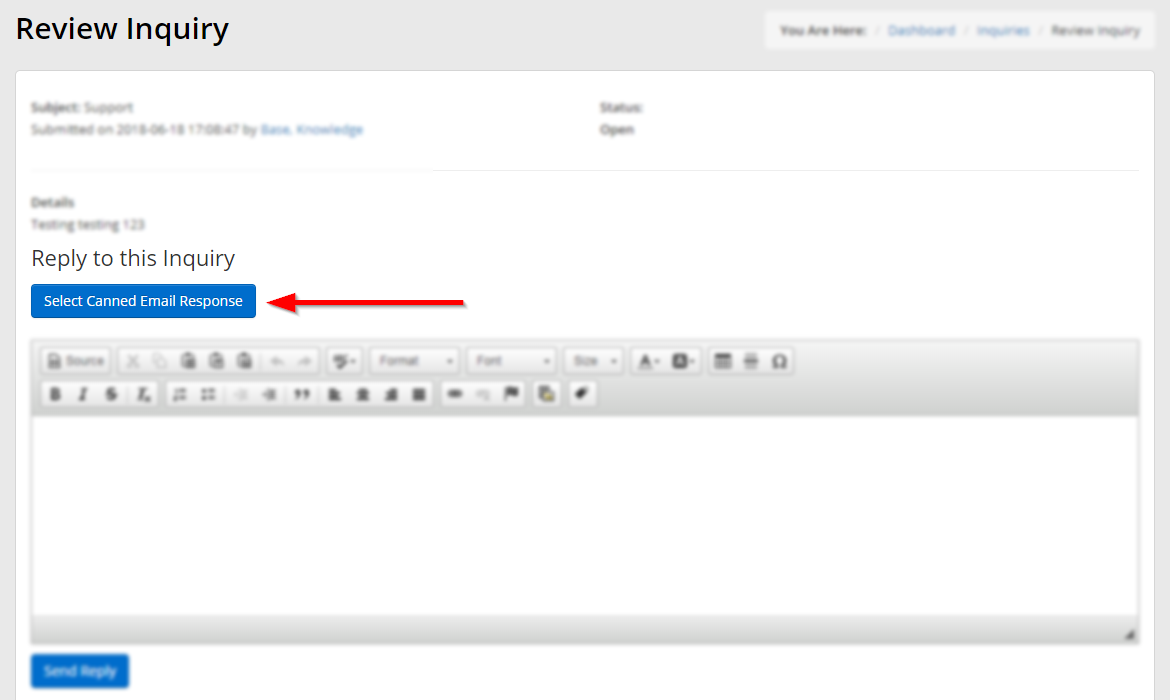
7. Click ‘Select Canned Email Response‘.
8. A new window will appear that lists all of your pre-made responses. Use the drop-down ‘Subject’ menu to filter this list to contain only standard responses that correspond to a given inquiry subject, or use the search field to directly search the text of these messages.

9. Click ‘View‘ to preview a message in a new window; the subject line will not be displayed, but the body of the message will appear in the text box:
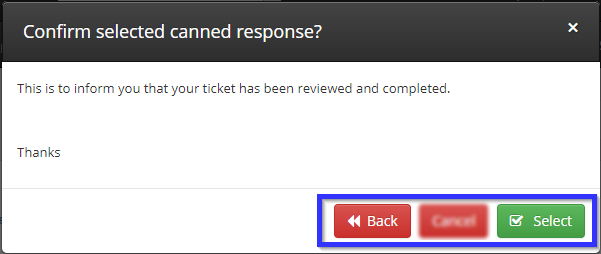
10. To use a specific reply, either click ‘Use‘ in the window shown after step 8, or ‘Select‘ in the window shown in step 9. Clicking ‘Back‘ in step 9 will return you to the selection interface from step 8.
11. If you have selected a pre-made reply, it will automatically fill the text editor shown in step 7.
Double-check the message, and be sure to fill in a signature and/or salutation if the pre-made message does not include one. Once satisfied, click ‘Send Reply‘.
Congratulations, you have reviewed and replied to an inquiry!