1. Home
  2. Membership Management
  3. How to use the Fee Calendar for Memberships

How to use the Fee Calendar for Memberships

For an Annual Membership in Member365, you can choose to charge different amounts for Applications and Renewals depending on the time of year.

The Fee Calendar can only be used for Annual Memberships. If you’re not familiar with the term ‘Annual Membership’, consult this Knowledge Base article.

Accessing the Fee Calendar

1. If you are creating a new Membership entirely and need guidance, consult this article first. Otherwise, click ‘Membership’ from the bar at the top of the Administrator Dashboard.

Image showing the 'Membership' button at the top of the page.

2. On the page that follows, click ‘Manage’ next to ‘Membership Categories’.

Image indicating the 'Manage' button next to 'Membership Categories' on the page for Membership Management.

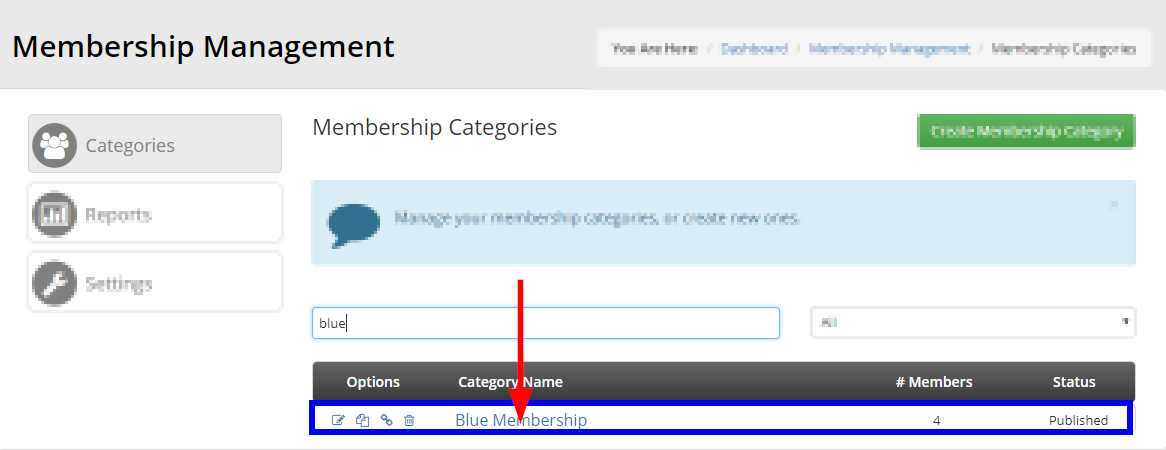
3. Locate the Membership Category you wish to edit, using the search bar if necessary, then click its name.

Image showing the list of Membership Categories, searching 'Blue' with an arrow pointing to a category named 'Blue Membership'.

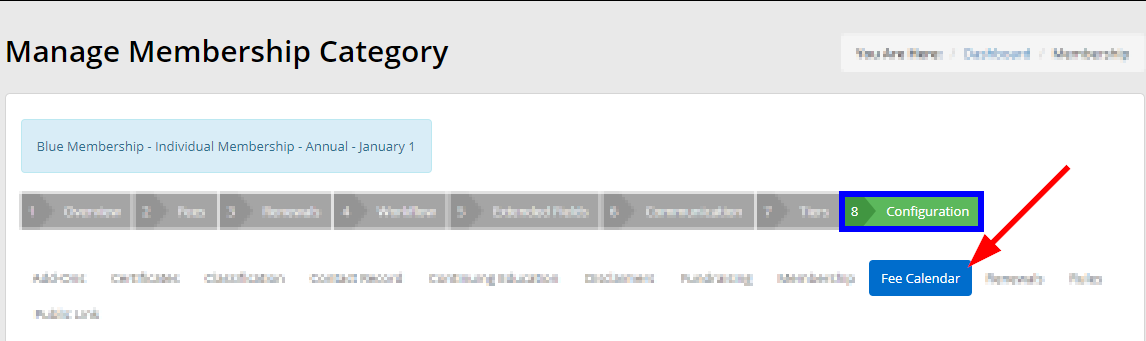
4. From the list of tabs, click ‘Configuration’, then click ‘Fee Calendar’ from the list of sub-tabs that appears.

Image indicating the 'Configuration' tab, and the 'Fee Calendar' sub-tab, seen when editing an Annual Membership Category.

Configuring the Fee Calendar

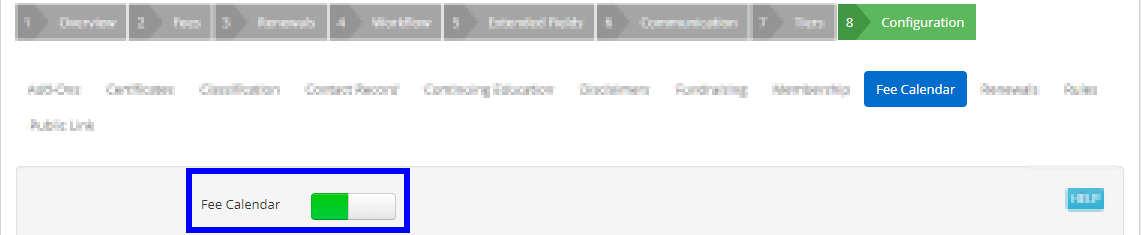
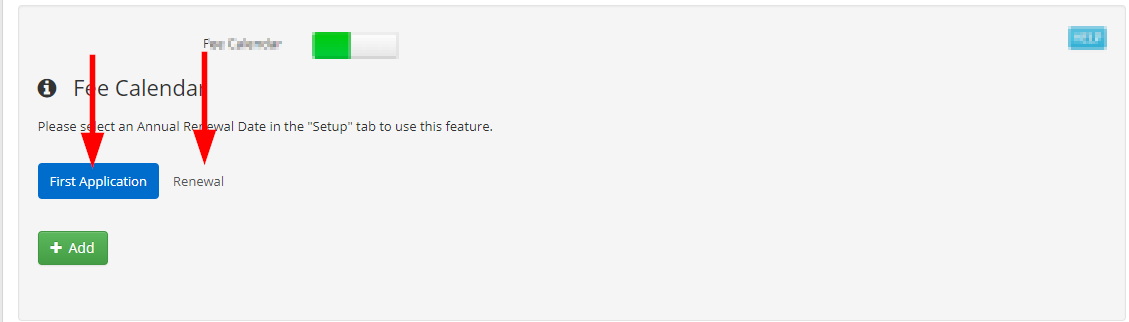
5. To configure your Fee Calendar, it must be toggled ON to green.

Image showing the Fee Calendar toggle under the 'Configuration' -> 'Fee Calendar' series of tabs. It is toggled ON to green.

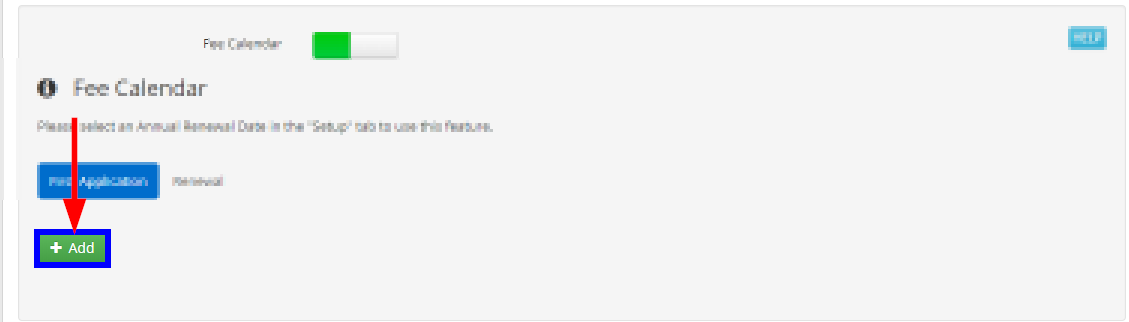
6. Click the button labeled ‘+ Add’ to add your first rule.

Image indicating the '+ Add' button, seen when configuring a Fee Calendar.

Keep in mind that you will always have two Fee Calendars: one for Applications, and one for Renewals. If you want a calendar for both, you need to configure both separately.

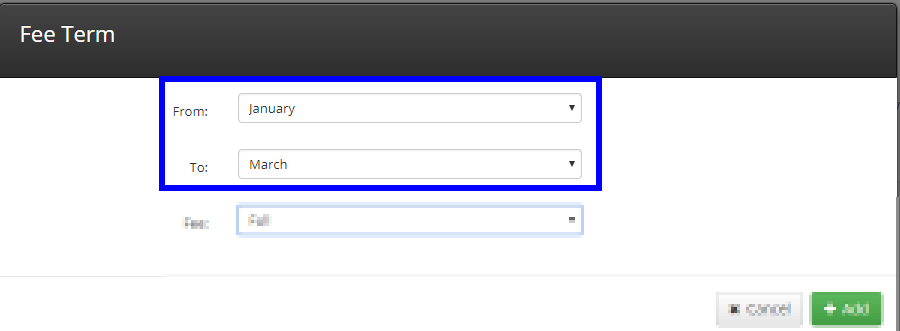
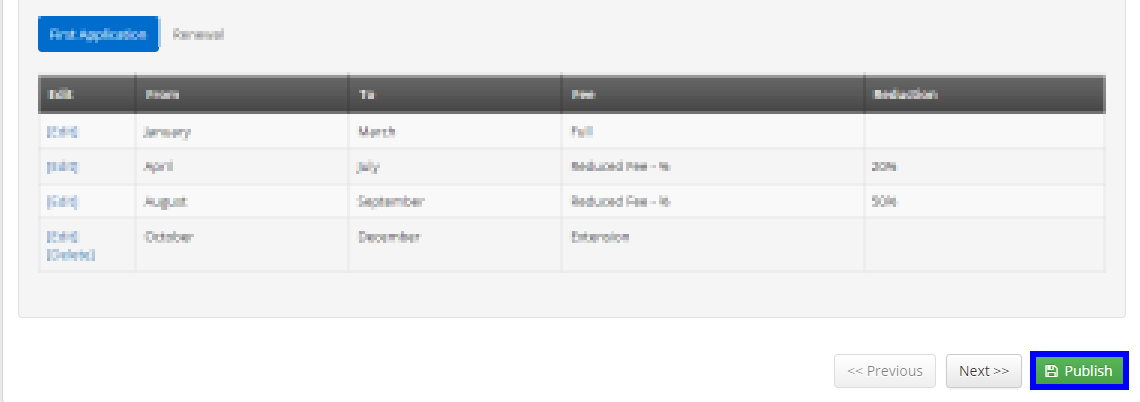
7. You are adding a new rule for your Membership Fee. Specify the Fee Term for which this rule will apply using the ‘From’ and ‘To’ drop-down menus.

Image showing the 'Fee Term' window, specifying January as the From date and March as the To date.

Following this screenshot, the fee we’re specifying will be charged on applications received from January 1st to March 31st.

8. Choose the type of fee that will be charged during this Fee Term using the ‘Fee’ drop-down menu. You have four options.

Image indicating the 'Fee' drop-down menu when adding a Fee Term. The options are 'Full', 'Reduced Fee - %', 'Reduced Fee - Flat', and 'Extension'.

Full – Select this option to charge the normal fee during this Fee Term, as specified by the ‘Fees’ tab in your Membership Category’s setup.

Reduced Fee – % – Select this option to deduct a percentage off the Membership Fee during the Fee Term. You will be prompted to enter a value. Enter a negative percentage to increase the fee during the Fee Term.

Reduced Fee – Flat – Select this option to deduct a fixed amount off the Membership Fee during the Fee Term. You will be prompted to enter a value. Enter a negative value to increase the fee during the Fee Term.

Extension  – Select this option to charge the normal amount, but extend the Membership’s renewal an additional year.

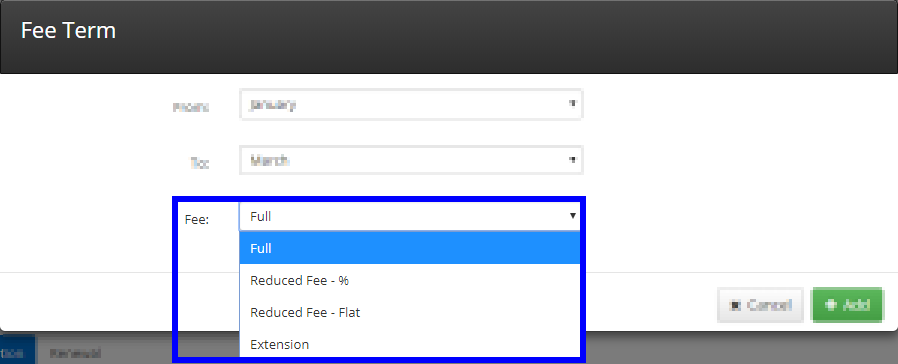
The ‘Extension’ option is useful to put near the end of your renewal period. Suppose your Renewal Date is January 1st, but a member applied in December. The ‘Extension’ Fee Term will extend their membership an additional year: they are extended until the following January. This eliminates the issue of members applying for an Annual Membership, but needing to renew just one month later.

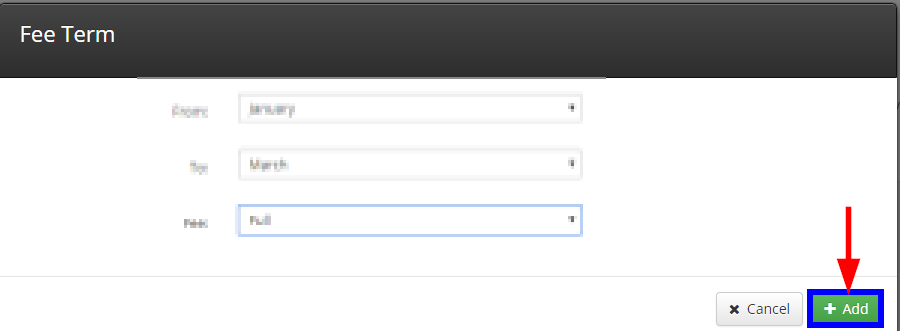
9. Click ‘Add’ to confirm your Fee Term.

Image indicating the 'Add' button when configuring a Fee Term.

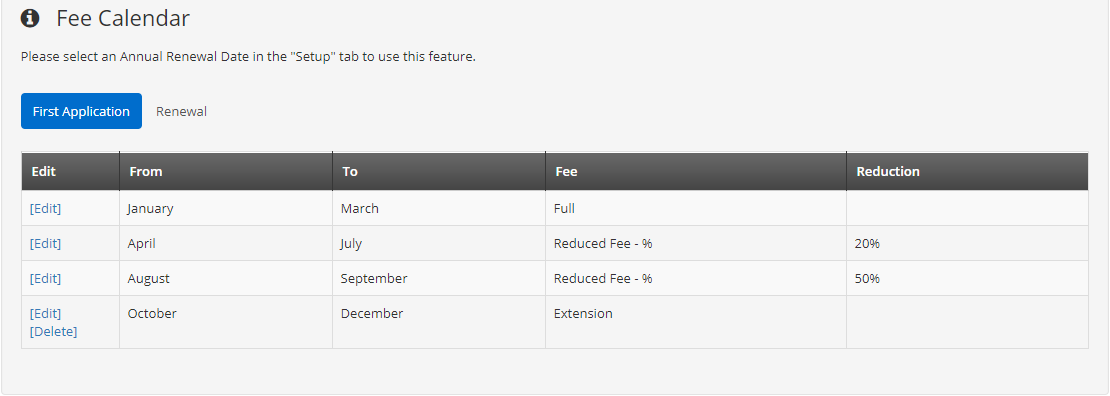
10. Complete the workflow for your entire year by adding more Fee Terms – repeating steps 6 through 9 – until every month is covered.

Image showing an example Fee Calendar for a full year, from January though to December.

The Fee Calendar for ‘First Application’ is separate from the Fee Calendar for ‘Renewal’. 

If you want Fee Calendars for both, you need to configure each separately. Click the ‘Renewal’ button once you’re finished configuring ‘First Application’ to toggle over to your Renewal Calendar settings.

Image indicating the 'First Application' and 'Renewal' buttons seen when configuring a Fee Calendar.

11. Remember to click ‘Publish’ at the bottom of the page to save all of the changes you’ve made.

Image showing the 'Publish' button that needs to be clicked to confirm all changes.


Congratulations, you now know how to use the Fee Calendar for your Annual Memberships in Member365.

Was this article helpful?

Related Articles