This article will guide you through the process of unlocking a member’s account after it has been locked automatically by Member365 — something that is usually a consequence of a member having tried to log in with an incorrect or improperly typed password too many times.
There are three ways to unlock an automatically locked account.
Automated Response Email
When a user is locked out of their account, an email will be sent to the associated address that features a link that will allow them to log in to the portal with a new password, which will appear in plaintext in the email. The email will look like the following image:
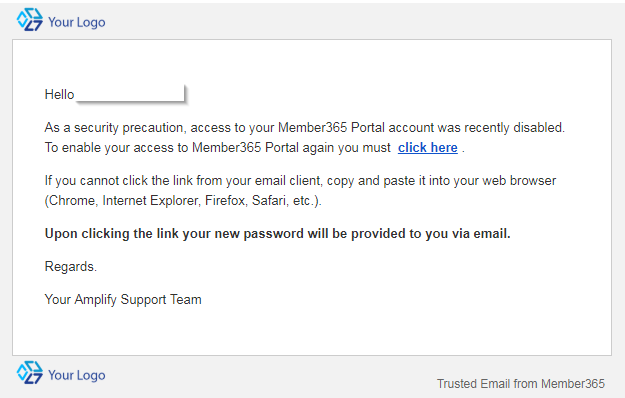
The member should follow the link and input the new password in order to regain access, after which they can enter a new password.
Creating and Sending New Login Credentials
As an administrator, you can create a new password and send it to the member.
1. Log into your Member365 Administrator Dashboard.
2. In the top bar, click the search bar labelled ‘Search Contacts‘, enter the name of the contact whose access you are trying to restore, and click their name in the drop-down menu that appears.

3. On the left sidebar of the Contact Record, click the ‘Reset Password’ button.

4. In the window that pops up, specify a new password, enter it again next to ‘Confirm Password’, click the ‘Email New Password to Contact?’ checkbox., and click ‘Confirm‘.
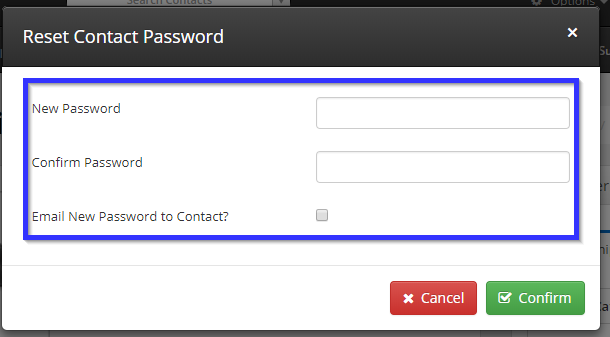
This will result in the contact being sent a new password which they can now use to gain access to the Member Portal.
Unlocking an Account From the Contact Details Page
This method allows an administrator to directly unlock the member’s account, allowing them to continue to use their old password.
1. Log into your Member365 Administrator Dashboard.
2. In the top bar, click the search bar labelled ‘Search Contacts‘, enter the name of the contact whose access you are trying to restore, and click their name in the drop-down menu that appears.
3. On the contact details page, look for and click a button labelled ‘Re-enable‘ on the left-hand side.
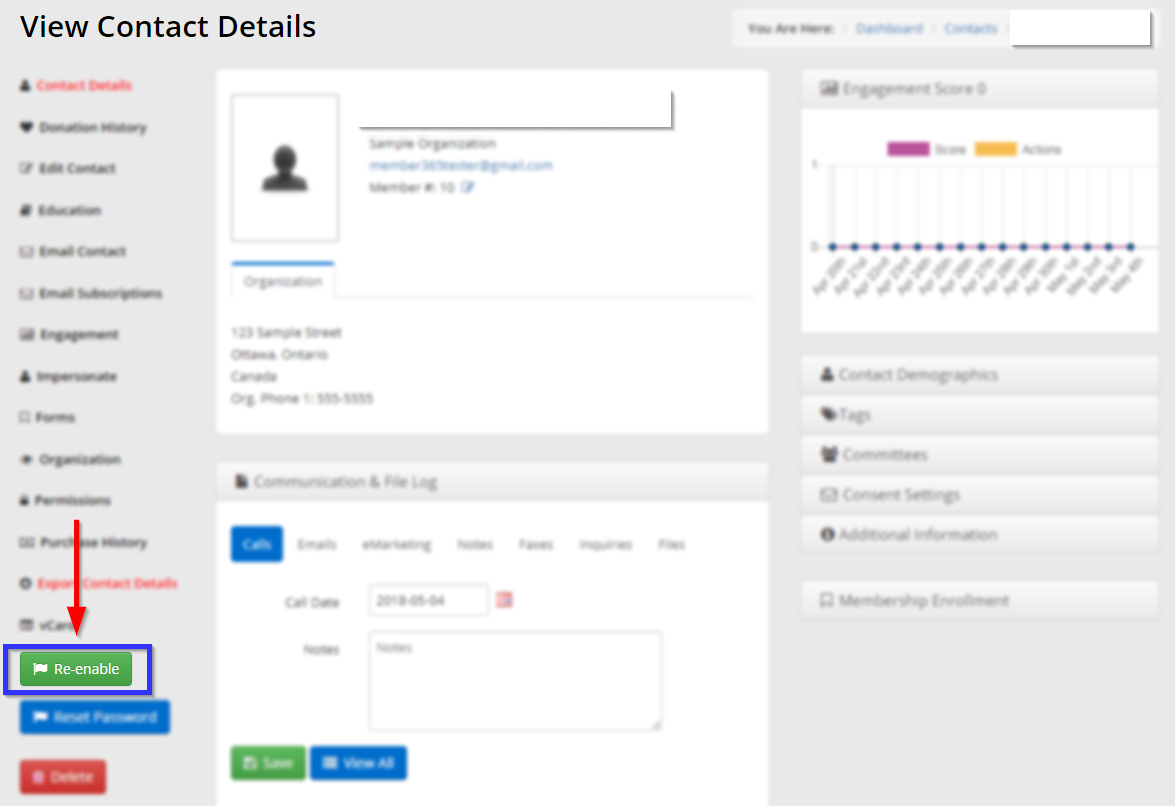
The member will now be able to log in once again, and will be able to use their previous password — provided that they have not clicked the link in the email described in the first method, as clicking this link automatically resets their password.
Congratulations, you have successfully restored access to a locked account!