This article will guide you through turning an LMS course into a featured course: this means that when a user accesses the Training Zone section of the Member Portal, they will see a banner advertising the course.
If you’d like to ensure that your members are aware of and have easy access to a specific course, this guide is for you!
Accessing Course Configuration
1. Log in to your Member365 Administrator Dashboard.
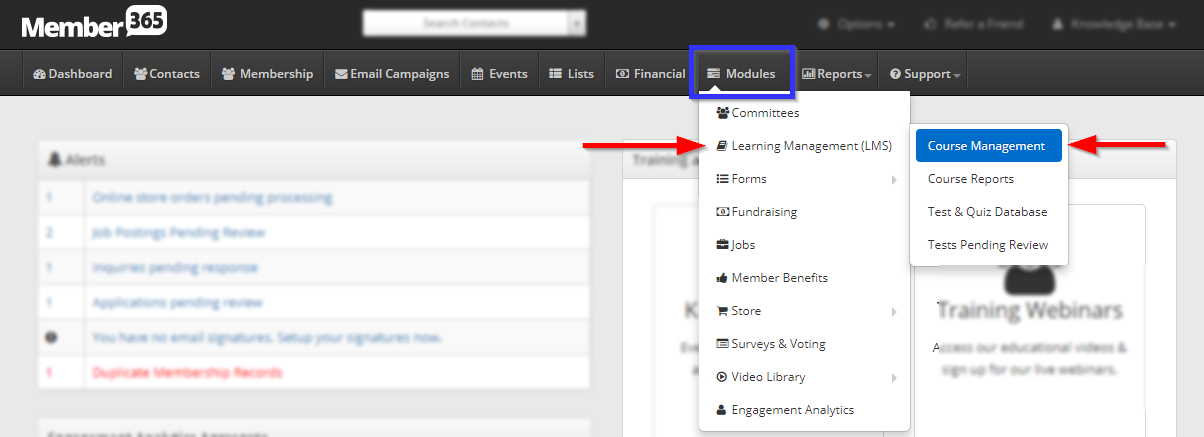
2. On the top bar, click ‘Modules‘, then hover over ‘Learning Management (LMS)‘ and then click ‘Course Management‘.
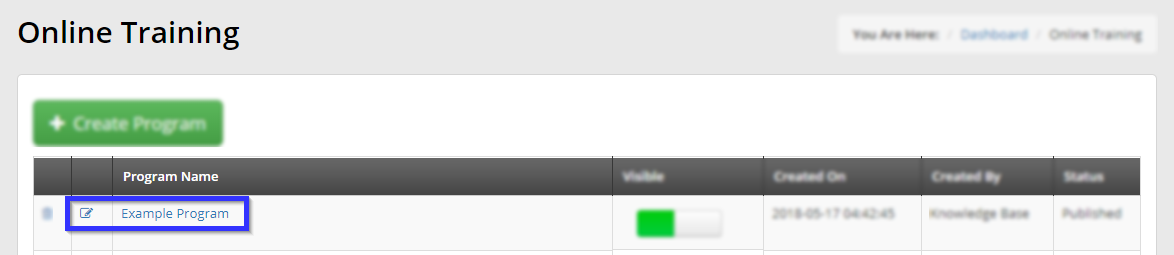
3. Click on the name of the course you would like to feature, or on the pencil icon next to its name.
Creating a Featured Course
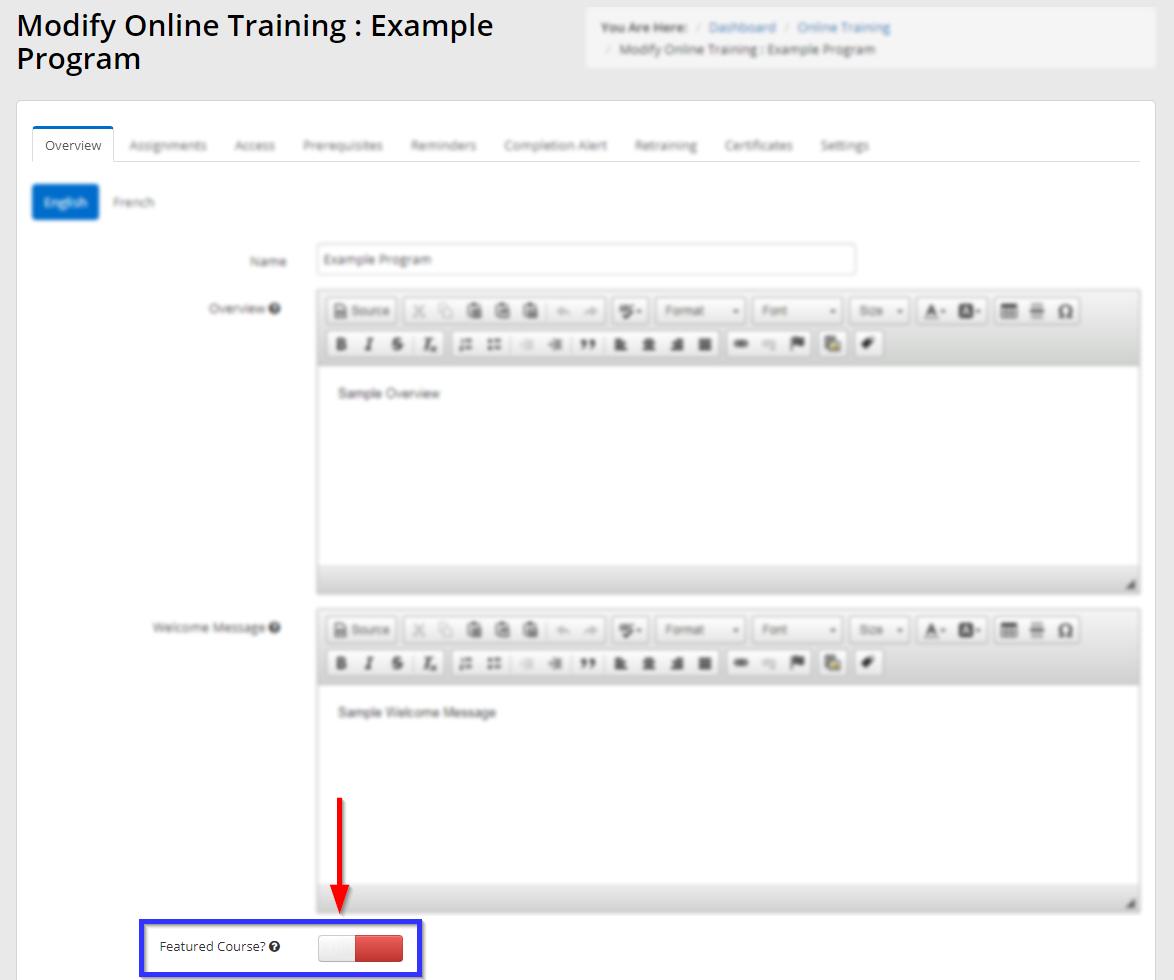
4. On the first tab, look below the text editors for a toggle switch labelled ‘Featured Course’; click the left part of the button to turn it green and enable it.
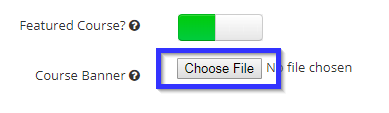
5. Once you have enabled this toggle switch, a new button will appear; click the ‘Choose File‘ button to navigate to an image on your computer that will become the new course banner.
6. Scroll down and click ‘Update‘.
Congratulations, this course is now featured in the Member Portal!