Event Registrations are typically completed through the Event Calendar in the Member Portal.
At times, however, you may want to send a direct registration link via email. This could allow you to share a private event with a select group: you could hide the Event from the Event Calendar, and choose only to email the registration link to specific contacts instead.
Emailing the registration link also allows you to advertise your event to Non-Members, and anyone else who may not have Member Portal access.
Follow the steps below to send your Event Registration Link directly via email.
Access the Public Registration Link
An Event’s Registration Page can be accessed by anyone who has its direct link. Consult this Knowledge Base article to learn where the Registration Link is located!
Save the Event’s Public Registration Link for our next step.
Send the Registration Link via Email
1. From the Member365 Administrator Dashboard, click ‘Email Campaigns’ at the top of the screen.
![]()
2. On the page that follows, click ‘Create’ next to ‘Campaign Management’.

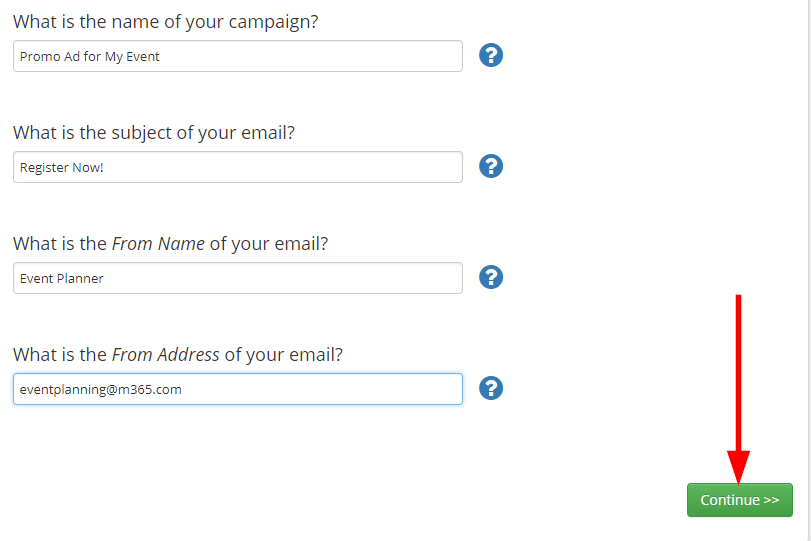
3. Specify the campaign name, subject line, sender name, and from address as necessary. Click ‘Continue’.
4. Build the content of your email. Consult this Knowledge Base article if you are unfamiliar with the campaign builder.
When satisfied, click ‘Save & Continue’.

5. Select your recipients. Choose which Contact Lists will be sent the Registration Link, and enter as many email addresses as necessary into the ‘Additional Recipients’ box.

6. Click ‘Continue’ at the bottom of the page when you are satisfied to proceed to the delivery options.

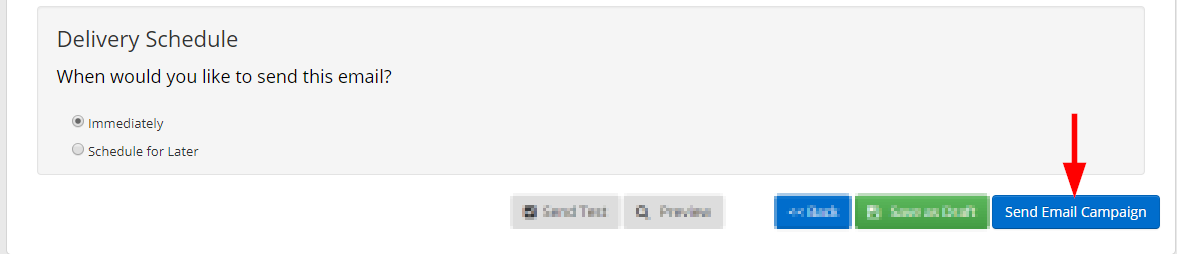
7. Either choose to send your campaign Immediately, or schedule it for a specific day. Click ‘Send Email Campaign’ (or ‘Schedule Email Campaign’) to queue your eblast for delivery.
Congratulations, you now know how to send a direct link to your Event’s Registration page!