This article will describe how to create a survey or poll, and how to send it or other pre-event info to all registrants of an event. Should you wish to send a survey, read this article in its entirely. If you wish to send pre-event info without sending a survey, skip to the section ‘Completing and Mailing Your Survey’, begin at step 3, and when asked to paste text that you had previously copied, simply enter the message you would like to send the event’s registrants instead.
Accessing Survey Creation
1. Log in to the Member365 Administrator Dashboard.
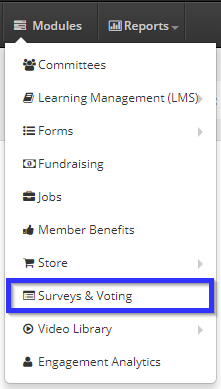
2. From the bar at the top of the dashboard, click ‘Modules‘.
![]()
3. In the menu that appears, click ‘Surveys & Voting‘.
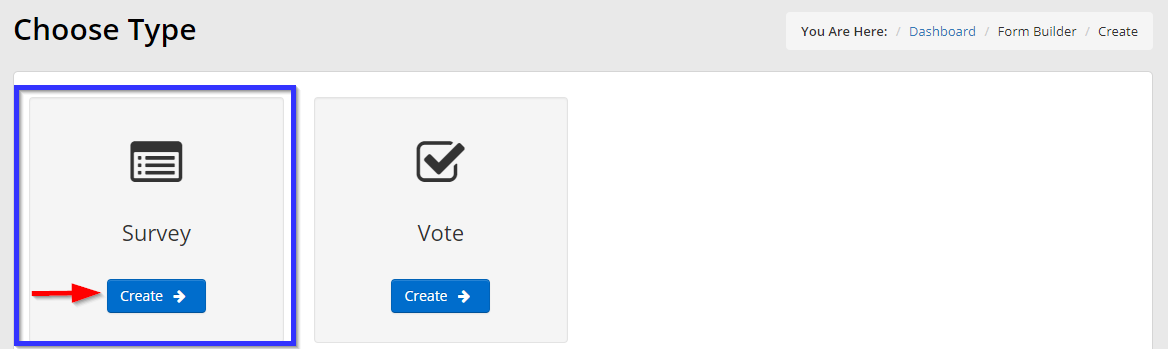
4. Click ‘Create‘.

5. Under ‘Survey’, click ‘Create‘.
Basic Survey Options
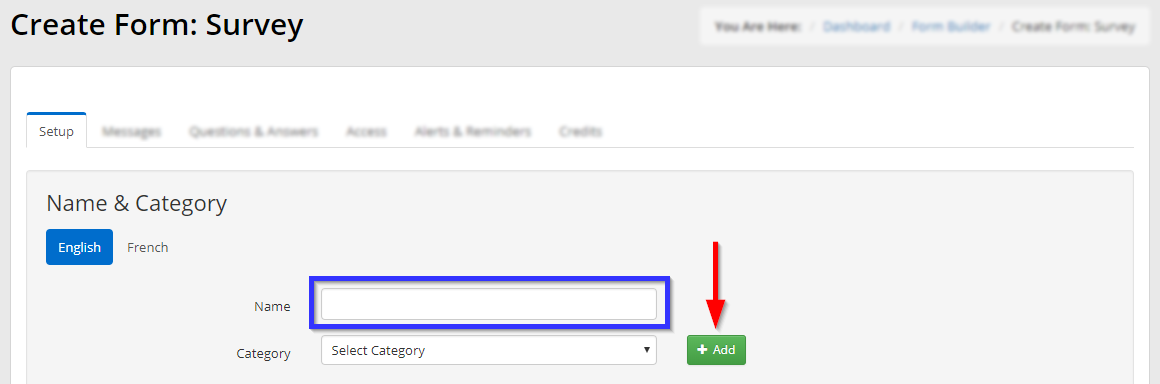
6. Enter a name for the survey into the ‘Name’ text field, and use the drop-down menu below it to select a category. If you do not have an appropriate category already, click ‘Add‘. A dialogue box with a text field will appear; enter a name into this text field, click ‘Add‘, and then select that name from the ‘Category‘ drop-down menu.
7. Scroll down to access more options.
Lock Form: allows you to prevent the form from being deleted as long as the lock is in place. You may wish to delete a survey after it is no longer in use, but as long as the green button is shown, the form cannot be deleted. Click the right side to turn it red and unlock the form, allowing it to be deleted.
Open/Close Dates: use these interfaces, either by typing a date in the YYYY-MM-DD format (i.e. May 30, 2018 becomes 2018-05-30) or by clicking the calendar icon and selecting a date, to choose when the survey opens and then closes.
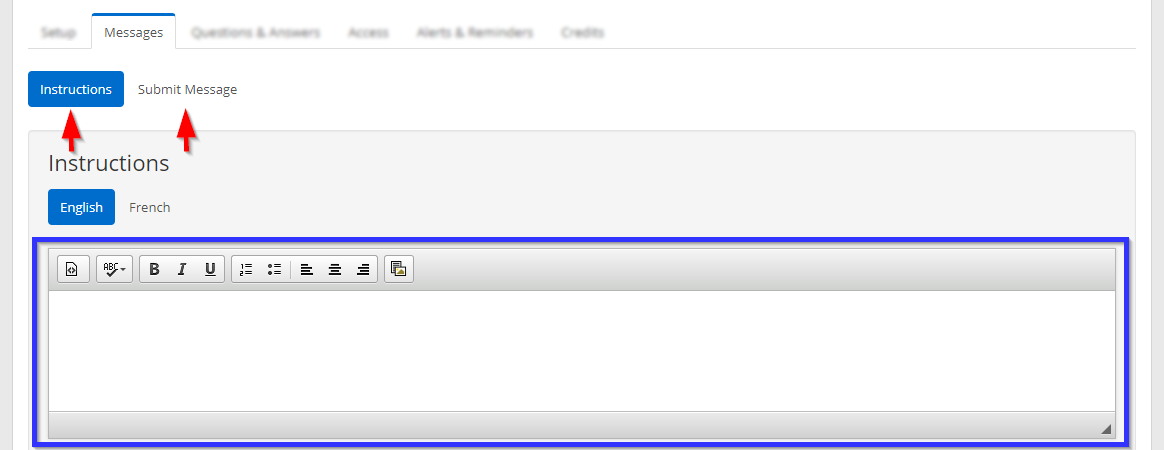
8. Scroll back up to the top of the configuration menu and click the ‘Messages‘ tab.

9. The ‘Messages‘ tab allows you to set the messages that contacts view as instructions when they start the form, and the message they see after submitting the survey. Click the corresponding button and enter text into the text editor below it to create these messages.
Setting Survey Questions
10. Click the ‘Questions & Answers‘ tab.

Click the button labelled ‘Launch Form Question Editor‘ to open the Form Question Editor.
11. You will find yourself in the Form Question Editor interface, which looks like the following image:
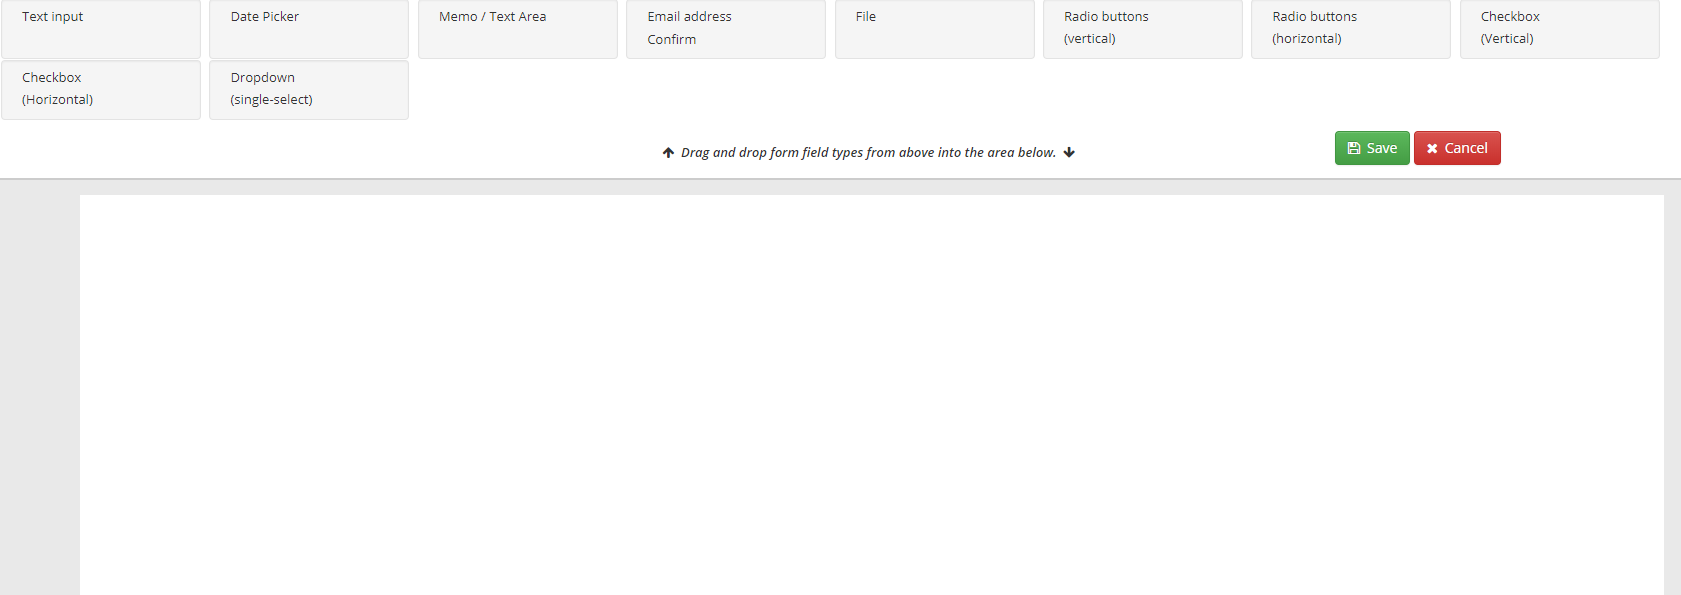
In order to add a specific module, drag it from the module list at the top to the white space underneath. We’ll walk you through how to create a few basic types of survey questions here. Remember to click ‘Save‘ at the end to save your form!
True/False and Multiple Choice Questions
1. Click and drag either ‘Radio buttons (vertical)‘ or ‘Radio buttons (horizontal)‘ (depending on how you want your answers displayed) from the top bar to the open working area.

2. In the newly-created module, click ‘Setup‘.

You will be presented with a dialogue box titled ‘Manage Multiple Choice Options’:
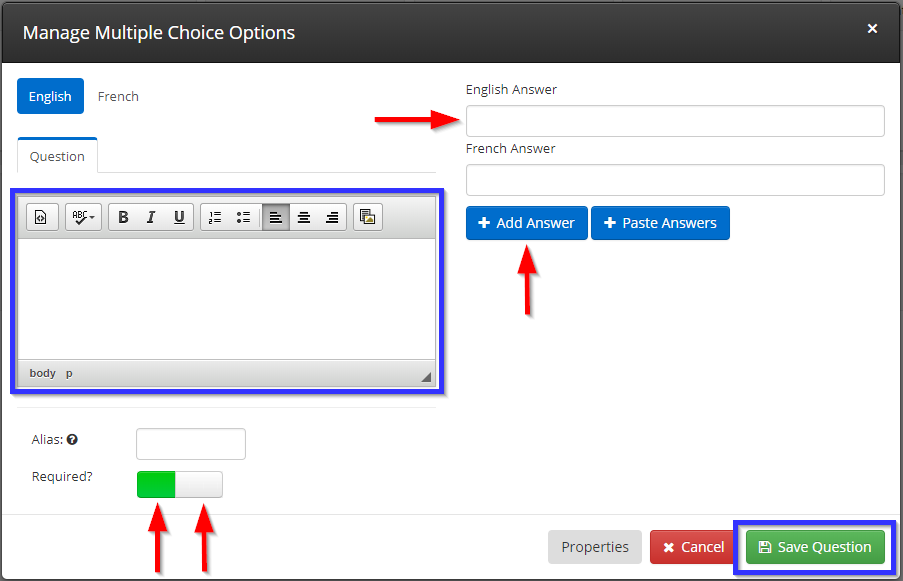
3. In the text editor indicated by a blue box, enter the question text that you would like the user to see. Enter an answer in the text box indicated by a red arrow, then click ‘Add Answer‘; enter as many additional answers as you would like, pressing the ‘Add Answer‘ button after each one.
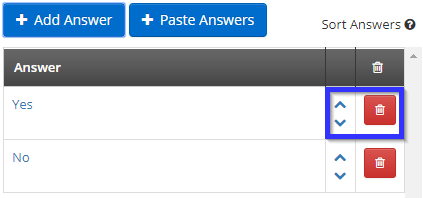
In order to re-order answers, use the arrow buttons that appear next to each answer; in order to delete answers, click the red trash can icon:
Some additional options can be found at the lower-left: ‘Alias‘ allows you to enter a name for this question that only you will see, in order to help you organize these modules, and the ‘Required?‘ toggle button will let you choose whether the user must answer this question in order to submit the survey. If the green left half is selected, the user will not be able to submit until an answer has been chosen.
4. Once you have added as many answers as you would like, click ‘Save Question‘ in the lower-right to save the question to your form.
Short Answer Questions
1. Click the ‘Memo/Text Area‘ module and drag it to the white space below.

2. Click ‘Setup‘ in the new module.

3. Enter the prompt or question you would like the user to see in the text field indicated by the blue box.
Some additional options can be found below: “Alias” allows you to enter a name for this question that only you will see, in order to help you organize these modules, and the “Required?” toggle button will let you choose whether the user must answer this question in order to submit the survey. If the green left half is selected, the user will not be able to submit until an answer has been chosen.
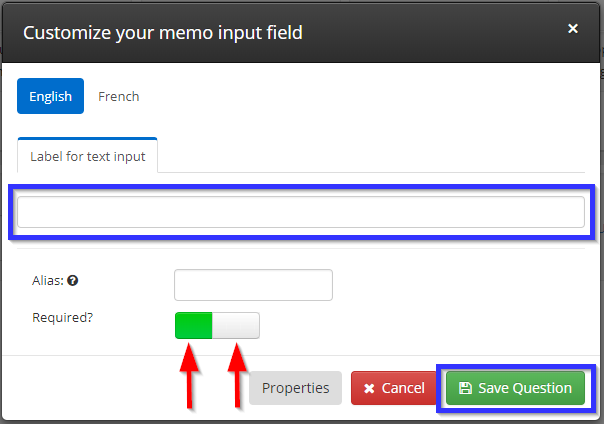
4. When you have finished designing your question, click ‘Save Question‘.
5. In the Form Question Editor itself, click ‘Save‘ in the upper-right corner.
Completing and Mailing Your Survey
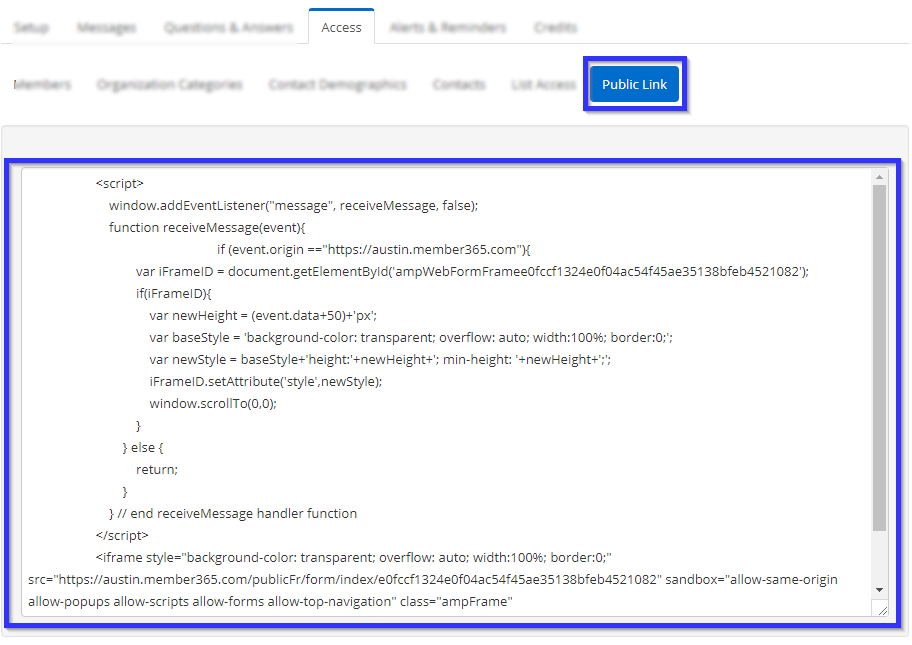
1. In the ‘Create Form: Survey’ interface, click the ‘Access‘ tab to find settings that will allow you to control who will be able to view and use this survey.

2. For the purposes of surveying an event’s attendees, we will be mailing out a public link, so simply click ‘Public Link‘ and then copy the text from the text field to your clipboard.
3. On the top bar, click ‘Events‘.

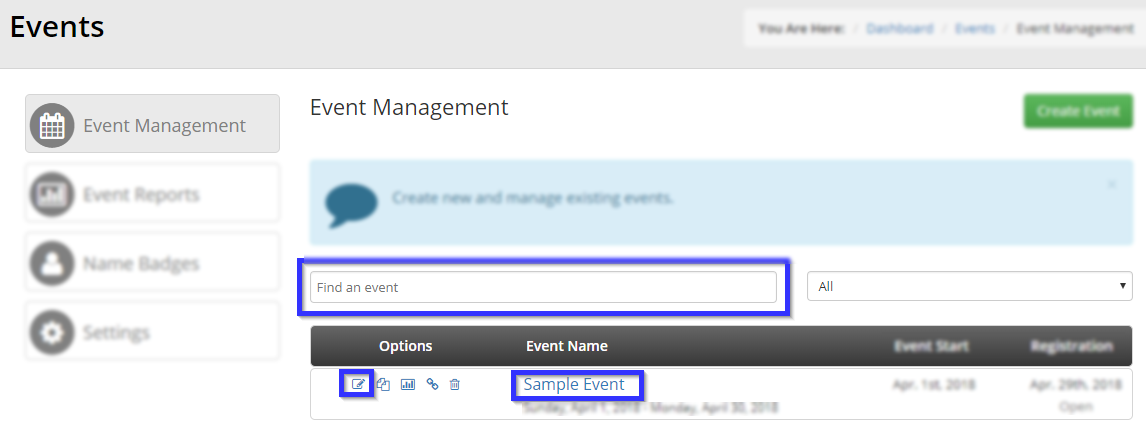
4. In ‘Event Management’, click ‘Manage’.

5. Find the event whose attendees you are looking to survey, by entering its name in the text box or finding it in the list, and then click its name or the pencil icon to the left.
6. Click the ‘Reminders‘ tab.

7. Click ‘Add‘. This will bring up a dialogue box labelled ‘Add Reminder’.
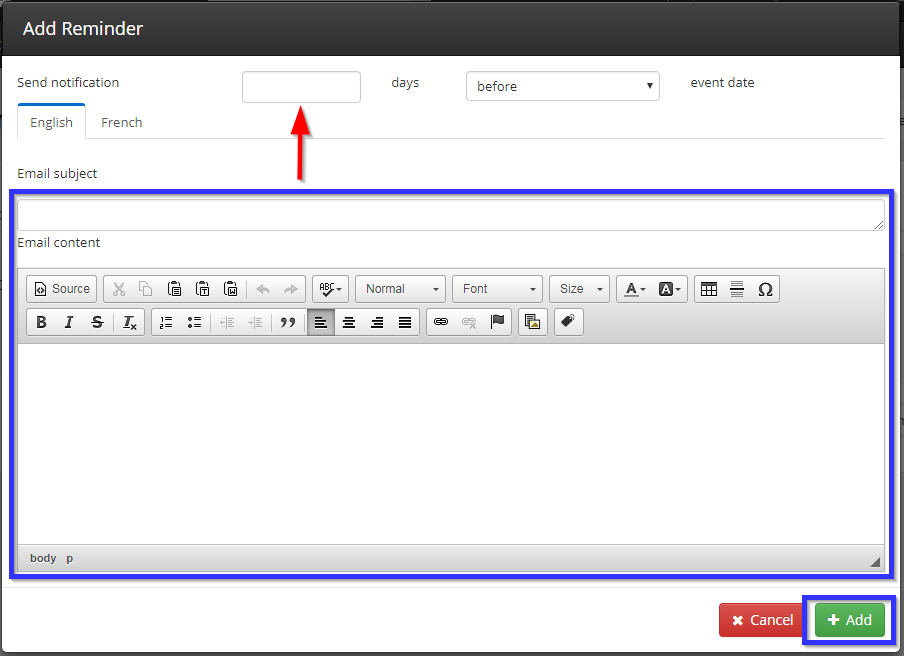
8. Enter the number of days before the event you would like the email to be sent, compose the email — being sure to paste the public link you copied in step two — and then click ‘Add‘.
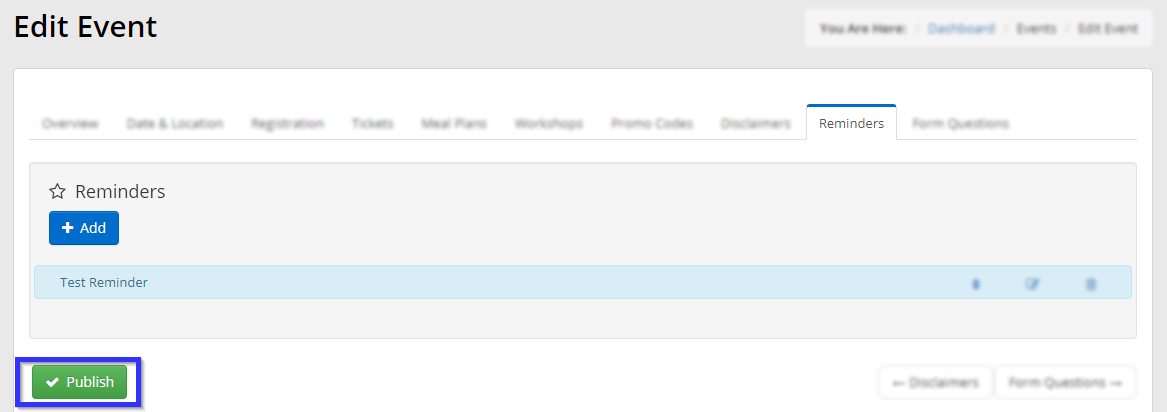
9. Click ‘Publish‘ to save your work.
Congratulations, you have created a survey that will be sent to all of an event’s attendees!