This tutorial provides step-by-step instructions to manually create a member in Member365. To begin, log into your Member365 administrator account.
Add The Contact Record
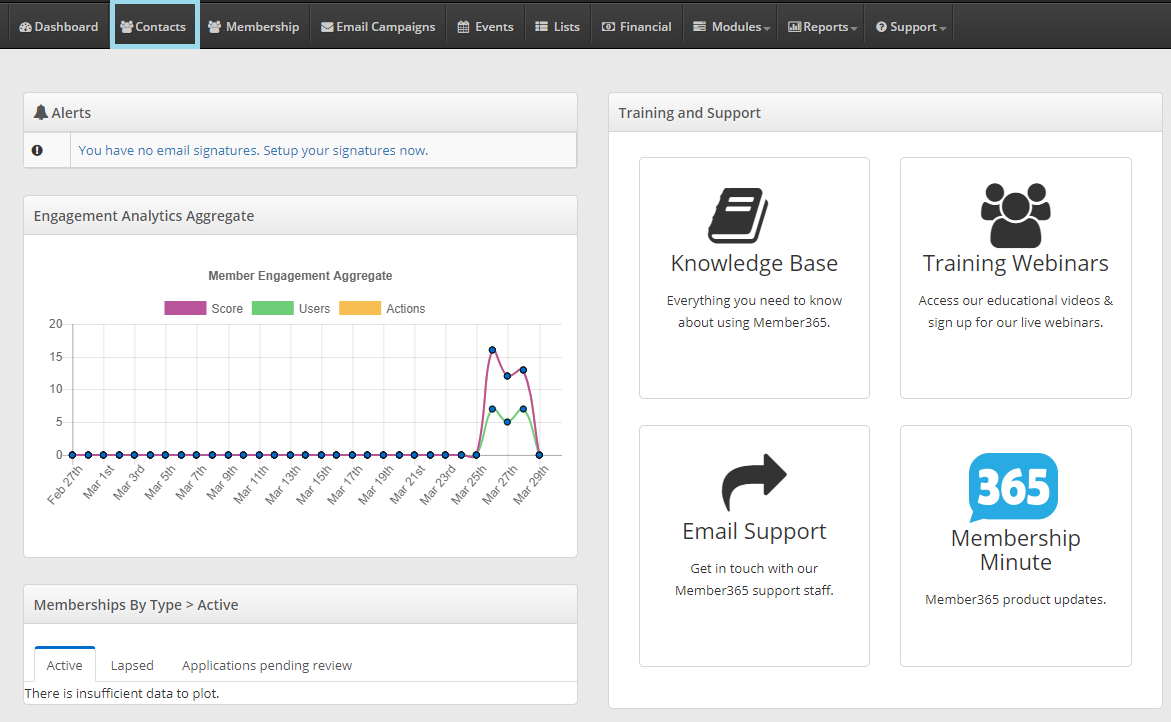
1. After logging in, click ‘Contacts’ in the top toolbar on your administrator dashboard.
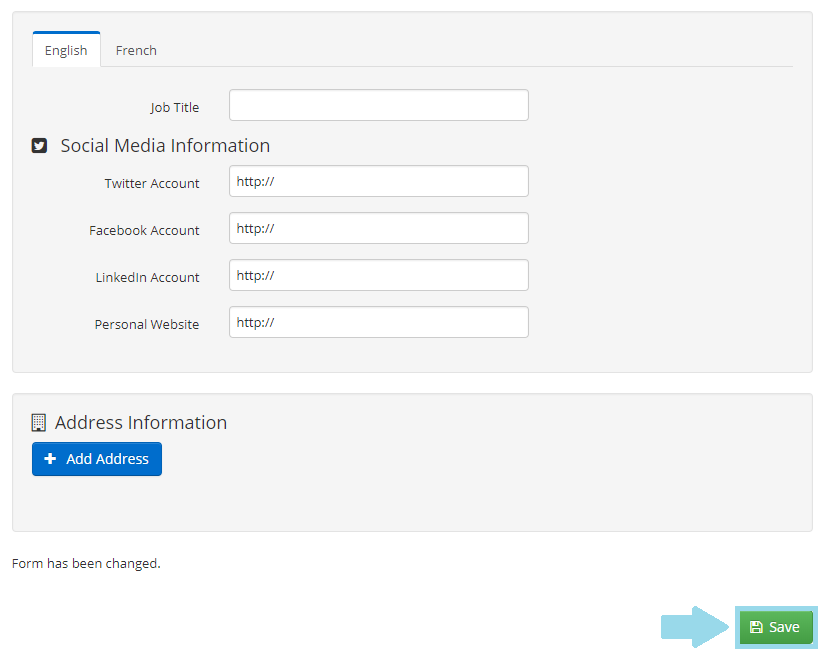
2. Fill out the contact form with details on your new member. For more information on how to step through this process, refer to Adding a Contact to Member365.
3. When finished filling out contact details, save the contact record by clicking the green ‘Save‘ button at the bottom of the page.
Confirm Consent Settings
In order to maintain CANSPAM and CASL compliance with emails sent from Member365 to this contact, its necessary to confirm proper email consent settings. Here’s how:
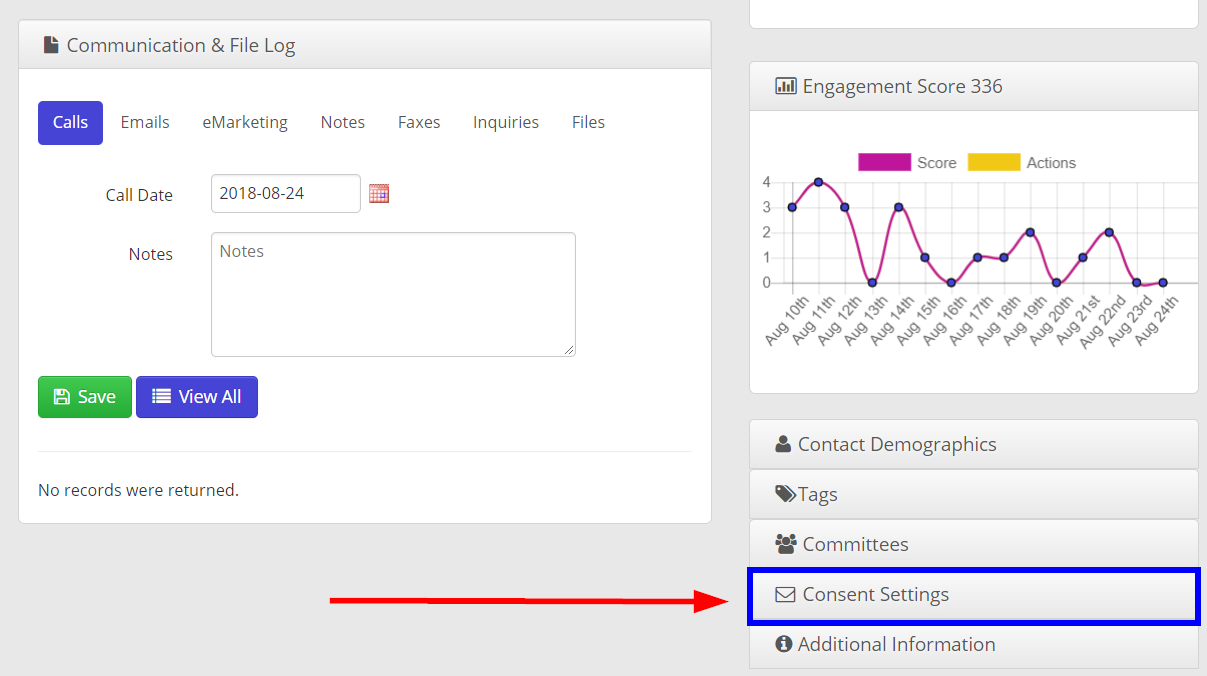
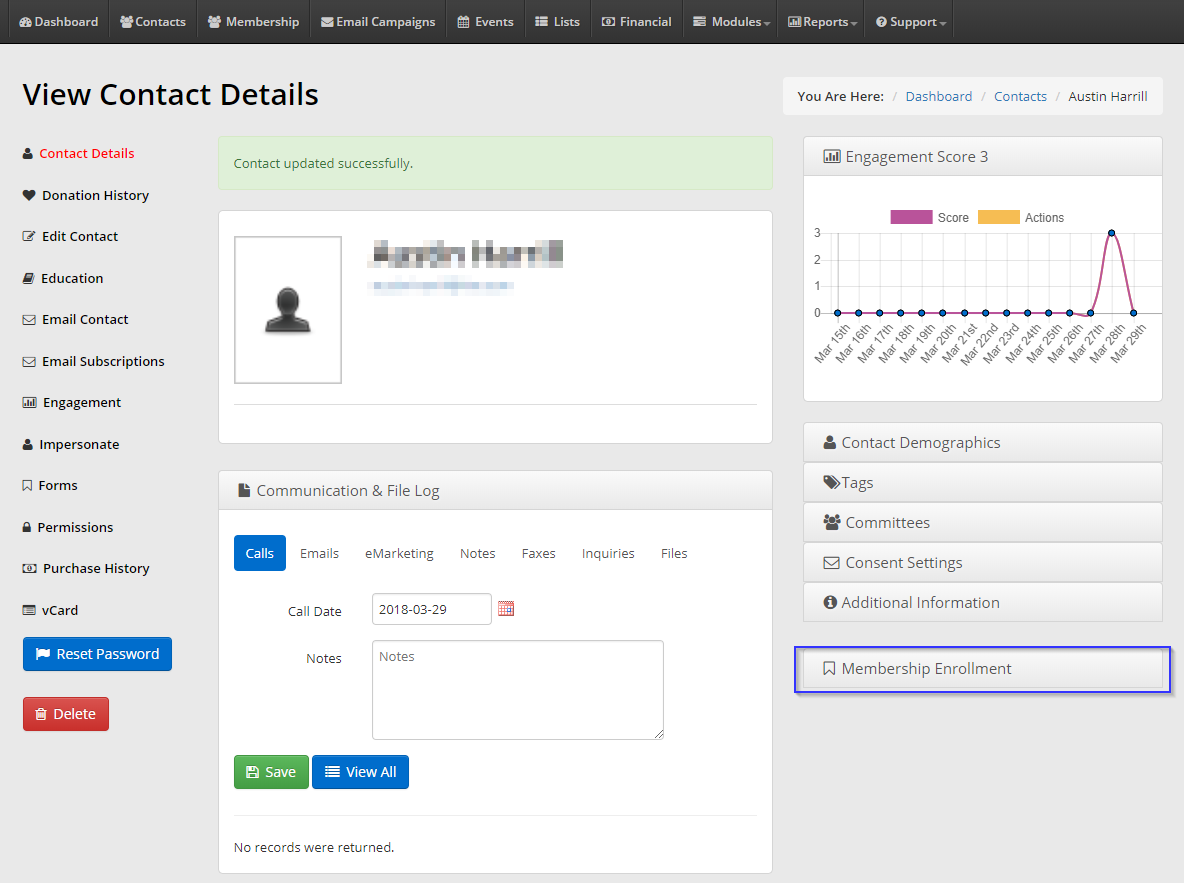
1. From the Contact Record, click ‘Consent Settings‘ from the available drop-down options on the right of the page.
2. Here, you’ll see a list of options allowing you to control consent settings. It is important that you ensure that these settings correspond to the form of consent you have from this contact.
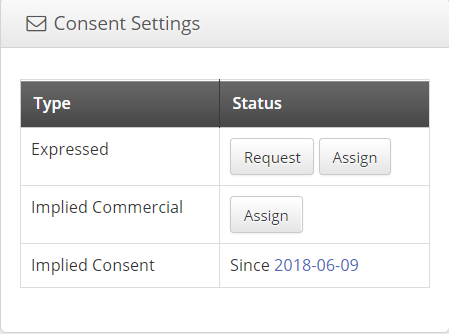
- Expressed Consent
- Implied Consent
- Implied Commercial
This designation means that the recipient has explicitly agreed, orally, digitally, or in writing, that they have consented to receiving commercial communication.
This designation means that the contact has either:
1) Published their contact information in plain sight, as in the case of a website or trade publication.
2) Established an existing business relationship with you, like a commercial contract, transaction, or inquiry related to the exchange of goods or services.
3) Established a non-business relationship: this contact is a member of your organization, or they have provided goods/services at no cost.
This designation refers to contacts who have provided contact information to you in the form of a business card or other communication, but who has no other business or non-business relationship to you — that is, they have not provided any actual goods or services to you and they are not a member of your organization. This form of implied consent only applies to communication related to their work.
Assign The Membership
With consent settings out of the way, you can now officially assign your contact membership.
1. Clicking ‘Save‘ in step three above will bring you to the contact record. From here, click the ‘Membership Enrollment‘ button at the bottom right of the page.
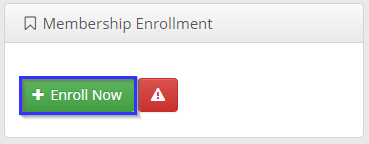
2. Click ‘+Enrol Now‘ from the drop-down options.
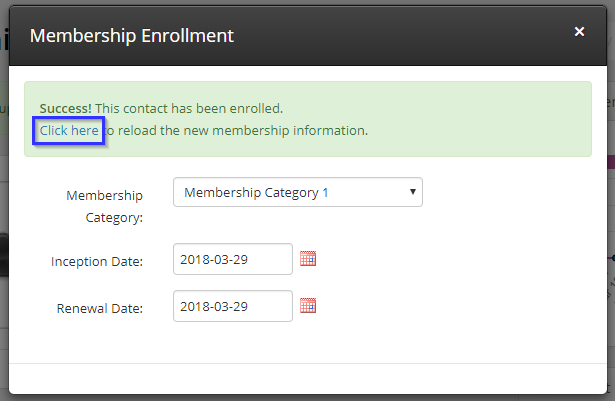
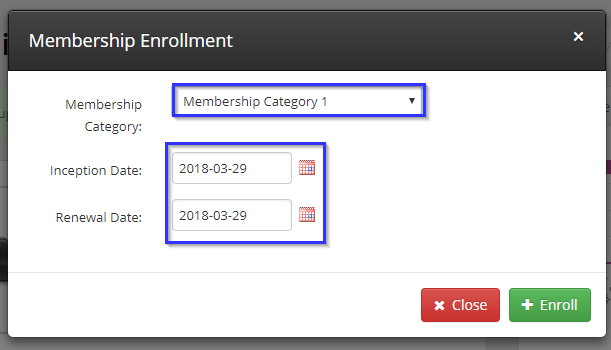
3. In the resulting window, select the membership category for this member, designate an inception and renewal date, and click ‘+Enrol‘.
4. You’ll see a message saying notifying you that this member has been enrolled. Click the link in the dialogue to reload the new membership information.