Members aren’t the only ones capable of posting benefits. If needed, it’s possible for administrators to do so on their behalf. Here’s how:
Navigate To Member Benefits
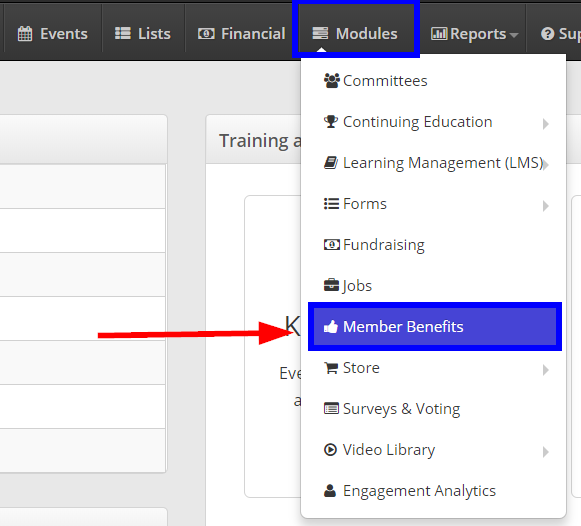
1. From your administrator dashboard, click ‘Modules‘ in the top toolbar, and select ‘Member Benefits’ from the drop-down list.
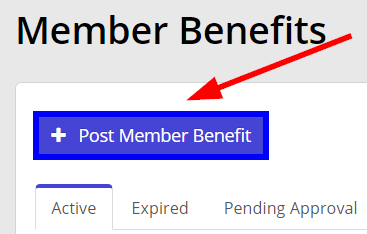
2. From the Member Benefits page, click ‘+ Post Member Benefit‘
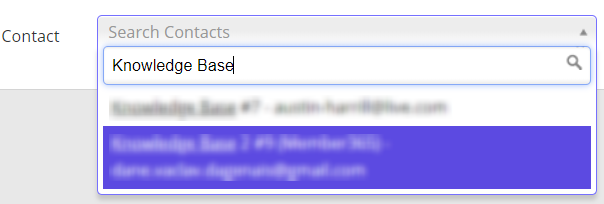
3. Using the search bar, find and select the contact you would like to create the Member Benefit on behalf of.
Creating Your Member Benefit
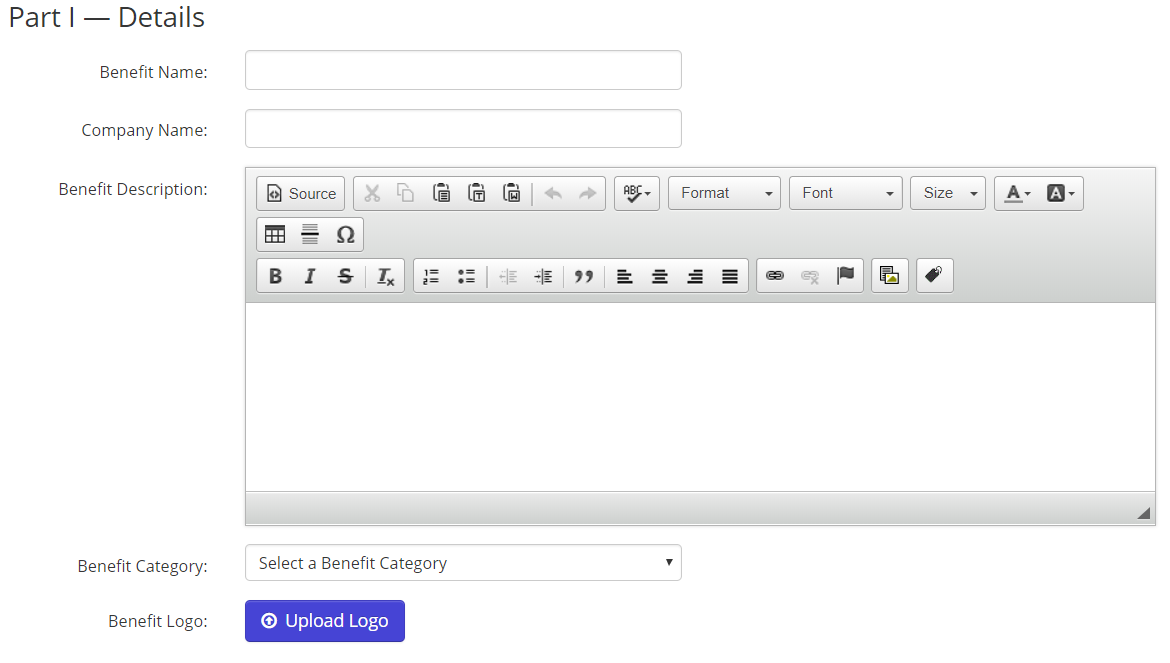
4. Selecting a contact will fill your screen with fields you can complete to create your Member Benefit. Start by filling in your post details under the first section, ‘Part 1 – Details’.
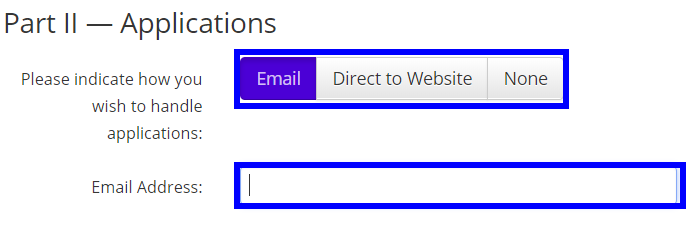
5. To complete your clients post, select the channels you would like them to receive benefit applications by, if they would like to receive applications. Clicking any of these options will produce more fields allowing you to specify an email address or website URL.
6. When done, click ‘Save’, and ‘Confirm’ in the dialogue that opens.