Including calendar files in your confirmation emails sent to event registrants is a great way to promote awareness of your event. Here’s how to do it in Member365:
Navigate to Events
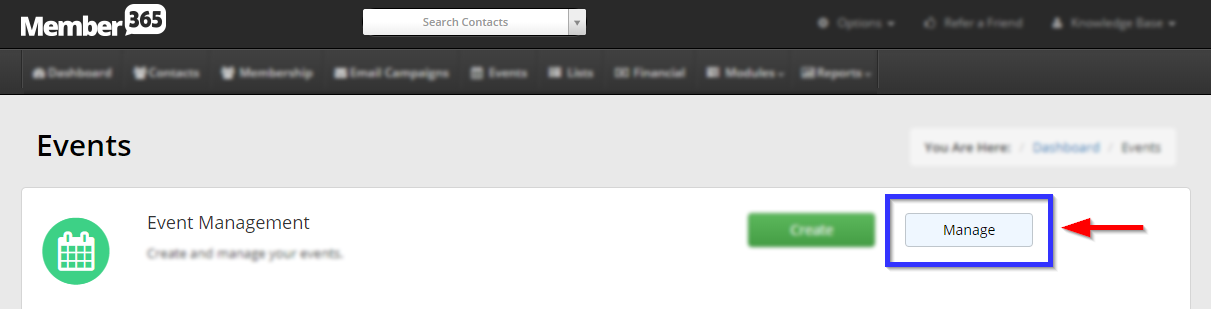
1. From your administrator dashboard, in the top toolbar, click ‘Events‘.
![]()
2. In the Event Management section at the top of the page, click ‘Manage‘ .
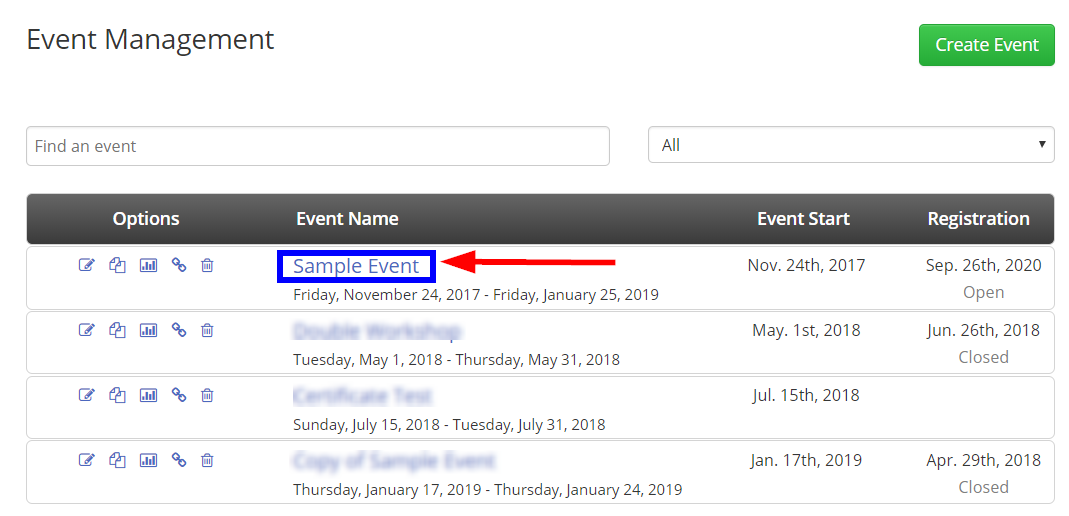
3. Click the event you would like to send a calendar invite for.
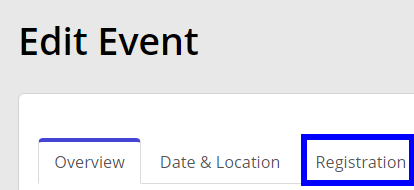
4. Under ‘Edit Event’, click the ‘Registration‘ tab.
Edit the Confirmation Message
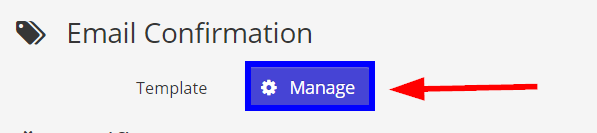
5. Scroll to ‘Email Confirmation’, and click ‘Manage‘
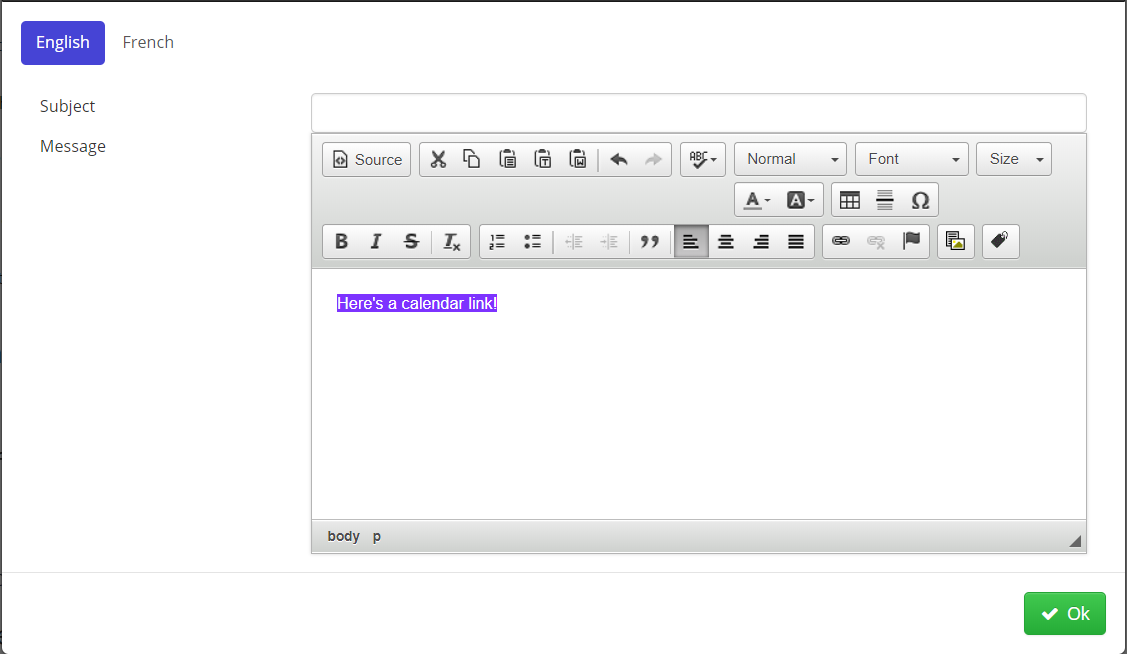
6. This field will allow you to type a message to be sent to all event registrants, confirming their registration. In it, type your message, and highlight the text you would like to contain your calendar link.
Upload Your Calendar File
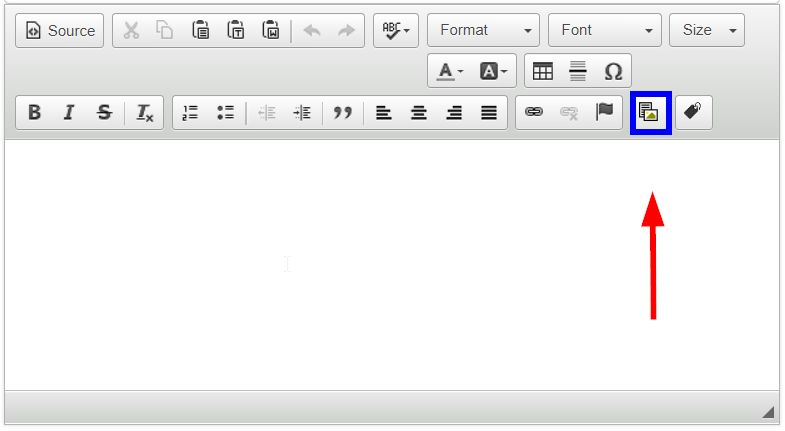
7. While your text is highlighted, click the ‘Upload‘ button in the message editor.
8. Click ‘Upload File‘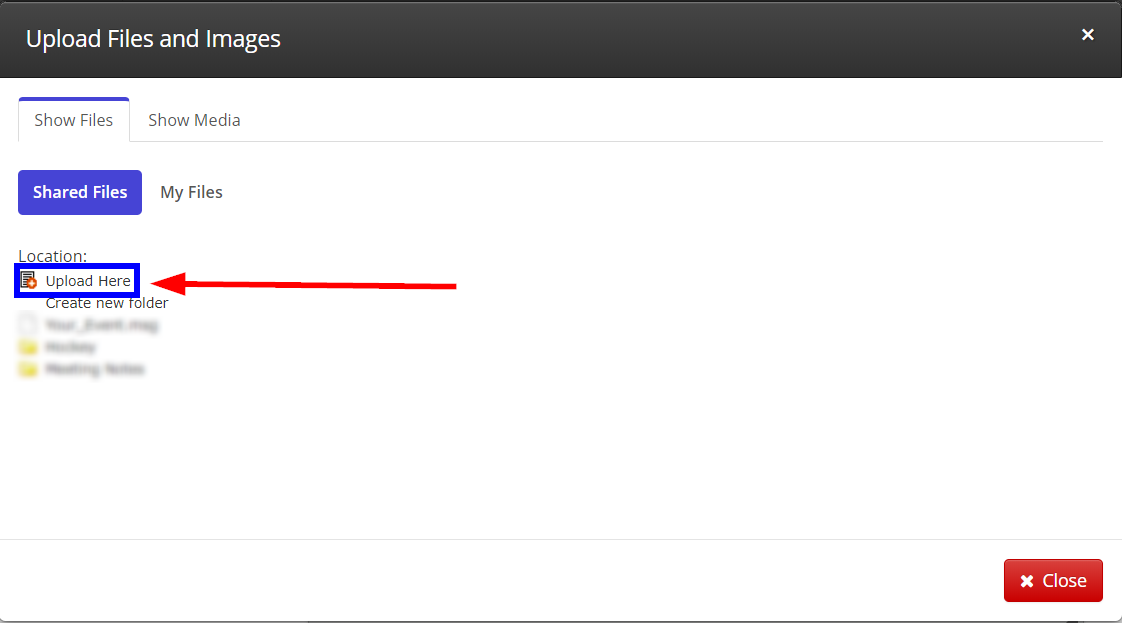
9. In the resulting dialogue, click ‘Choose Files‘.
10. Navigate to your calendar file, and upload it.
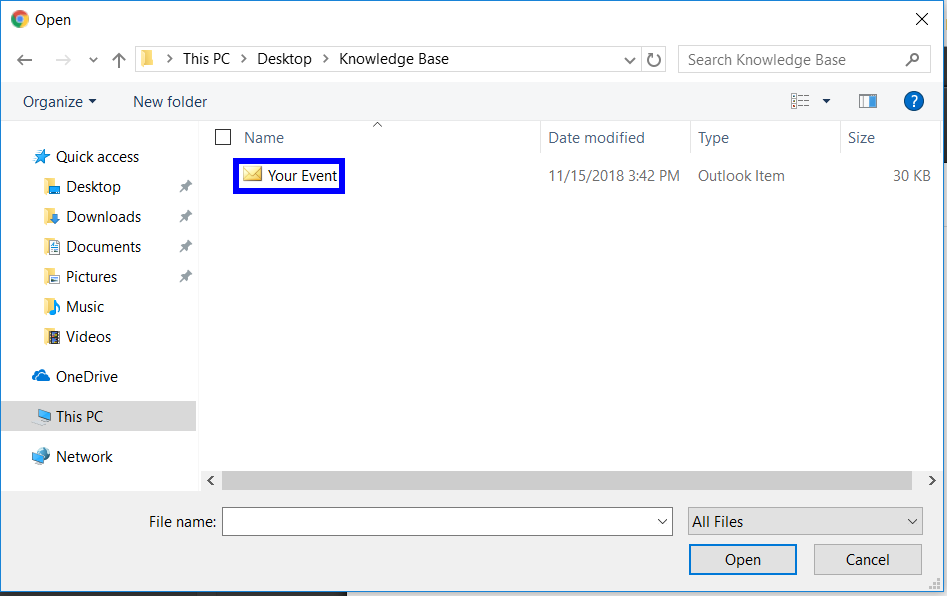
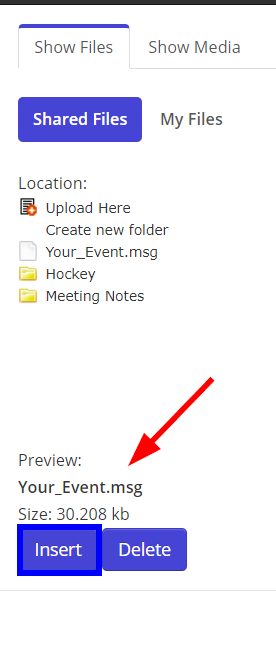
11. After upload, be sure to select it, and click ‘Insert‘
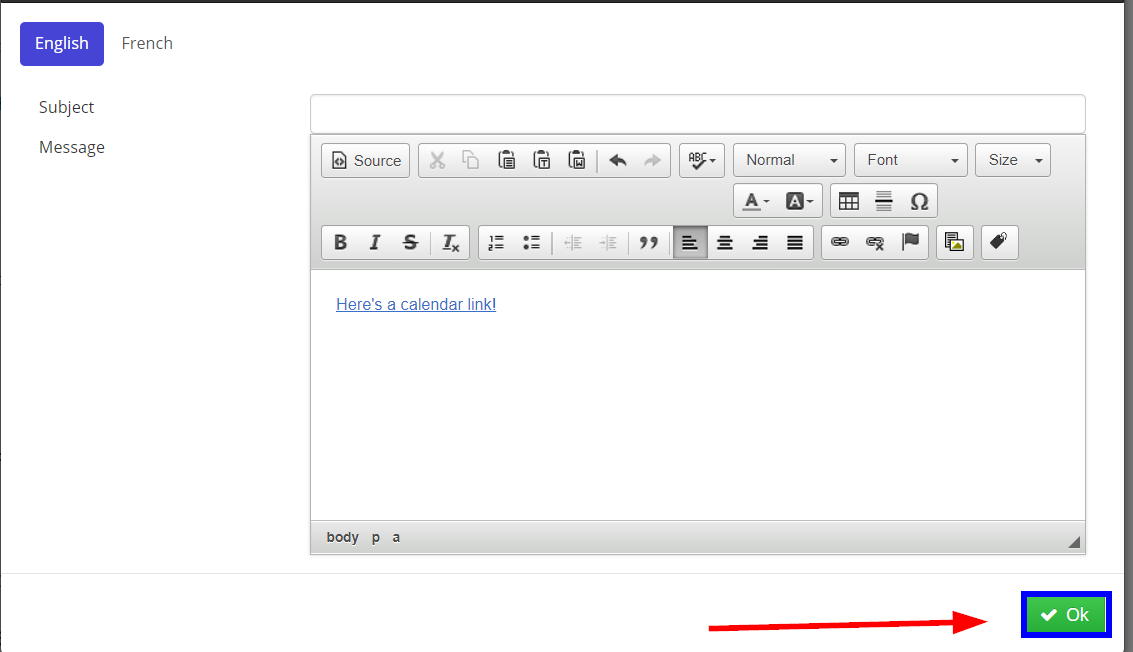
12. Confirm that your message is highlighted the way you want it. and click ‘OK’!
And you’re done! Repeat this process any time you’d like to include a calendar link in your registration confirmation emails!