1. Home
  2. Membership Management
  3. How to Enroll a Member Manually

How to Enroll a Member Manually

You can enroll an existing Contact into a new Membership from the Administrative Dashboard. The method outlined in this article is perfect if you’re looking to add someone to a Membership quickly, or if you don’t want an automatic Membership Invoice to be generated. For the more formal process, see this Knowledge Base article.

Note

As you can see by the article linked above, there are two separate ways to register a Member manually.

  1. Using the Public Link
  2. From the Contact Profile

Continue reading to learn the fast method for enrolling a Contact into a new Membership Category!

Manually Enrolling the Member – From the Contact Profile

[ht_message mstyle="info" title="" show_icon="" id="" class="" style="" ]One way to enroll a Contact into a new Membership takes place on their Contact Record! So our first step will be to navigate to the Contact Record in question for the prospective Member.

Please note that none of the automatic processes will be enacted: as an Administrator, if you follow this method, you will need to create a manual Invoice for any Membership Fees, and you may need to grant the Member Portal Access manually as well. Those steps will be outlined later in this article.[/ht_message]

1. From the Member365 Administrator Dashboard, type the contact’s name or email address into the search bar at the top of the page.

Image of the search bar at the top of the page.

2. Click your desired contact from the search results to access their Contact Record.

Click the contact from the search results to access their Contact Record.

Enrolling the Contact

We will now enroll the Contact into the Membership.

Please note again, that this will simply enroll the Contact into the Membership. Anything else (Membership Invoices, Portal Access, Email Consent, etc.), will need to be taken care of manually.

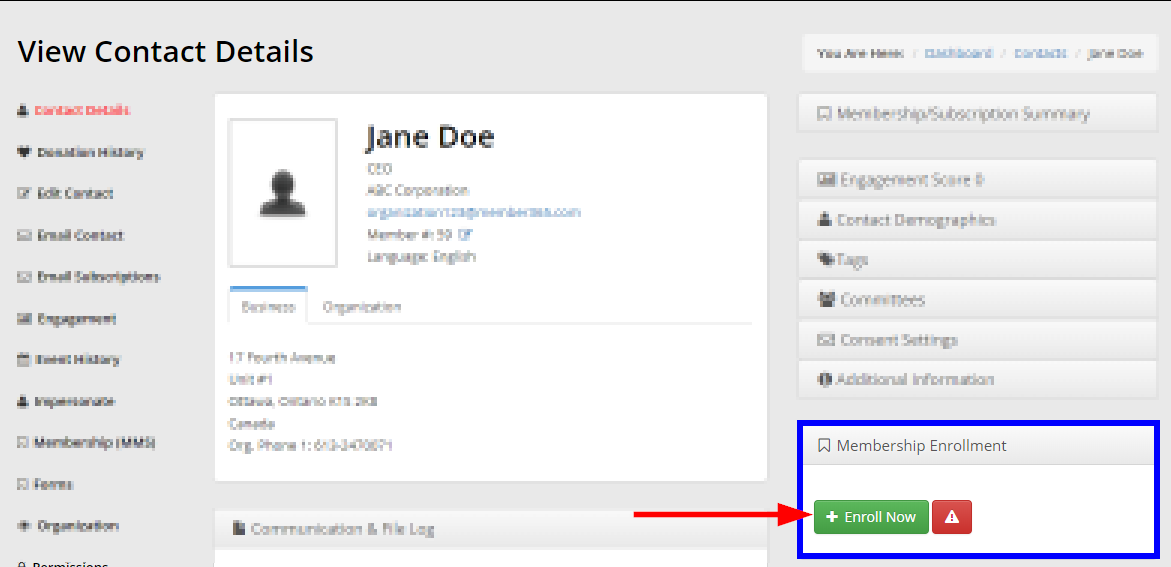
3. Click to expand ‘Membership Enrollment’ on the right of the page, then click ‘+ Enroll Now’. 

Click to expand 'Membership Enrolment' on the right of the page. Then click the '+Enroll Now' button.

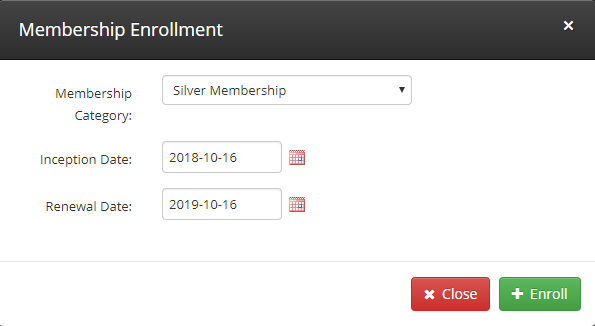
4. A pop-up window will appear. Specify the ‘Membership Category’, the ‘Inception Date’, and the ‘Renewal Date’ for the contact’s membership enrollment. Click ‘+ Enroll’ to confirm.

Specify your desired 'Membership Category', 'Inception Date', and 'Renewal Date'. Click '+ Enroll' to confirm.

Don't see the Membership Category you want?

If the Membership Category is not an option from the drop-down menu, it’s possible that this contact had already been enrolled in the past.

Check their ‘Membership (MMS)’ tab on the left-hand side of the page, and look for records of the Membership Category in question.

Image showing the 'Membership (MMS)' tab of someone's contact record. Indicating an Archived Membership, with the options to delete or unarchive.

If you find an archived record of the category you were looking to select, you can either Unarchive this old Membership, or Delete it and restart the steps above.

The Contact could also be in the process of applying to this Membership Category themselves. If the Contact is partway through a Membership Application, that Category won’t populate from the drop-down menu either. If you see nothing under ‘Membership (MMS)’, then reach out to the Contact and check whether they had started an application: ask them to finish their Application if applicable.

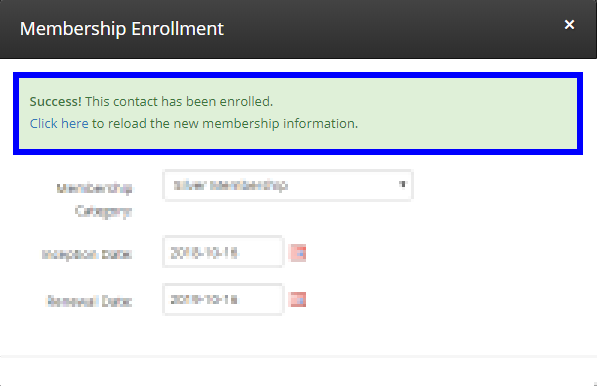
5. A confirmation message should appear. You have successfully enrolled the contact into their new membership.

Image of the confirmation message.

Invoicing Membership Fees

This step is optional. Since this Manual Enrollment Method does not create a Membership Invoice automatically, you will need to create a Manual Invoice if you wish to charge the Contact.

Consult this Knowledge Base article to learn how to create a Manual Invoice!

This step is optional. All Members in Member365 have Implied Consent so that they can receive Email Communication from you, unless they choose to Unsubscribe. Implied Consent is granted automatically when someone becomes a Member, and lasts for the duration of their Membership plus an additional two years, unless the Member chooses to Unsubscribe.

Note

Implied Consent is not granted automatically, however, when you follow this manual enrollment method.

You will need to grant that Implied Consent manually, assuming this Contact has given their permission to receive your Email Communication as a part of their Membership.

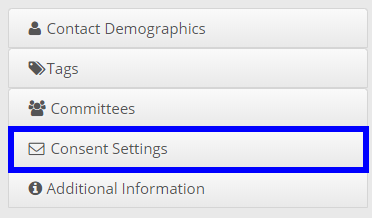
6. Click to expand the ‘Consent Settings’ section from the right-hand side of the Contact Record.

Image indicating the 'Consent Settings' button on the right-hand side of the page.

7. If the Contact does not already have Implied Consent, click the ‘Assign’ button.

Image indicating the 'Assign' button next to 'Implied Consent'.

How do I know if my Contact has Implied Consent?

If you can see the ‘Assign’ button next to ‘Implied Consent’, then you know the Contact is not yet opted in.

If the Contact already had Implied Consent, there would be a date listed in that field instead.

8. Leave a note if you wish, specify today’s date, then click ‘Save’. Do not modify the other Consent Settings unless you have expressly written permission from this Contact.

Image with a sample note, 'Granting Implied Consent on Membership Enrollment', specifying 2019-07-05 as the date, and indicating the 'Save' button on the window that pops up upon clicking to assign Implied Consent.
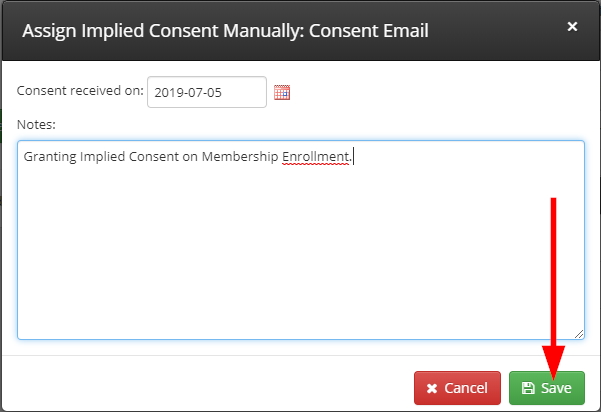
Upon clicking ‘Save’, this Member will now have Implied Consent! For a bit more on Email Consent in Member365, consult this Knowledge Base article.

Granting Member Portal Access

This step is optional. Since this Manual Enrollment Method does not send a Welcome Email to the Member upon enrollment, you need to trigger that process to occur manually if you wish for the new Member to have Portal Access.

Follow the steps in this Knowledge Base article to learn how to send login details to your new Member. The System Default Welcome Email will send to this Contact, with a link to the Member Portal and their Password.

If the Contact already has Portal Access from a previous Membership, or if you do not wish to grant Portal Access to the Contact, then you can skip this step.


Congratulations, you have enrolled a contact into a new membership!

Was this article helpful?

Related Articles