This article will guide you through enabling the Admin Assistant feature. This allows you to set up a secondary contact attached to a single primary contact’s profile, causing any emails sent to this contact to be CCed to the secondary contact’s email address as well.
The first part of this guide will walk you through impersonating a contact; if you are enabling the Admin Assistant feature for yourself, skip this section and instead simply log in to the Administrator Dashboard and remove everything after “.com” in the address bar.
Impersonating a Contact
1. Log in to your Member365 Administrator Dashboard.
2. Click the ‘Search Contacts‘ bar and enter the name of the contact to whom you would like to assign an event registration. Click their name once it appears.

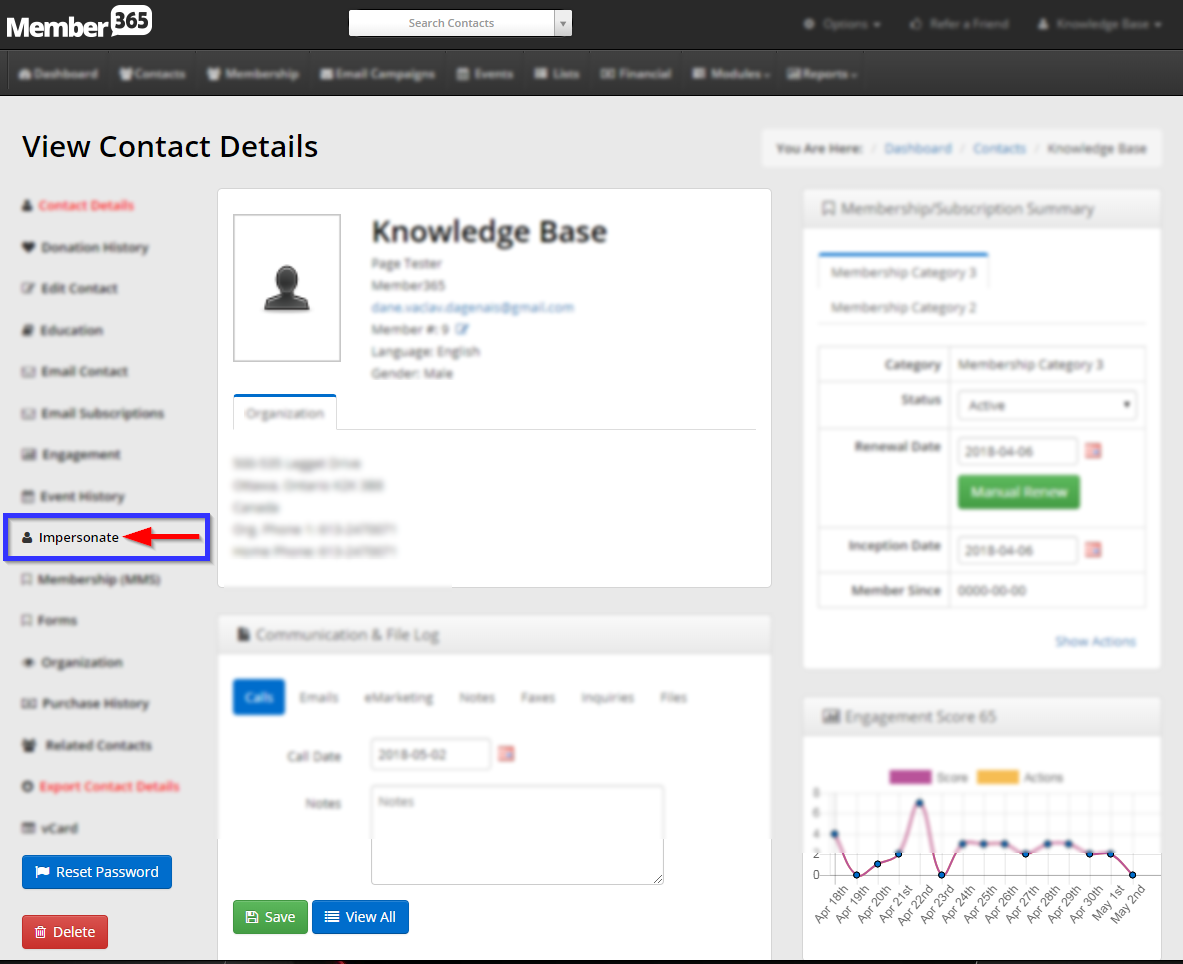
3. On their contact profile, click the ‘Impersonate‘ button on the left-hand side; click ‘Continue‘ in the prompt that appears.
Enabling the Admin Assistant
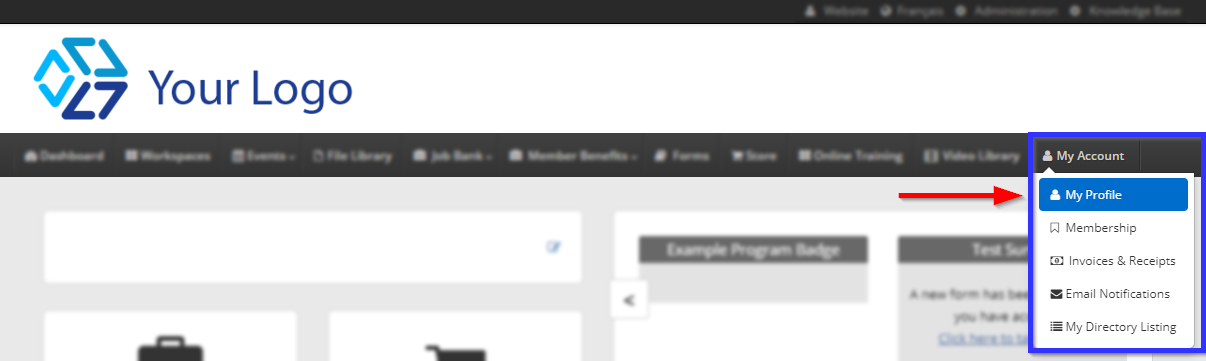
4. In the Member Portal, click ‘My Account‘ and then ‘My Profile‘ in the drop-down menu.
5. Click the ‘Contact Info‘ sub-tab.

6. Scroll down to the ‘Assistant Information’ section and fill in the fields, then click ‘Update My Profile‘.
Verifying Assistant Details
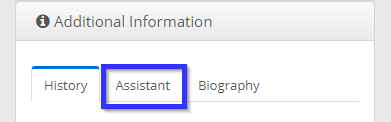
7. Return to the contact’s profile and find the ‘Additional Information‘ section in the lower-right; click to expand it.

8. Click the ‘Assistant‘ tab to review the details you have entered.
Congratulations, you have enabled the Admin Assistant feature!