This article will guide you through creating or modifying the categories into which Workspaces are organized.
Accessing Workspace Settings
1. Log in to the Member365 Administrator Dashboard.
2. Delete everything after “.com/” in the URL in order to access the Member Portal.
3. Click on ‘Administration‘ in the top-right corner.

4. Click ‘Manage Workspace Category‘.

Adding a Category
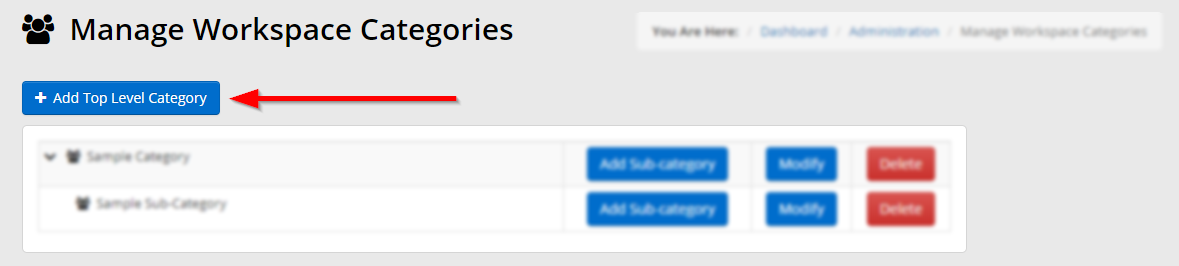
5. Click ‘Add Top Level Category‘.
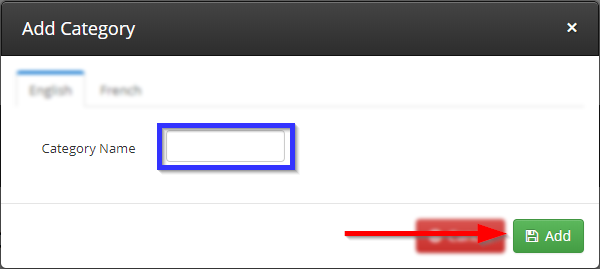
6. Enter a name for the new category into the text box and then click ‘Add‘.

Adding a Sub-Category
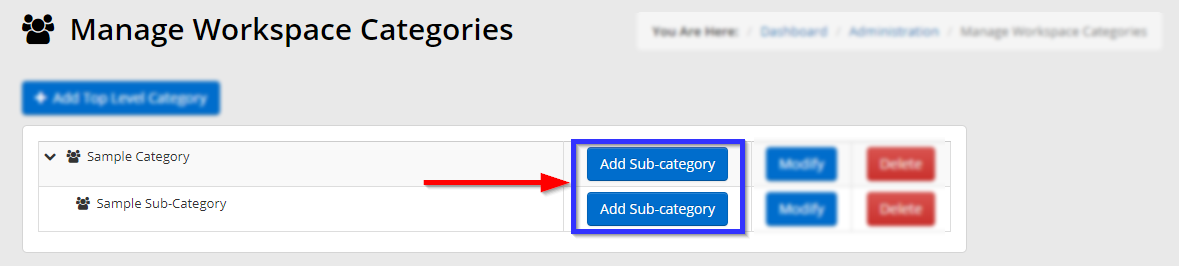
7. To add a sub-category within an existing category, click ‘Add Sub-category‘. Note that you can also create sub-categories within existing sub-categories: you are not limited to just the top level and the one beneath it.
8. Enter a name for the sub-category in the text box and click ‘Add‘.
Modifying a Category or Sub-Category
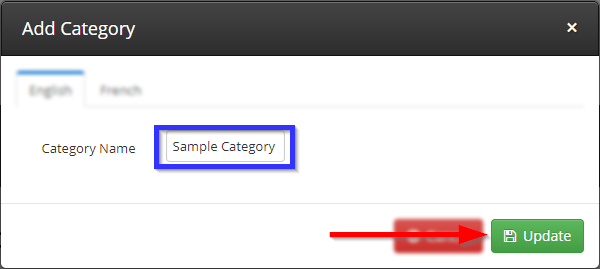
9. Next to the name of the category or sub-category whose name you are looking to edit, click ‘Modify‘.
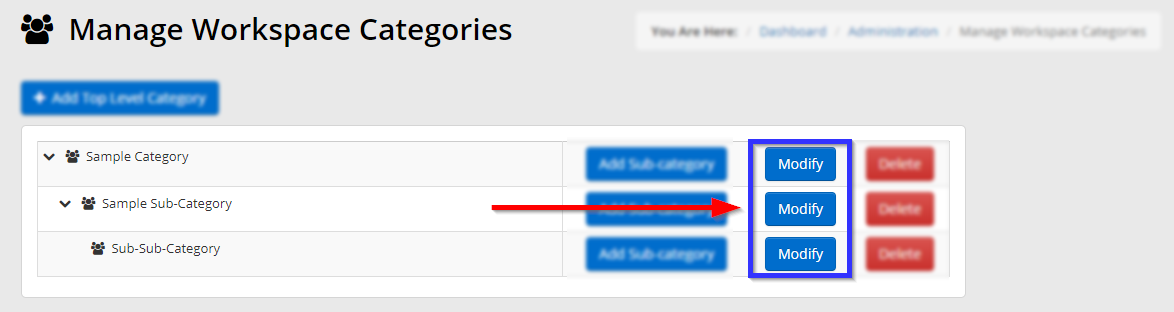
10. Edit the name in the text box, and then click ‘Update‘.
Congratulations, you have added or modified a workspace category or sub-category!