This article will guide you through creating inquiry subjects. These are effectively categories that members can attach to support inquiries, and which administrators can use to sort the inquiries they’ve received.
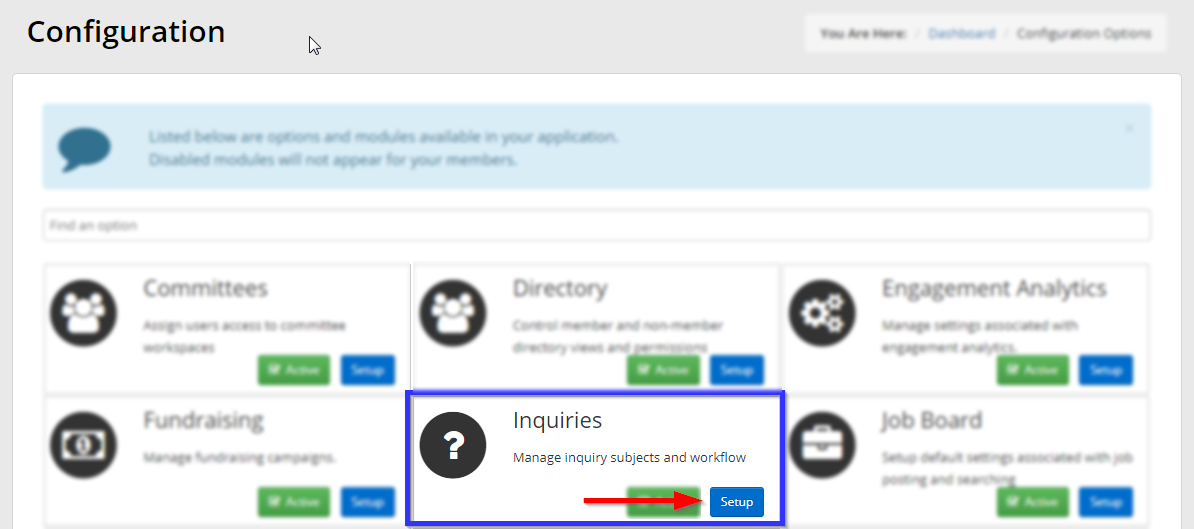
Accessing Inquiry Configuration
1. Log in to your Member365 Administrator Dashboard.
2. On the top bar, click ‘Options‘, and then ‘Configuration‘ from the drop-down menu that appears.

3. In the ‘Inquiries’ section, click ‘Setup‘.
Adding an Inquiry Subject
4. Next to ‘Inquiry Subjects’, click ‘Add‘.

5. On the ‘Add Inquiry Subject’ page, enter the name for this new category into the ‘Name’ text field.
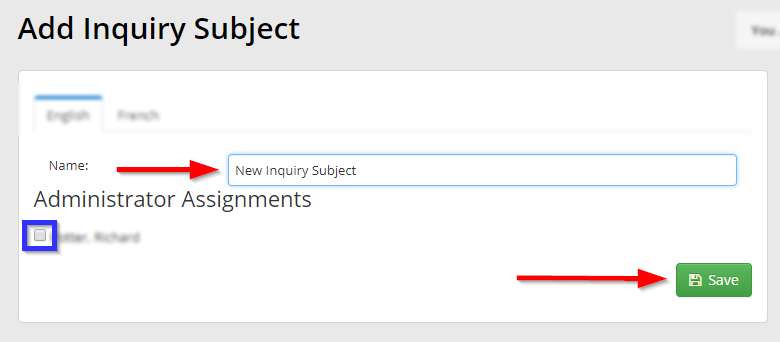
6. Use the checkboxes to select which administrators will be notified when an inquiry on this subject is submitted, then click ‘Save‘.
Congratulations, you have added an inquiry subject!