This article will guide you through creating a quiz: a form that draws from a large pool of possible questions and randomly selects which ones to present to the user. This feature allows you to create a test that is accessible through the Member Portal, though access to the form can be limited to any subset of members that you deem appropriate.
Beginning Form Creation
1. Log in to your Member365 Administrator Dashboard.
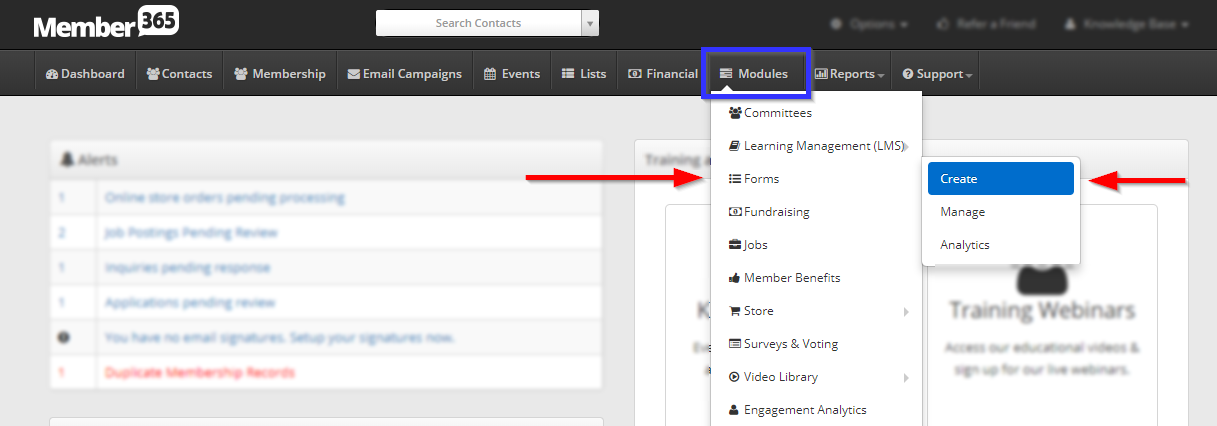
2. On the top bar, click ‘Modules‘, then hover over ‘Forms‘ and click ‘Create‘ in the newest drop-down menu.
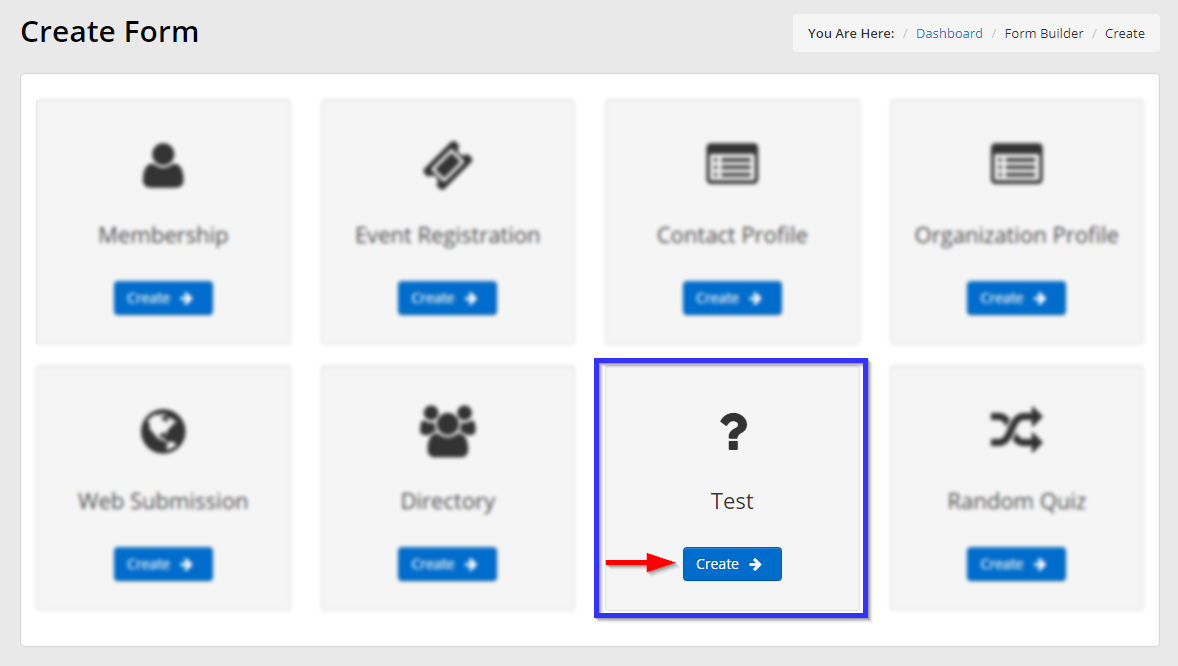
3. In the section marked ‘Test’, click ‘Create‘.
The first section of the form creation menu that appears is the first of several tabs; we’ll break down the options available in each one in the sections below.
Tab One: Setup
Basic Settings
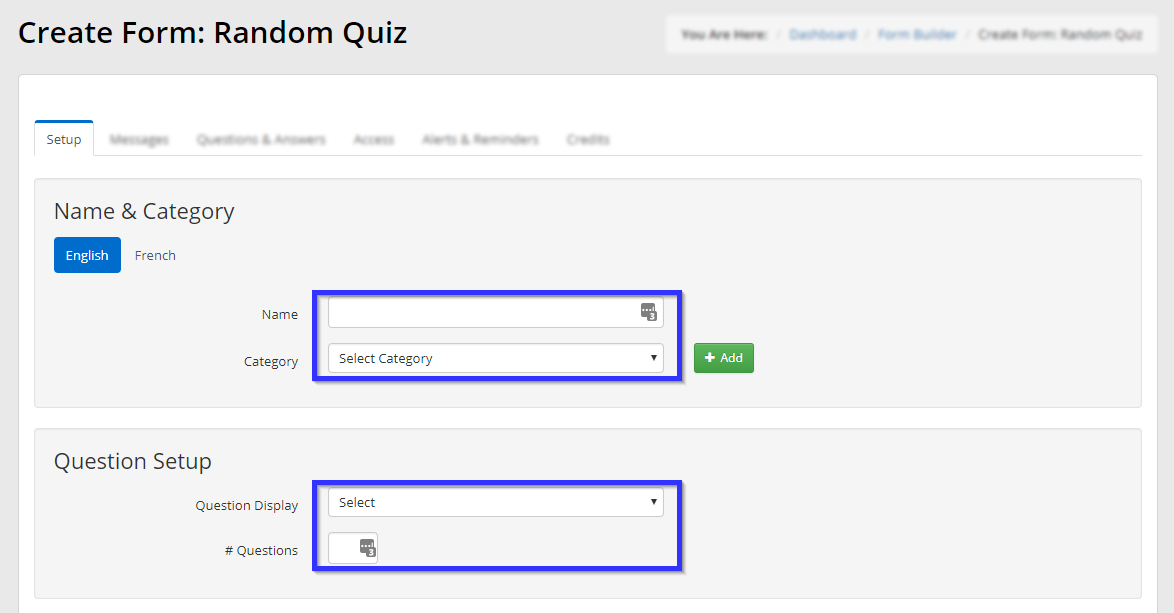
4. Give the form a name, and choose a category for it. Then select whether you’d like the questions in this form to be displayed all at once or one section at a time, with each section beginning and ending at points of your choice, and in the ‘# Questions‘ field, enter how many questions you would like this quiz to ask the user.
Grade & Results
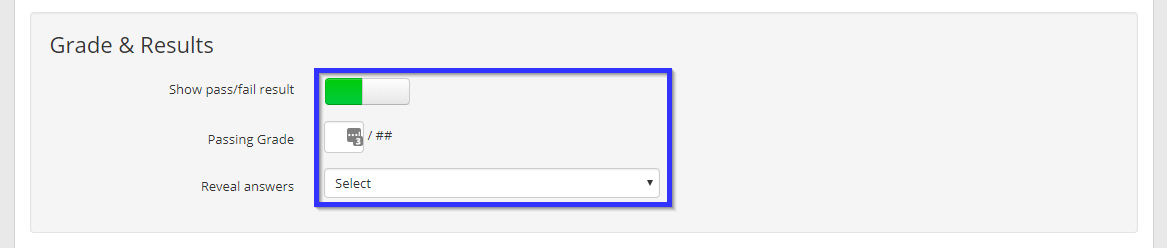
5. Turn the ‘Show pass/fail result‘ toggle to green to let the user see whether they have passed or failed once they have completed the quiz; enter a number into the ‘Passing Percentage‘ field to set the minimum percent threshold for passing this test.
Your options for ‘Reveal answers‘ are ‘Never‘, which means that the user will never be shown the correct answers, ‘On Submit‘, which will reveal all of the correct answers after the form is submitted, and ‘Per Question‘ to reveal each answer after each question is finalized. Note that ‘Per Question‘ will not appear as an option if you have chosen to display all questions on the same page.
If you choose any option other than ‘Never‘, you will see an additional toggle, and if it is set to green, you will see a new drop-down menu as well.

Enable ‘Show Feedback‘ to allow users to be shown feedback when they submit a question; select ‘Correct/Incorrect‘ from the drop-down menu to show users whether their answer was correct or not, or select ‘General‘ to show them a message that you will customize on a per-question basis.
Resubmission, Time Limit, Form Locking and Admin Notification
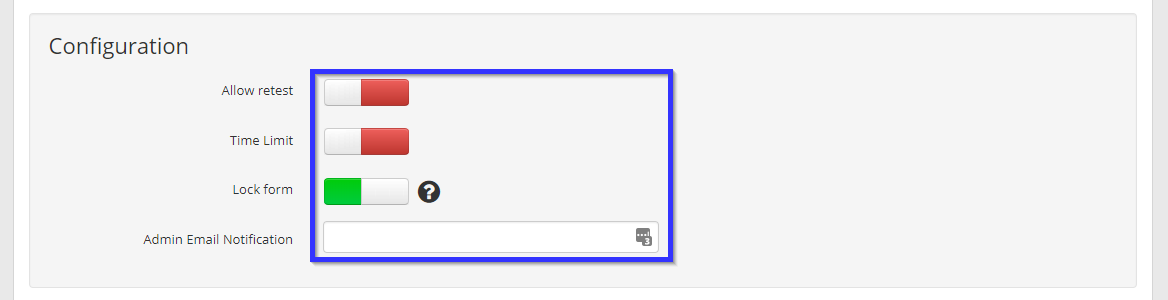
6. Set the ‘Allow retest‘ toggle to green to allow a user to submit this test again after submitting it for the first time. Enabling ‘Time Limit‘ will cause a new text field to appear; entering a number in that text field will prevent a user from spending more than that number of minutes on the test.
The ‘Lock form‘ toggle will, when turned green, prevent administrators from deleting this form. The email address you enter in ‘Admin Email Notification‘ will be sent a notification when users submit this form.
7. Proceed to the next tab by clicking ‘Messages‘ at the top.

Tab Two: Messages
Instructions
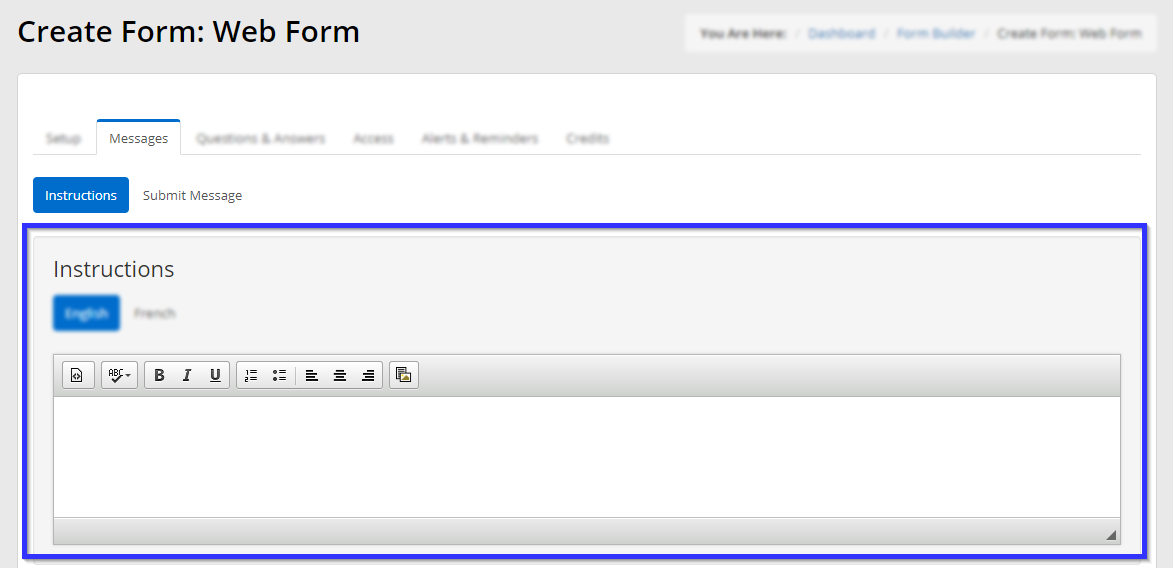
8. Use the rich text editor here to write a message that will be presented to the user as instructions presented ahead of the form.
Pass and Fail Messages
9. Click ‘Pass Message‘ and use the rich text editor there to write a message that will be presented to the user if they pass the quiz; click ‘Fail Message‘ to write the message that will be presented if they don’t.

10. Click the third tab, ‘Questions & Answers‘.

Tab Three: Questions & Answers
Adding Questions
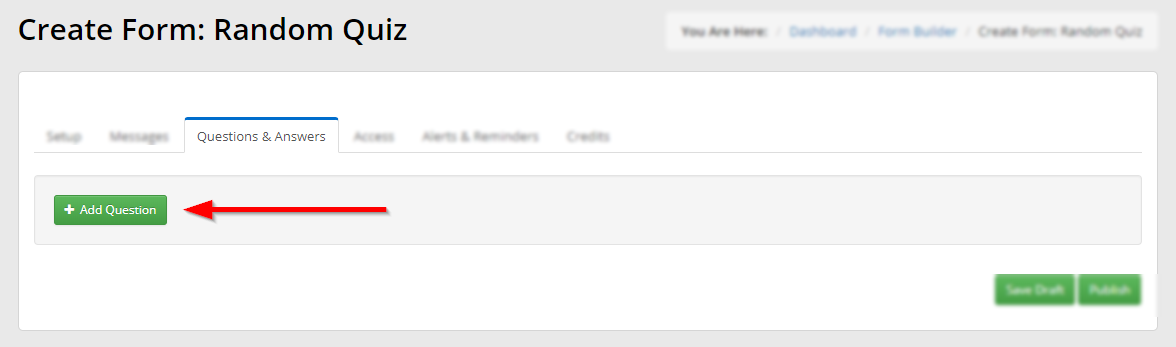
When creating a random quiz, you will create a pool of questions that will be drawn from at random. You set the number of questions to be used in total in step #4, and the quiz will pull from this pool until that total has been reached.
11. Click ‘Add Question‘ to begin.
In the window that appears, enter your question, choose whether to align the answers horizontally or vertically, and decide whether this question will have one or multiple correct answers.
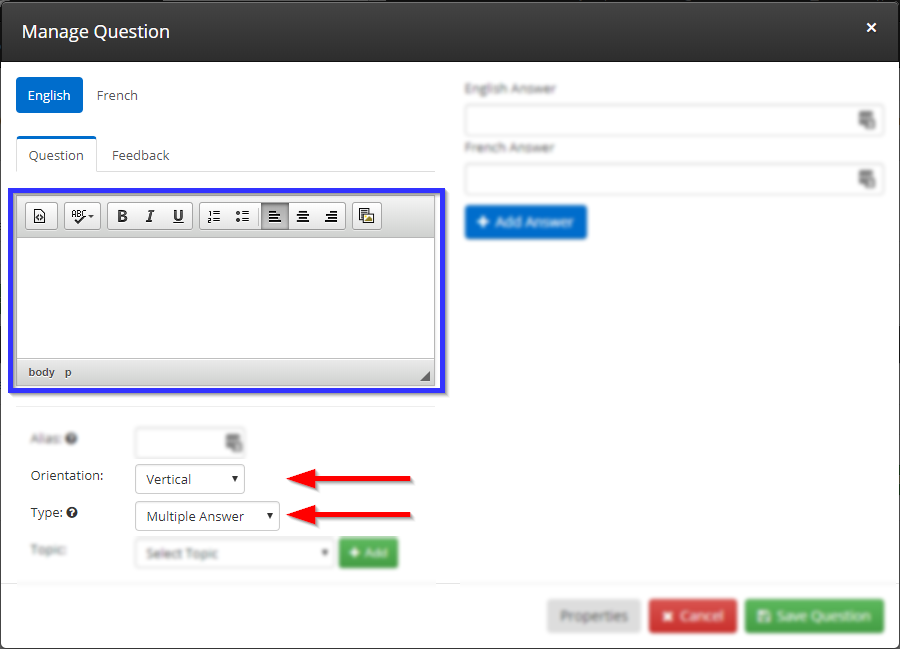
On the right, enter answers in the appropriate languages and click ‘Add Answer‘; repeat for as many answers as you would like, then use the radio buttons (which will be checkboxes if you have decided to allow multiple correct answers) to select the correct answer or answers.
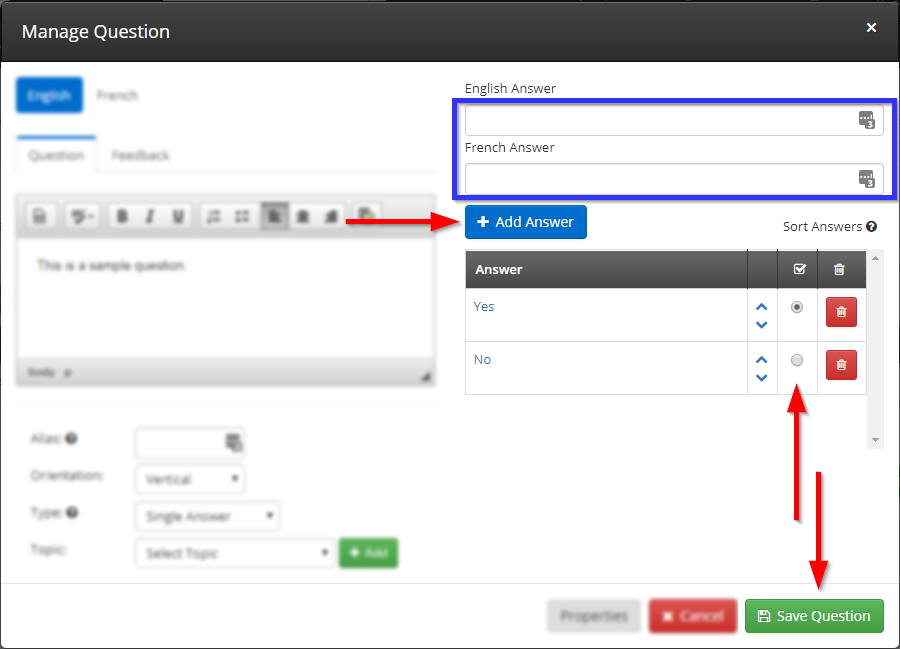
Click ‘Save Question‘. Repeat this step for as many questions as you would like to add to this quiz’s question pool.
12. Click the ‘Access‘ tab to continue.

Tab Four: Access
Category Selection
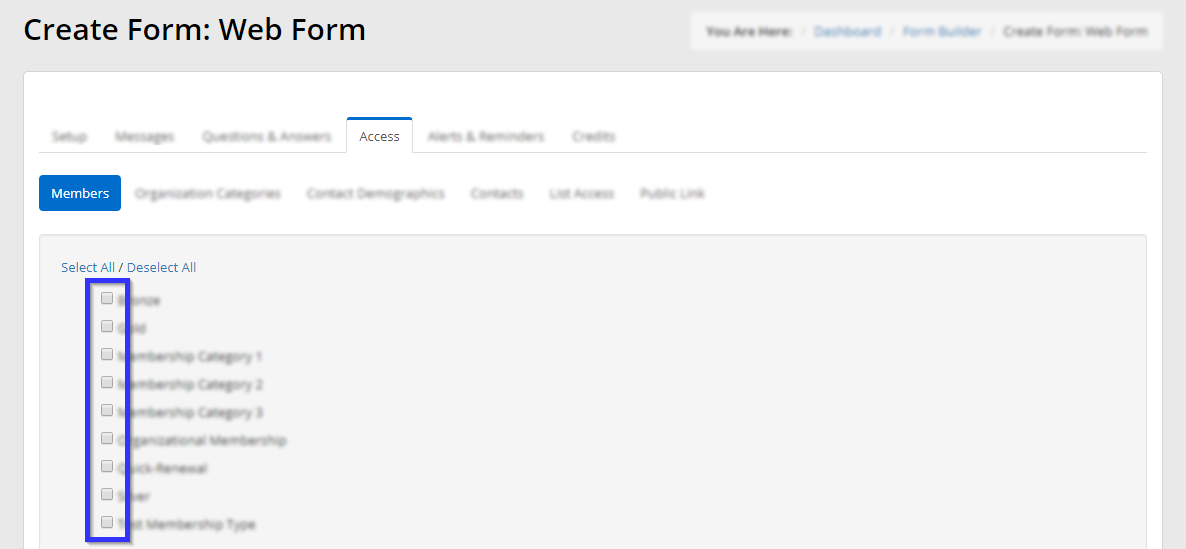
13. Clicking any of the first three sub-tabs — ‘Members‘, ‘Organization Categories‘, or ‘Contact Demographics‘ — will bring up a corresponding list of categories; filling in the checkbox next to any entry in this list will give access to that membership category, organization category, or contact demographic.
Contact Selection
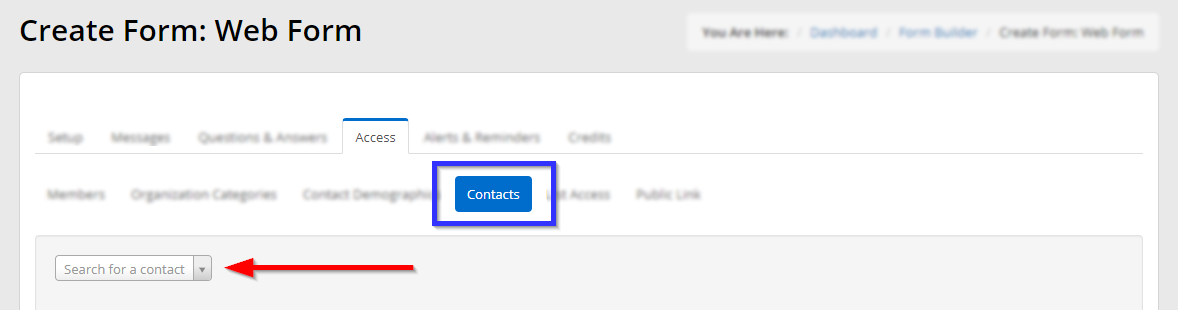
14. Click the fourth sub-tab, ‘Contacts‘, to access a tool that will allow you to add individual contacts. Enter their name or email address in the bar indicated, and click their name when it appears.
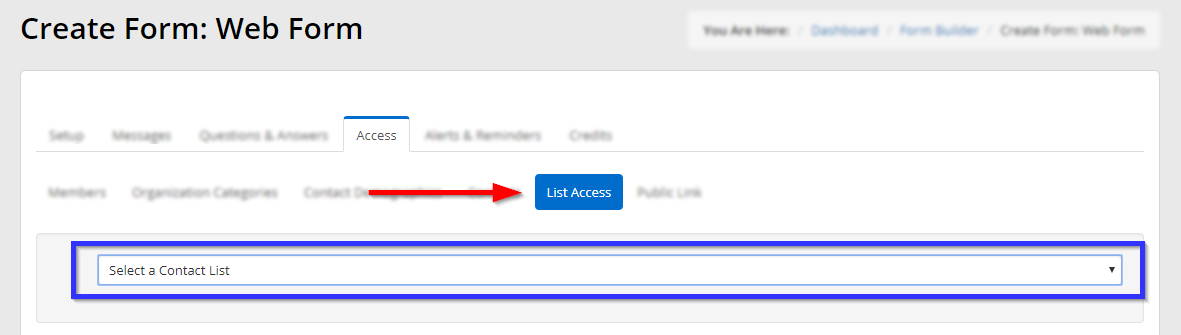
15. The next sub-tab allows you to grant access to a list created in Listbuilder.
16. Once you have assigned access to all the users you intend to, click the ‘Alerts & Reminders‘ tab to continue.

Tab Five: Alerts & Reminders
Alerts
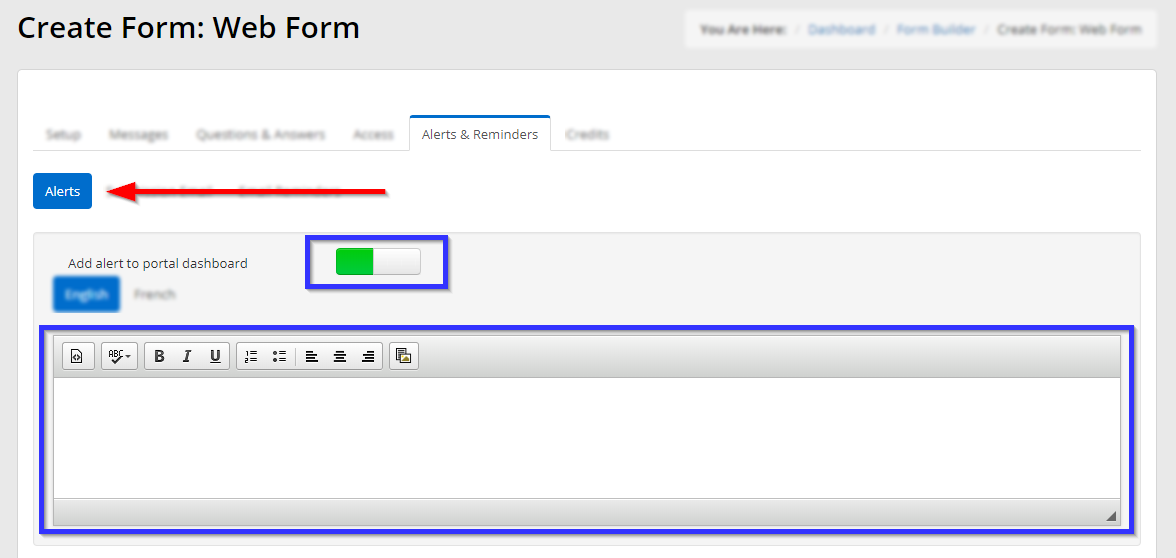
17. Under the first sub-tab, ‘Alerts‘, turning the toggle switch to green will reveal the text editor seen below; turning this toggle switch green and entering a message will cause it to be shown on the portal dashboard for anyone with access to this form.
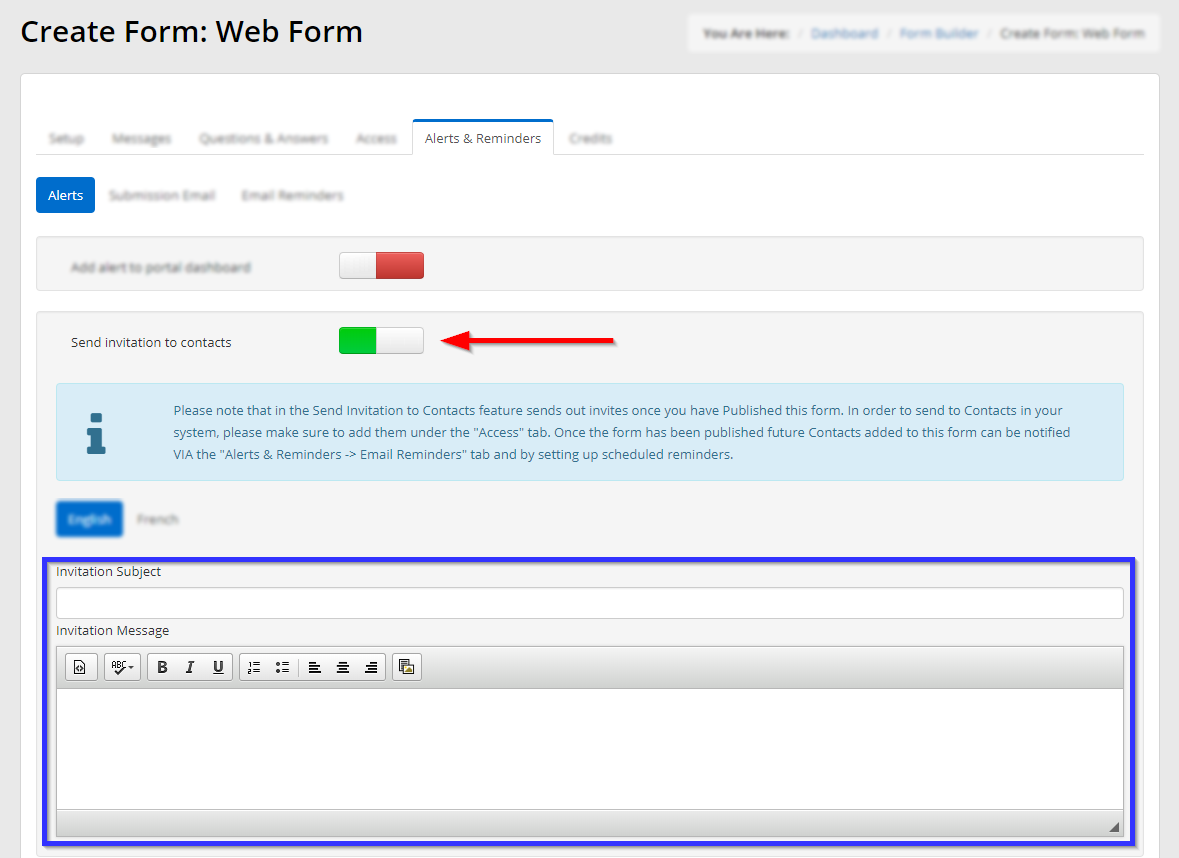
The next toggle works much the same way: toggling it on will cause a new text editor to appear, and composing an email here will cause it to be sent out as an invitation to all contacts who can access it.
Submission Email
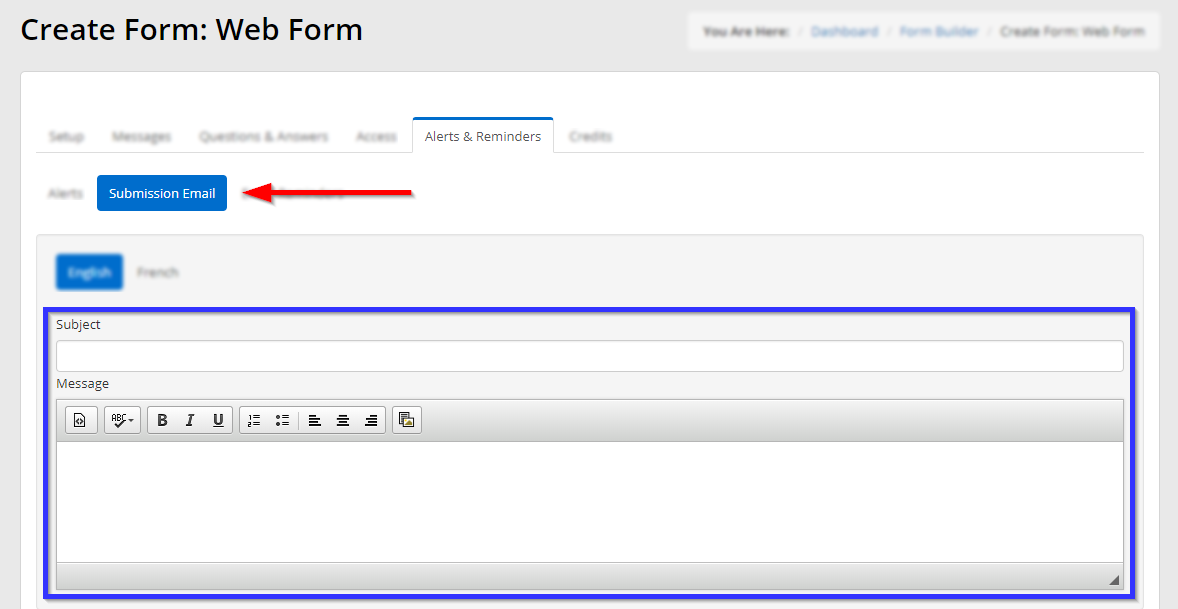
18. Click the ‘Submission Email‘ sub-tab to create the message that will be sent to the user acknowledging their submission.
Email Reminders
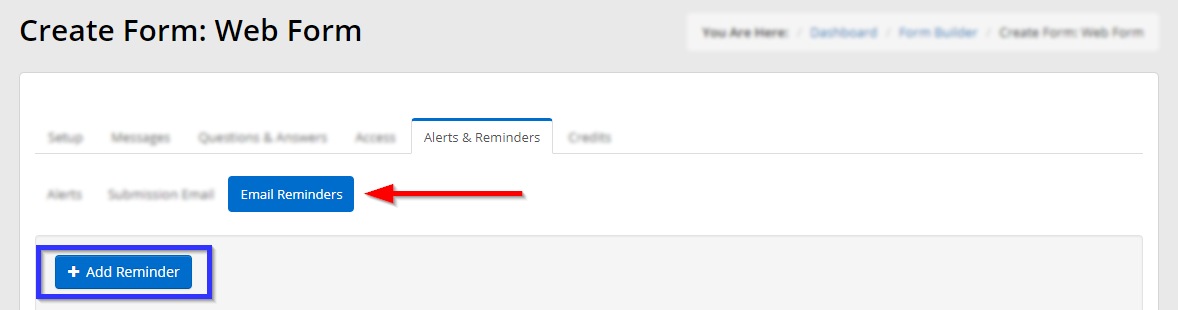
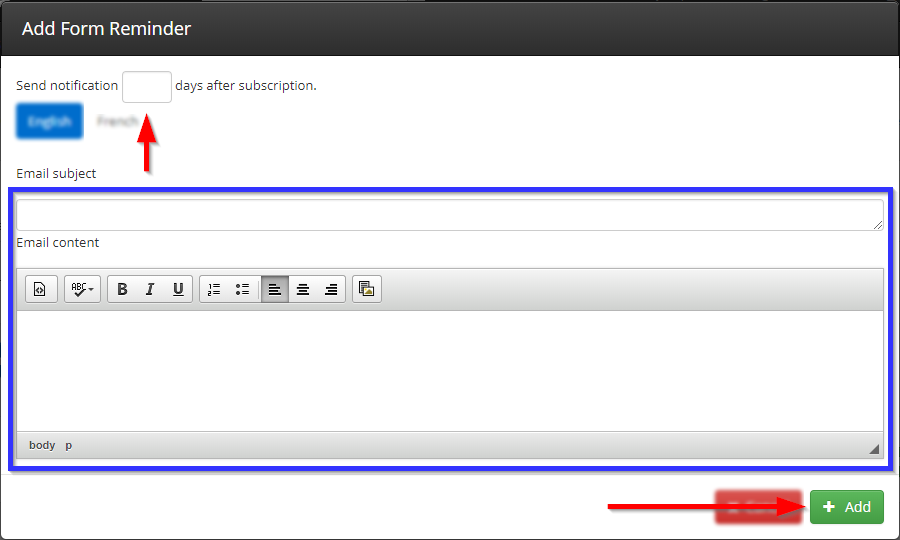
19. Click the ‘Email Reminders‘ sub-tab and then click ‘Add Reminder‘ to create a reminder that will be sent out to a user who has subscribed to the form but has not submitted it.
20. Use the first box to enter the number of days after subscription that this email will be sent, and then use the next two fields to compose the email. Click ‘Add‘ when you are satisfied.
21. If you wish to add credits for this form, click the last tab, ‘Credits‘, or skip to step 23.

Tab Six: Credits
22. To award a certain number of credits for submitting this form, turn the toggle switch green and enter that value in the text field.
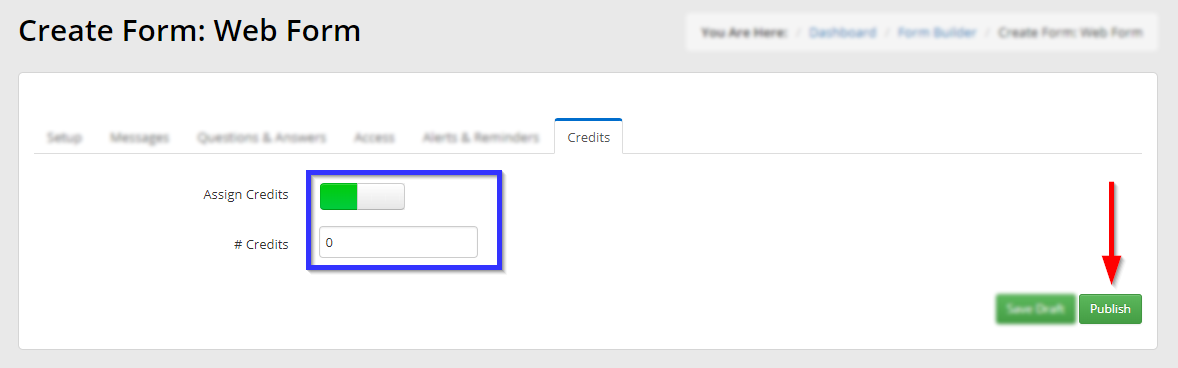
23. Click ‘Publish‘.
Congratulations, you have created a test!