This article will describe how to create a new contact demographic, offering you another method of organizing your contacts into lists.
Accessing Contact Demographics
1. Login to your Member365 Administrator Dashboard.
2. On the top bar, click “Contacts”.

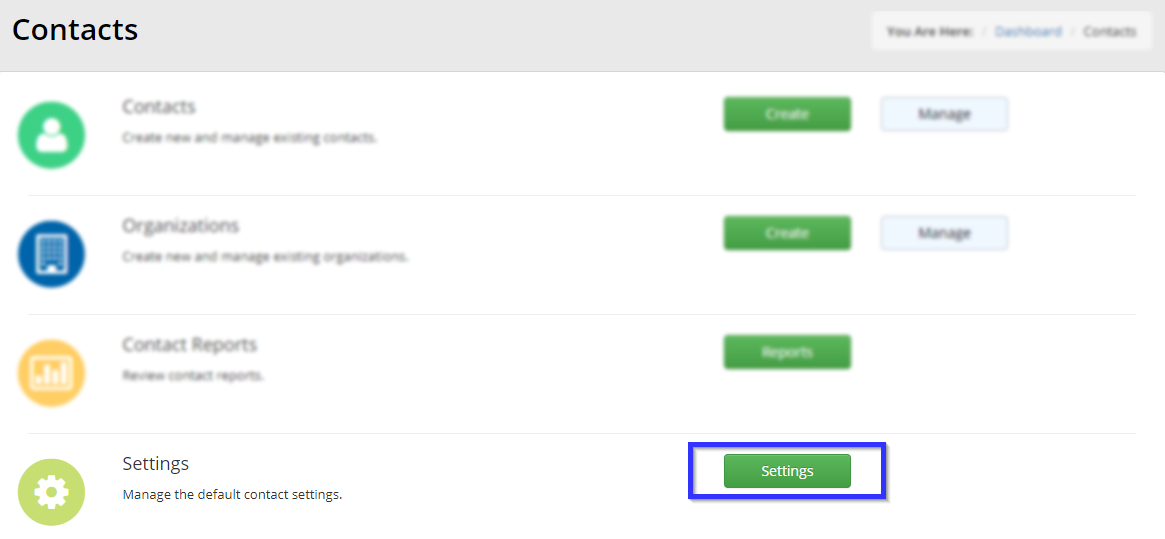
3. Click “Settings”.
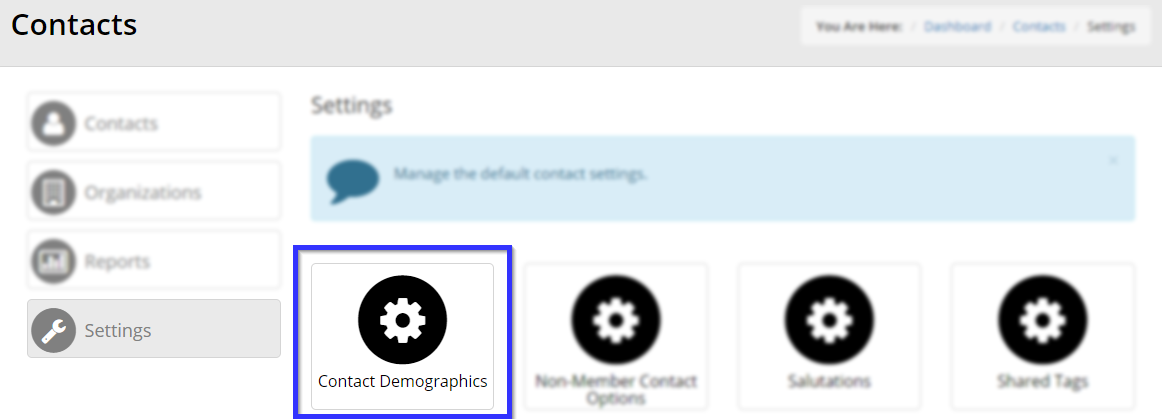
4. Click “Contact Demographics”.
Creating a Contact Demographic
5. Click “Create Contact Demographic”.

6. You will be presented with multiple options in the Add Contact Demographics screen.
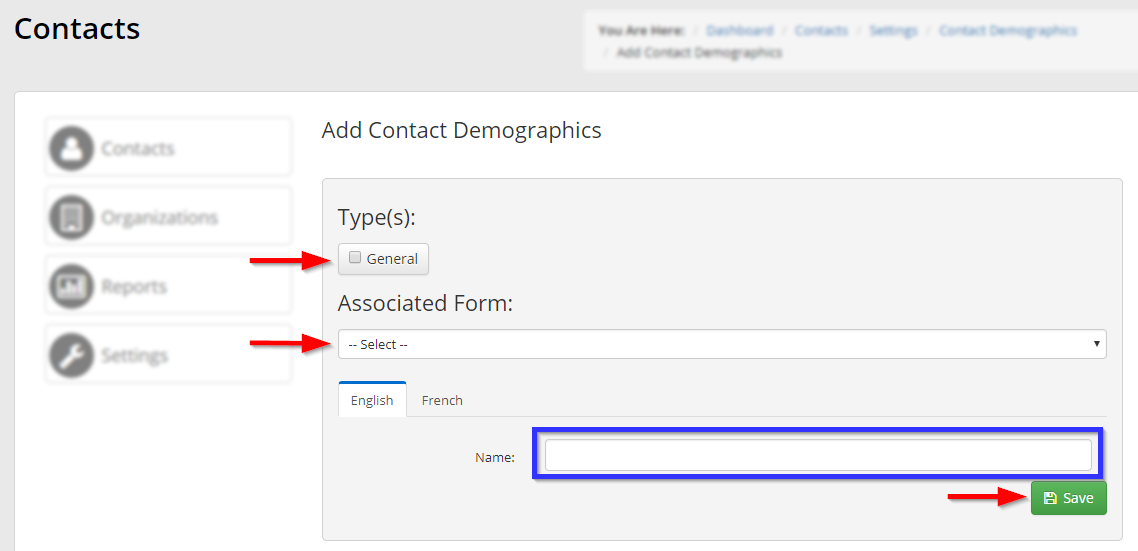
Type: clicking checkboxes under “Type(s)” allows you to place your new contact demographic into one or multiple categories.
Associated Form: if you have created any forms categorized as a Contact Profile (see our Knowledge Base article on creating a form), these forms will appear in the drop-down box; select one to associate it with this contact demographic.
7. Enter a name for your new contact demographic into the indicated text box: “Client”, “Vendor”, etc.
8. Click “Save” to save your work. If you were successful, you will be returned to the Contact Demographics page, where you will see your new demographic and a message indicating your success.
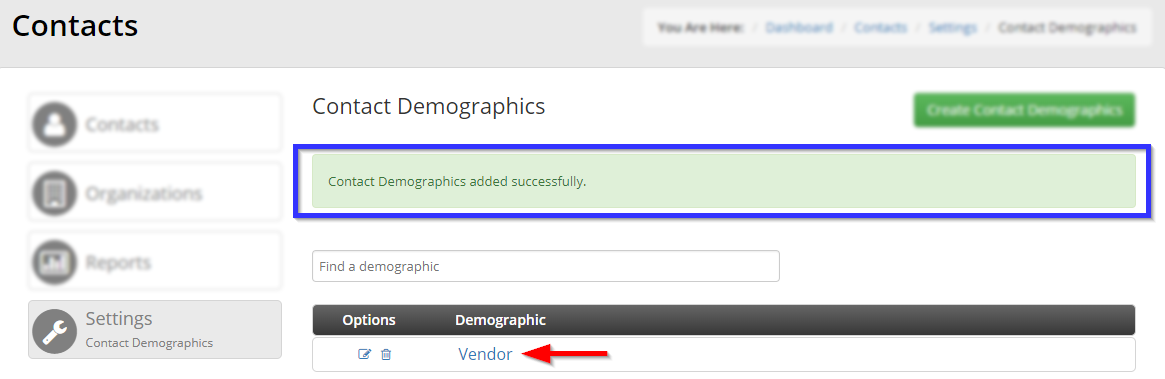
Congratulations, you have created a new contact demographic!