This article will guide you through creating a contact profile form. A contact profile form is used to compile details that will be included within a contact’s profile and become viewable internally, by administration, as opposed to a directory form meant to compile details for public-facing directory searches.
Contact profile forms are accessible to the user via their account options in the Member Portal, assuming that the contact demographic corresponding to the form has been enabled in their contact record.
To associate this contact profile form with a specific contact, follow the instructions in this Knowledge Base article.
Beginning Form Creation
1. Log in to your Member365 Administrator Dashboard.
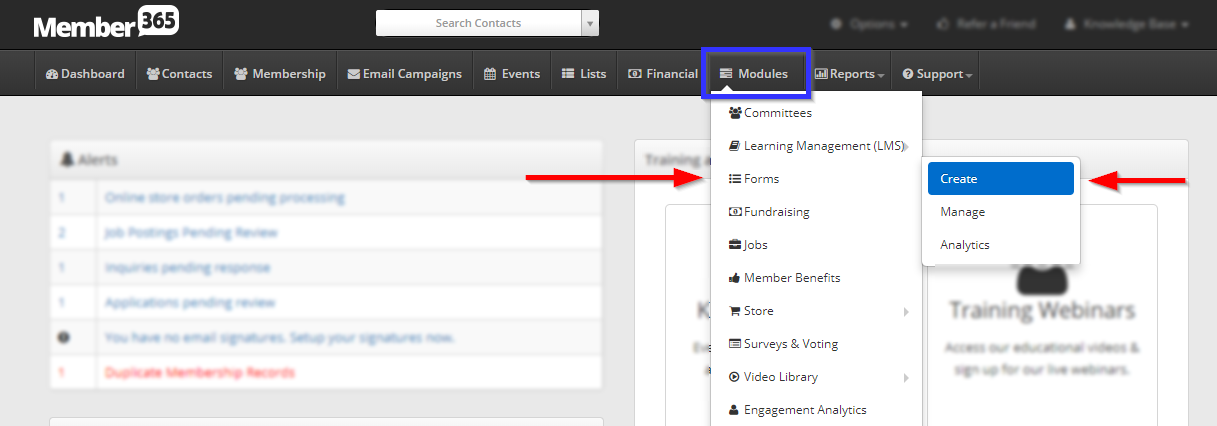
2. On the top bar, click ‘Modules‘, then hover over ‘Forms‘ and click ‘Create‘ in the newest drop-down menu.
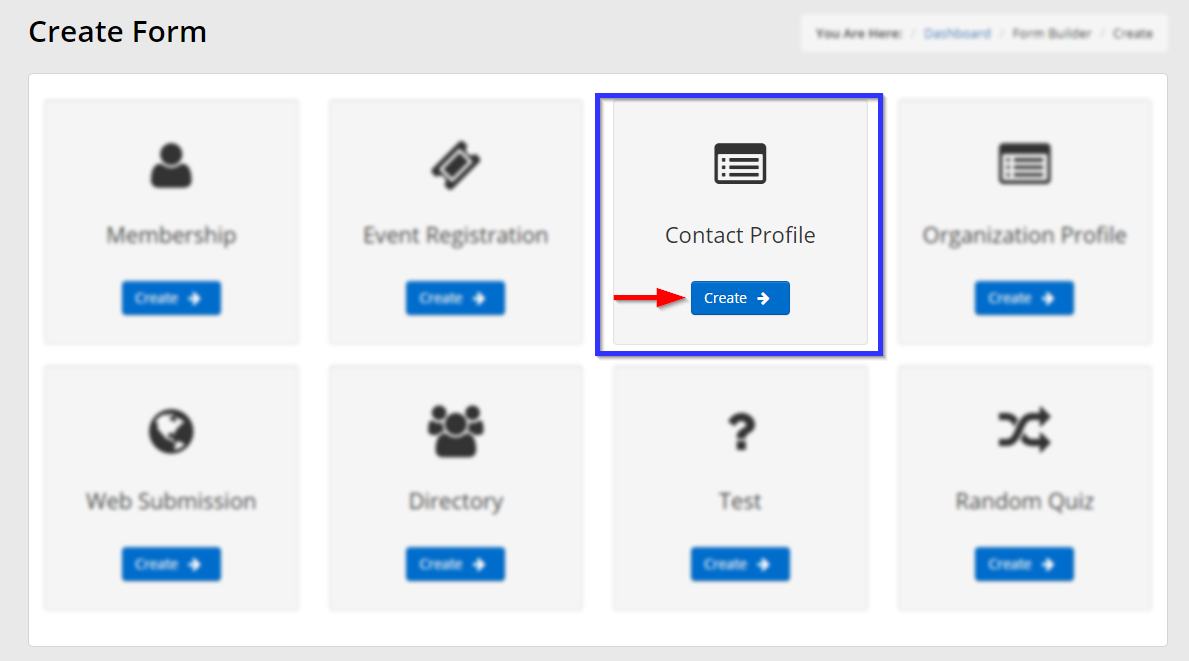
3. In the ‘Contact Profile’ box, click ‘Create‘.
4. Enter a name for your form that you’ll remember for later, and decide whether you would like to allow the user to resubmit this form — if so, set the toggle that appears red in this image to green:
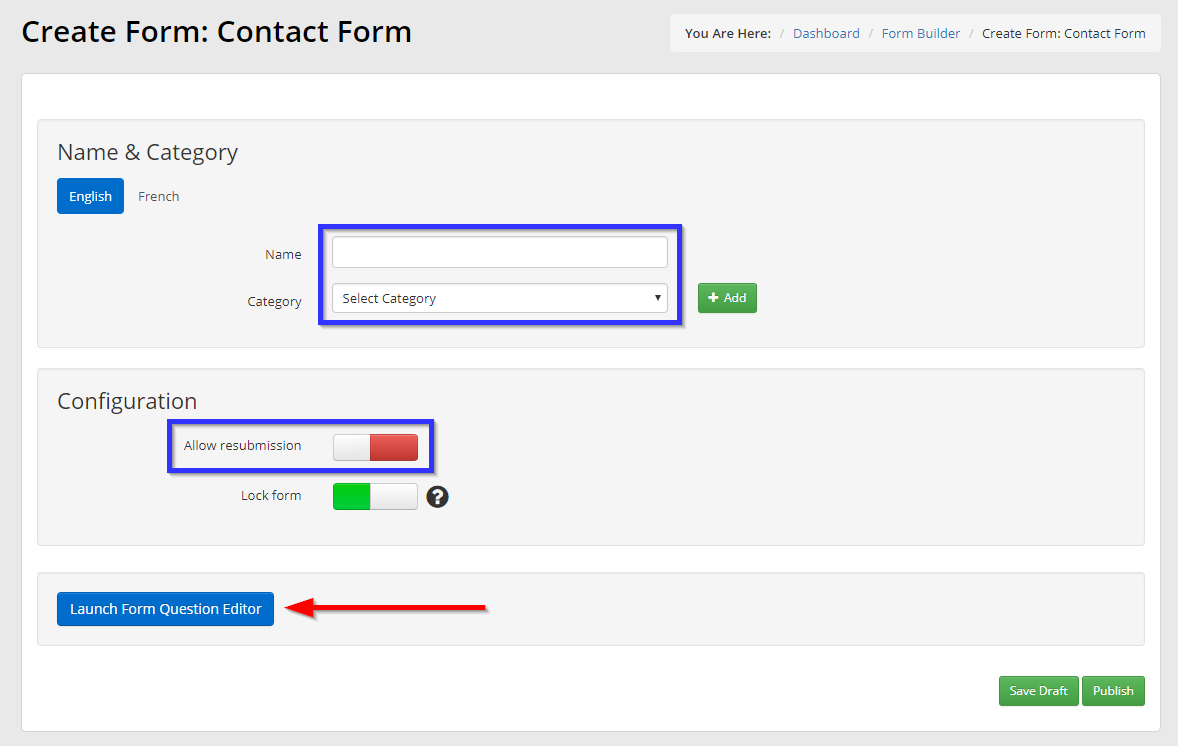
5. If an appropriate category exists, select it from the ‘Category’ drop-down menu and skip to step 7. If there is no appropriate category, proceed to the next step.
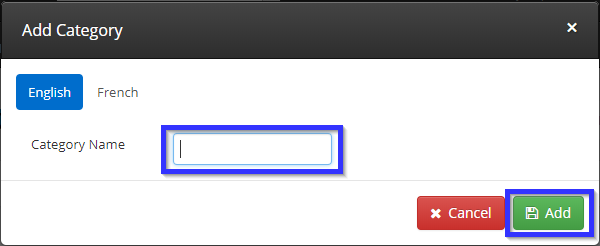
6. Click the ‘Add’ button pictured in the previous step, then enter a name for this new category in the box that appears. Click ‘Add‘, then select the name from the drop-down menu indicated in the previous step.
Designing Your Form
7. Click the button labelled ‘Launch Form Question Editor‘ indicated in step 5. See our guide on using the Form Question Editor. Once you are done creating your form, click ‘Save‘.
8. Click ‘Publish‘ on the page you return to after completing the form.
Congratulations, you have created a contact profile form!