This article will guide you through creating a Committee.
Accessing Committee Configuration
1. Log in to your Member365 Administrator Dashboard.
2. On the top bar, click ‘Options‘, then ‘Configuration‘ from the drop-down menu that appears.

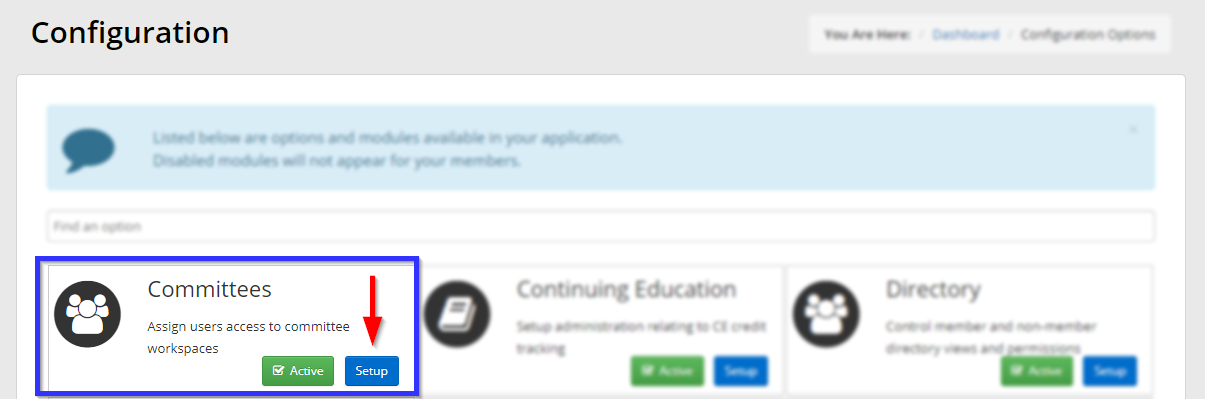
3. In the ‘Committees’ section, click ‘Setup‘.
Creating a Committee
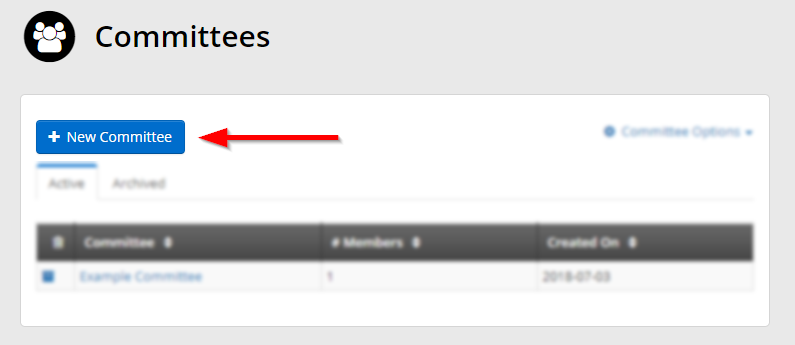
4. Click ‘New Committee‘.
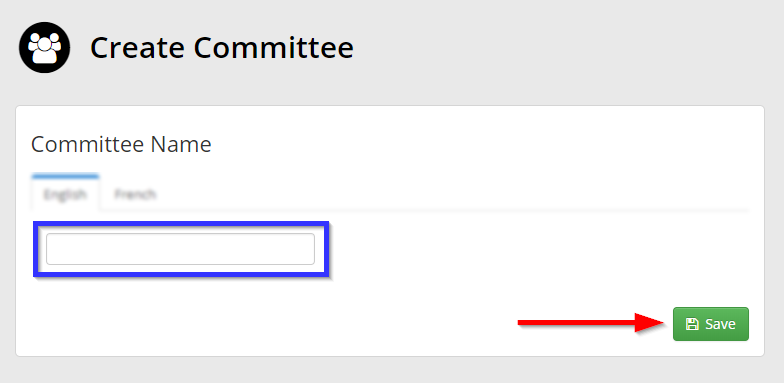
5. Enter a name for this Committee in the text box, and then click ‘Save‘.
6. Enter a description for this Committee in the indicated text box, and then click ‘Workspace‘ if you wish to enable a Workspace for this Committee. Otherwise, skip to the last step of this guide.

Creating a Workspace
7. First ensure that the toggle shown below is set to green; if it is not, then the options indicated below will not appear. Use the indicated text boxes to enter a name and welcome message for this workspace.

8. Scroll down the page to find additional options.
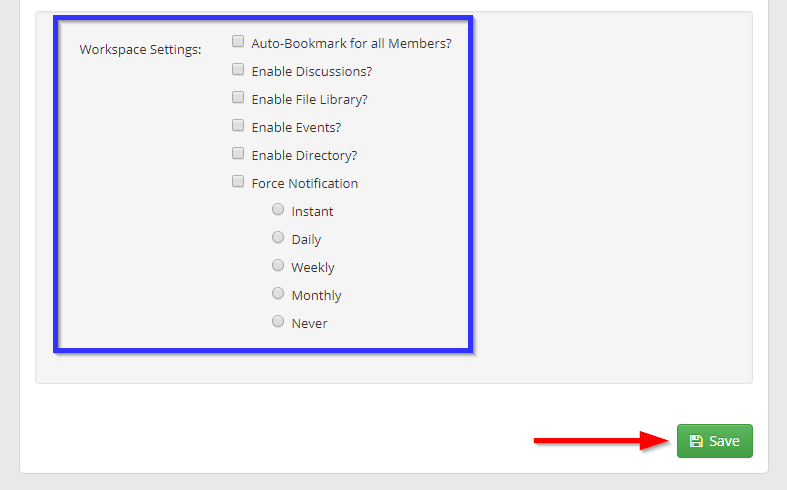
If selected, the workspace will be bookmarked on the member portal homepage by default.
Enable to allow members to post discussions.
Enable to allow files to be uploaded to this workspace.
If selected, you can make an event available only to members in this workspace.
If enabled, creates a directory for this committee.
If enabled, notifications will be sent to everyone in the workspace when something is posted, changed, uploaded, etc. Select the frequency to decide how often these notifications will be sent out.
9. Once you are done, click ‘Save‘.
Congratulations, you have created a Committee and its workspace!