This article will describe how to configure your job board by adding salary types.
The salary types you set up here will define the options your Job Board users are able to select when creating job posts. Examples include part time, full time, contract, casual, etc.
Accessing Job Board Configuration
1. Login to your Member365 Administrator Dashboard.
2. On the top bar, click ‘Options‘, and then click ‘Configuration‘ from the drop-down menu that appears.

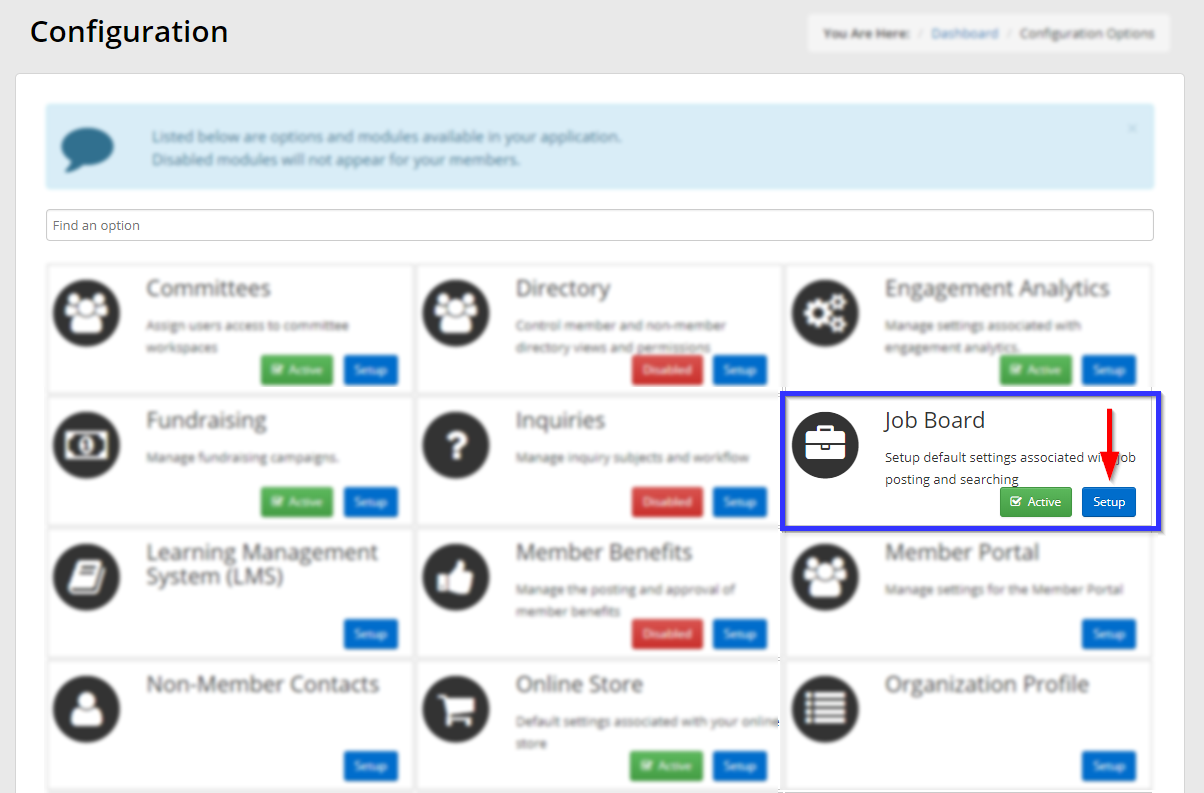
3. In the section marked ‘Job Board‘, click ‘Setup‘.
Adding a Salary Type
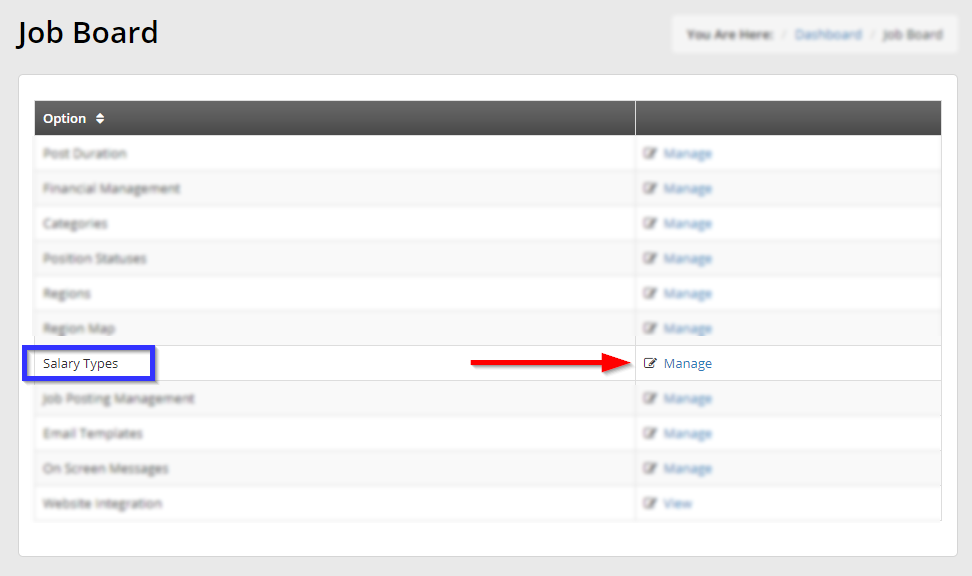
4. In the Job Board configuration screen, next to ‘Salary Types‘, click ‘Manage‘.
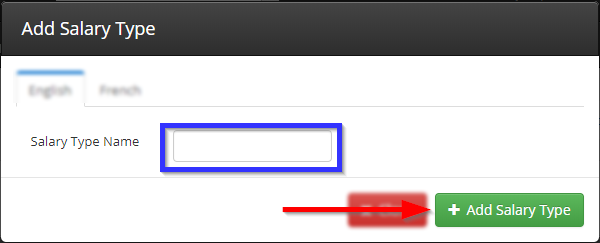
First, click ‘Add Salary Type‘. In the window that pops up, enter the name of the position status into the text box, and then click ‘Add Salary Type‘.
Editing a Salary Type
To edit a salary type, click its name in the list to produce a dialogue box:
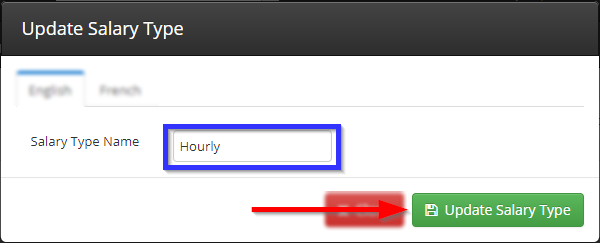
Make any desired changes to the label in the text box, then click ‘Update Salary Type‘.
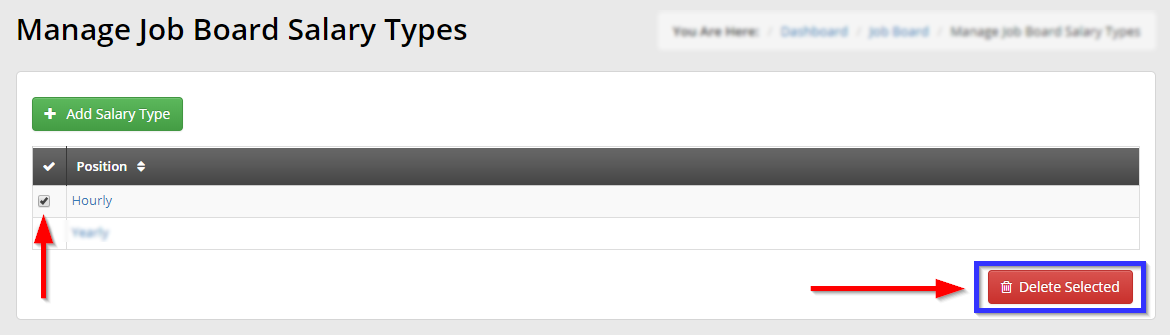
Deleting a Salary Type
To delete a salary type, click the checkbox next to its name (or next to multiple types, if you wish to delete more than one at a time), click the ‘Delete Selected‘ button that appears at the bottom of the list once one checkbox is filled, and then click ‘Confirm‘ in the dialogue box that pops up.
Congratulations, you’ve learned to create, edit and delete salary types!
Continue Configuration
To continue setting up your Job Board, head to our next ‘Getting Started’ article, How to Configure On-Screen Messages Displayed During Job Posting Creation.