This article will walk you through editing the fees that users must pay in order to add postings to your job board, as well as how to set possible payment methods.
Accessing Job Board Configuration
1. Login to your Member365 Administrator Dashboard.
2. On the top bar, click ‘Options‘, and then click ‘Configuration‘ from the drop-down menu that appears.

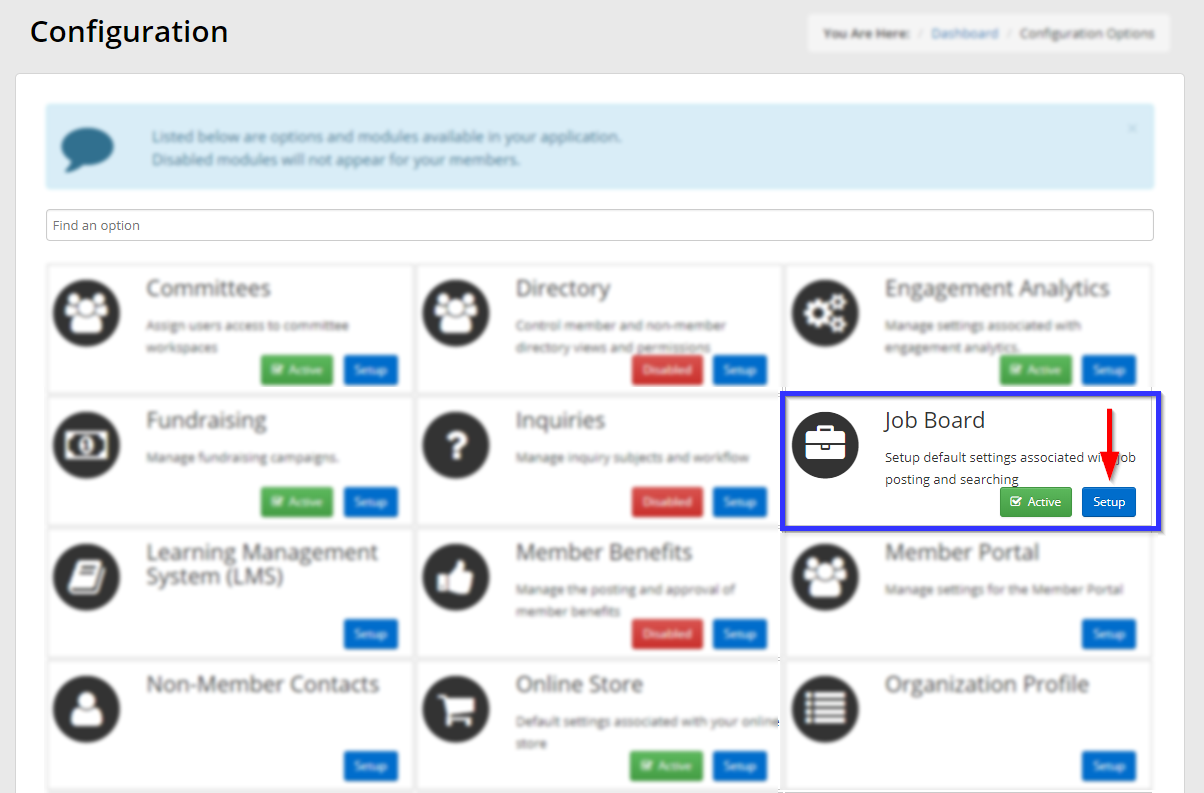
3. In the section marked ‘Job Board‘, click ‘Setup‘.
Configuring Job Board Fees
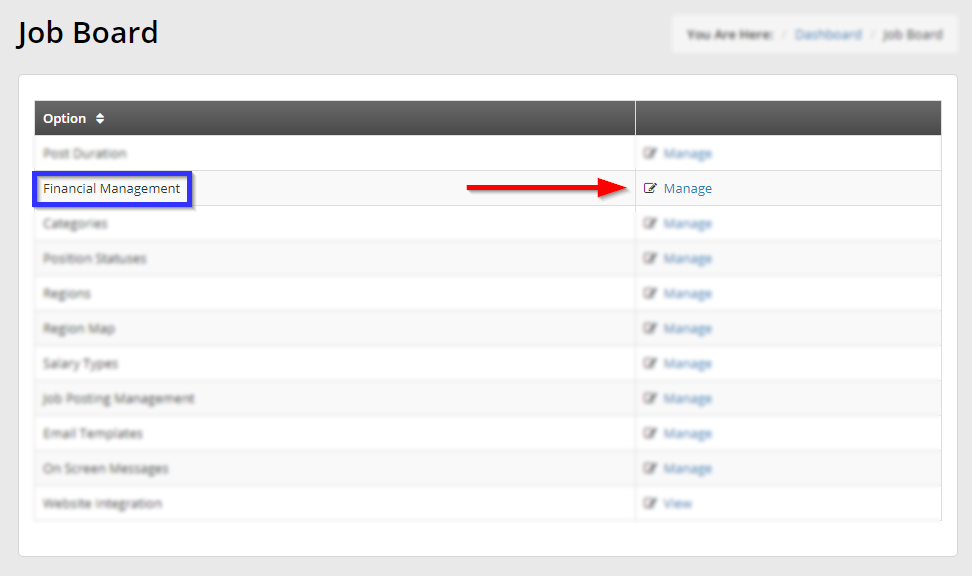
4. From the Job Board configuration menu, next to ‘Financial Management‘, click ‘Manage‘.
The configuration menu for job board fees looks like the following:
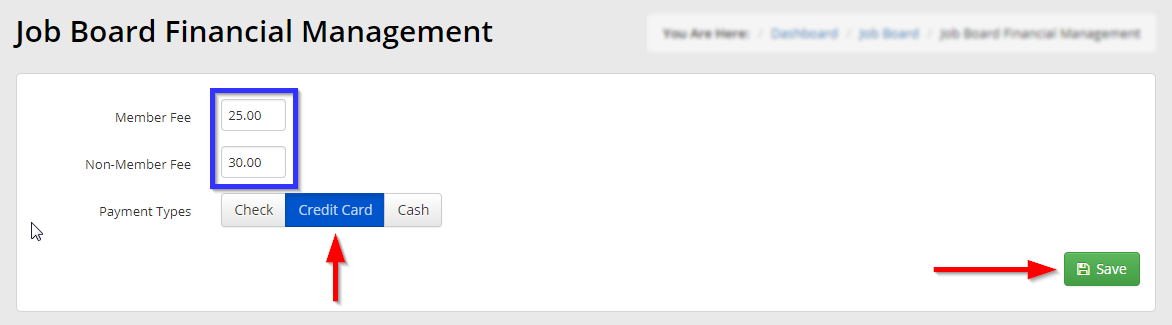
The first two text fields allow you to set the fee charged to members and non-members, respectively, for adding a job posting. The third option allows you to select what payment types are permitted; in the above example, only credit card payment is allowed.
Click ‘Save‘ once you are satisfied, and you’ll have configured your job board posting fees!
Continue Configuration
To finish configuring your Job Board, step through our final guide: How to Access Website Integration Code for the Job Board