This article will guide you through configuring the receipts issued to those who donate to your fundraising campaigns.
Accessing Fundraising Configuration
1. Log in to your Member365 Administrator Dashboard.
2. In the upper-right, click ‘Options‘, and then ‘Configuration‘ from the drop-down menu that appears.

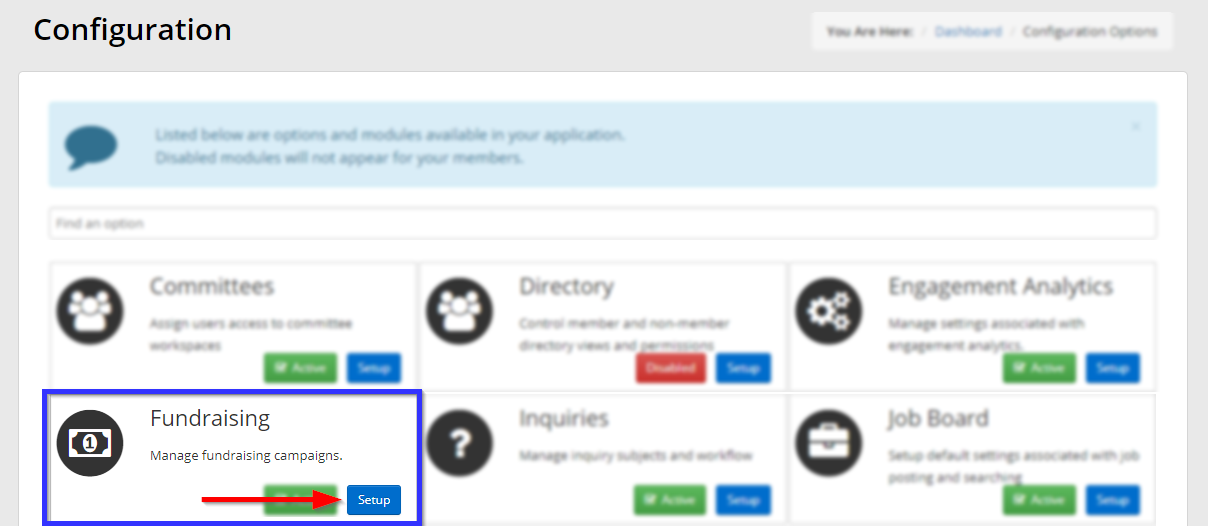
3. In the ‘Fundraising’ section, click ‘Setup‘.
Configuring Fundraising Receipts
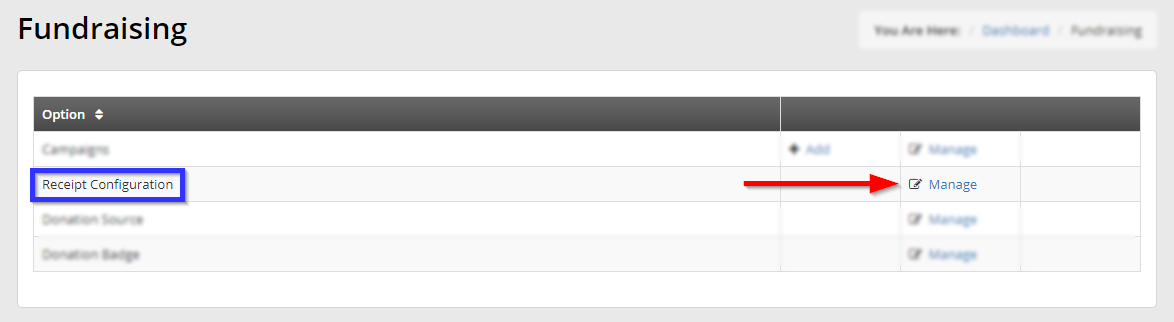
4. Next to ‘Receipt Configuration’, click ‘Manage‘.
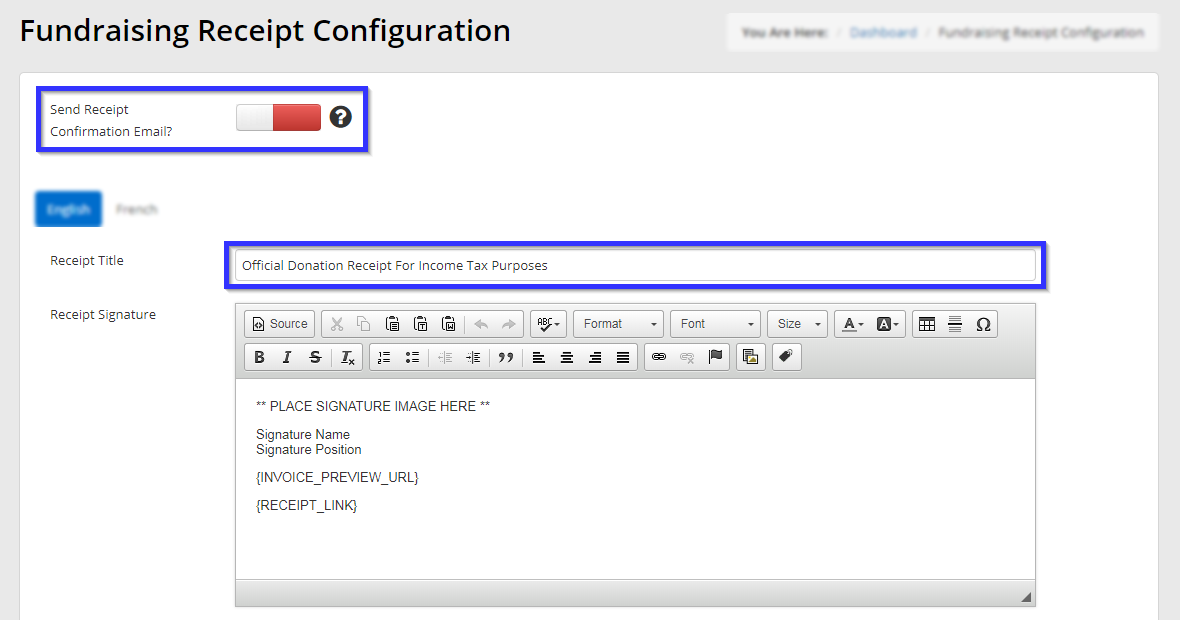
5. There is a single toggle setting here: whether you would like members to receive a an email containing a link to this receipt. Below that is the title that will appear at the top of their receipt; edit the contents of this text box to change it.
6. Next, we’ll configure the contents of the receipt itself. We’ve created a sample receipt and labelled the elements of it in the order they appear on this configuration page; the two unmarked elements are your organization’s address and the donor’s address, in that order, and elements one through five are the signature, logo, footer, data footer, and donation order, in that order.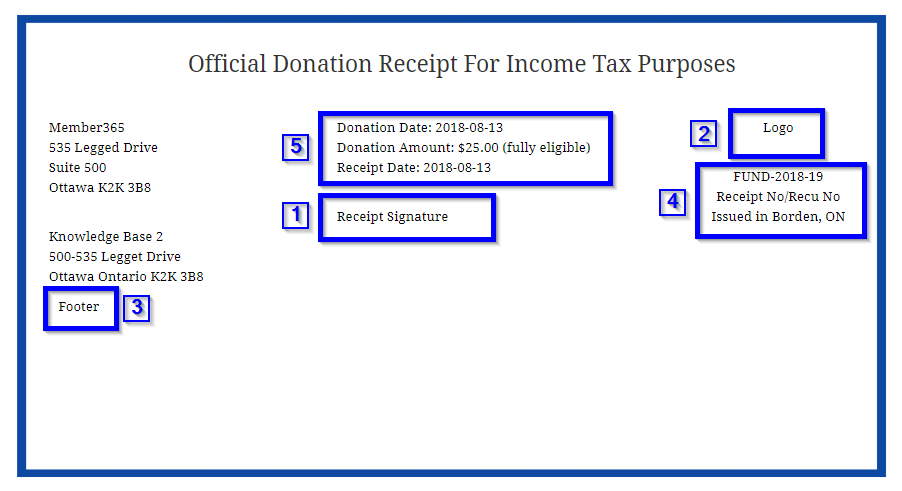
Advance through the corresponding rich text editors and edit the contents to your liking.
Using Tags
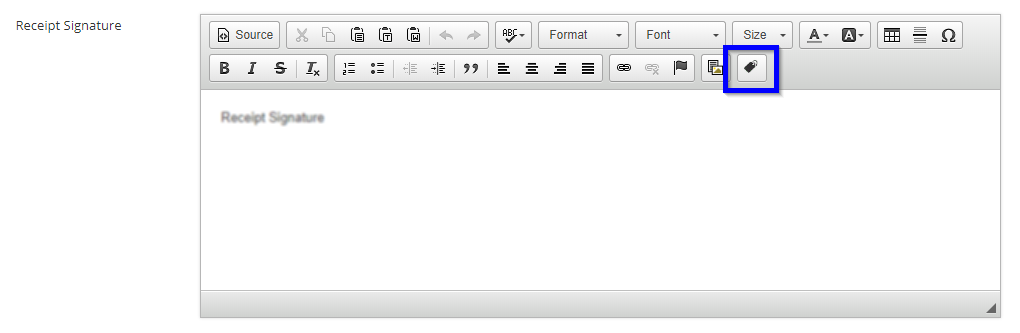
You will likely wish to make use of the tag feature, accessed by clicking this button within each editor:
Clicking this button will open a small menu featuring a number of tags, which are pre-defined pieces of text that will be automatically replaced by information relevant to the user:
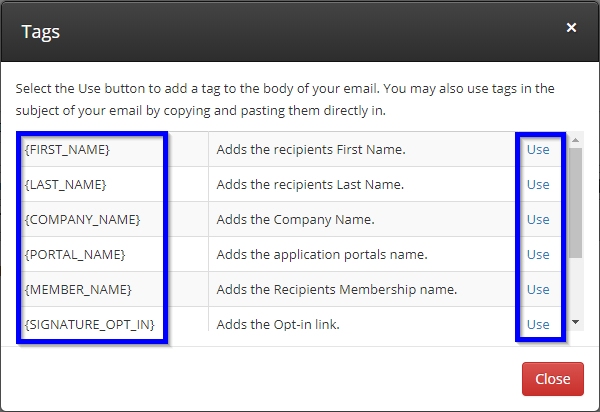
For instance, if you wish for the user’s first name to appear in this receipt, either add the text {FIRST_NAME} or click ‘Use‘ in this window to insert that text at the current position of your cursor.
Editing the Receipt Confirmation Email
After advancing through the first five text editors, you can also edit the contents of the email that will be sent to the user to confirm their donation. Scroll to the bottom of the configuration page to find this section:
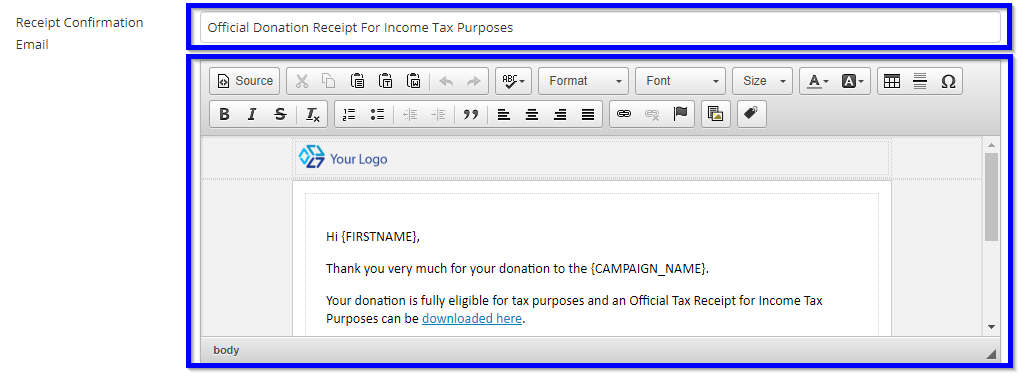
Edit the title and body of this email if you would like, and then click ‘Save‘.
Congratulations, you have configured your fundraiser donation receipts!