This article will guide you through cancelling or removing an event registration, which includes cancelling the associated unpaid invoice.
Impersonating a Contact
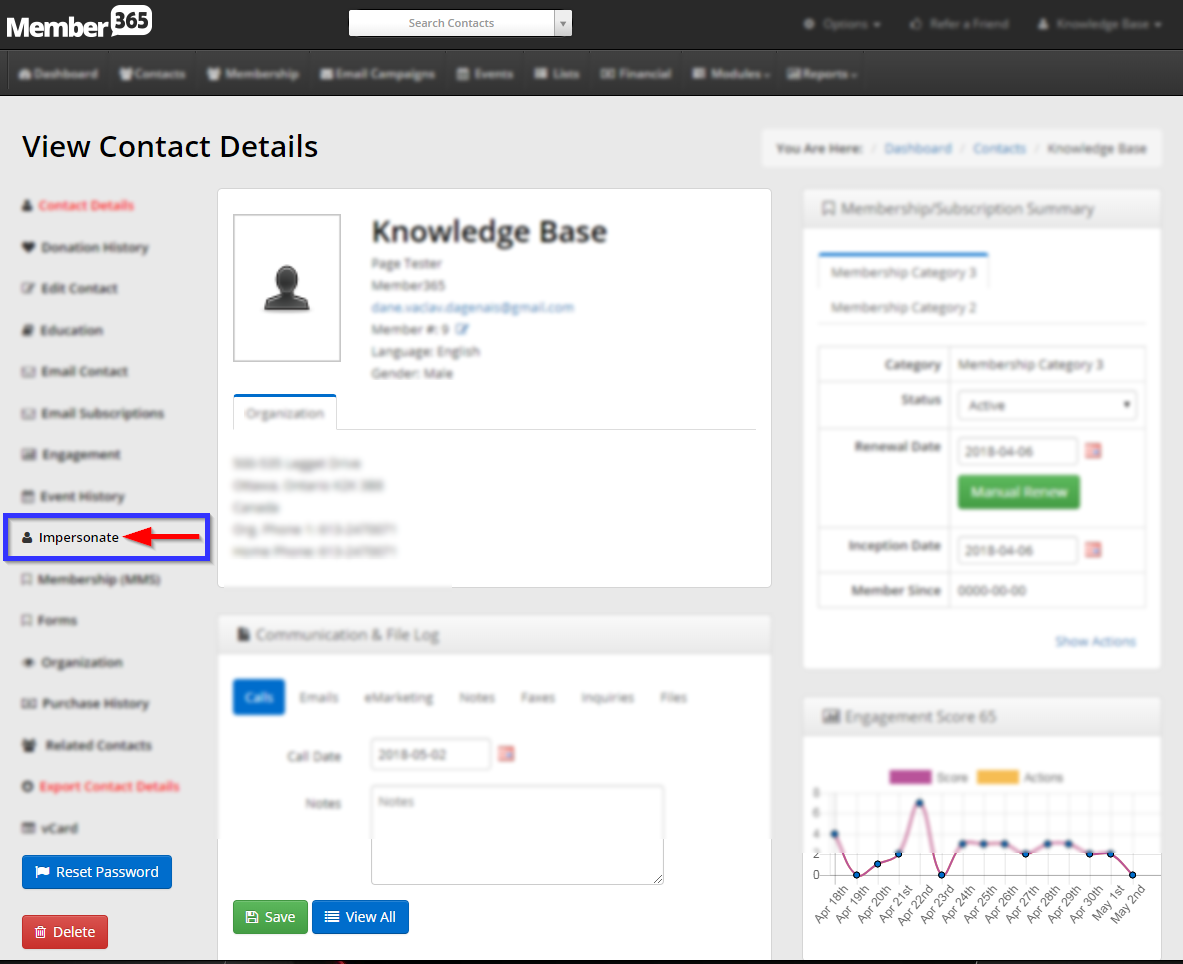
1. Login to your Member365 Administrator Dashboard.
2. Click the ‘Search Contacts‘ bar and enter the name of the contact to whom you would like to assign an event registration. Click their name once it appears.

3. On their contact profile, click the ‘Impersonate‘ button on the left-hand side; click ‘Continue‘ in the prompt that appears.
Deleting Registrations
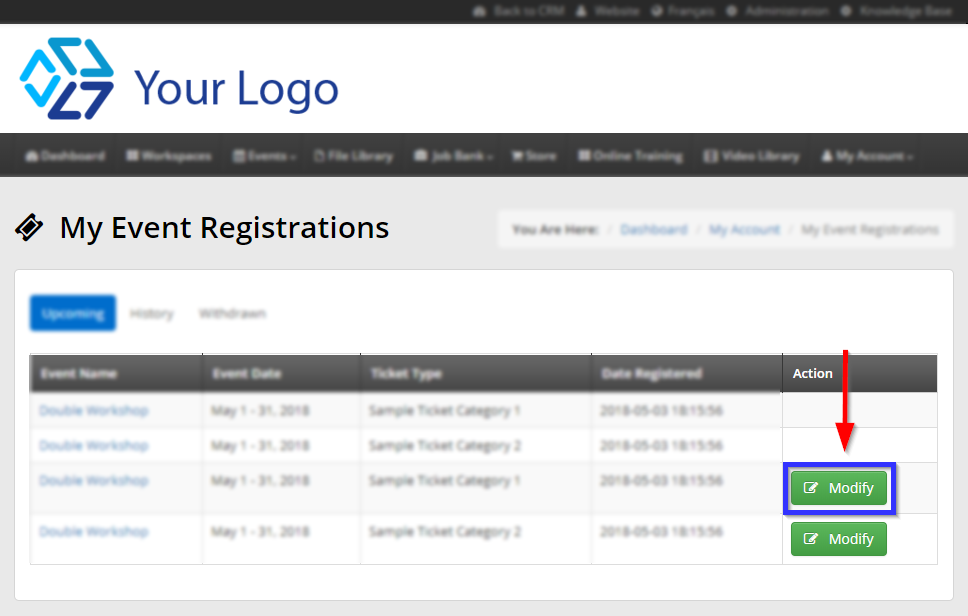
4. You will be brought to the Member Portal, logged in as the user in question. Click ‘Events‘ on the top bar, and then click ‘My Event Registrations‘ from the drop-down menu that appears.

5. Find the name of the event registration for which you are looking to remove individual registrations, and then click ‘Modify‘.
6. Click the trash can icon to the left of the tickets you are looking to cancel, and click ‘Confirm‘ in the dialogue box that appears. To clear the entire registration, ensure that you have clicked all of the visible icons.
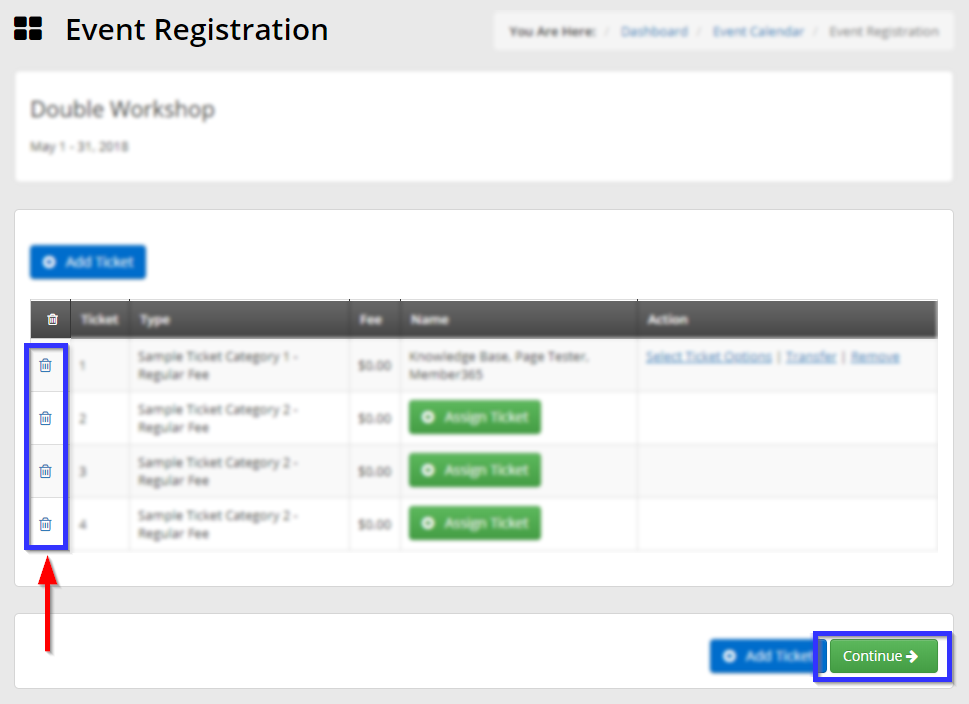
7. Once you have cleared all of the relevant registrations, click ‘Continue‘.
8. Click the ‘Download Receipt‘ link to view your updated invoice. It should no longer contain the removed registrations, and the total fee should be updated to subtract the cost of any tickets removed in step 6.
Congratulations, you have cancelled an event registration!