This article will describe how to cancel a confirmed attendee’s registration for an event. The first section will describe how to cancel a registration by using the Administration Dashboard’s Events page, and the second section will describe how to cancel a registration by using the “Impersonate” tool.
Cancelling Through the Events Page
1. Login to the Member365 Administrator Dashboard.
2. On the top toolbar, click “Events”.

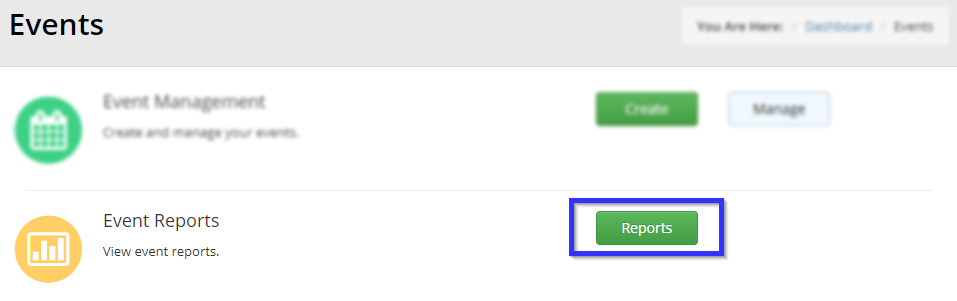
3. Next to “Event Reports”, click “Reports”.
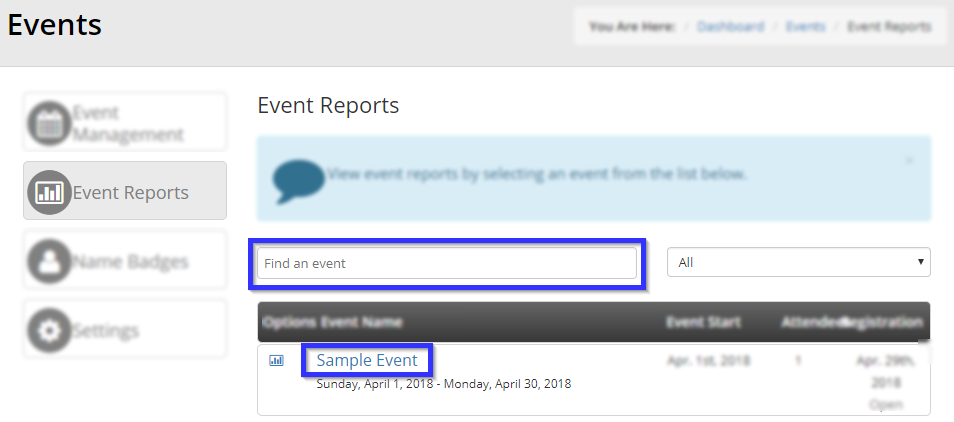
4. Click the name of the event for which you will be cancelling a registration.
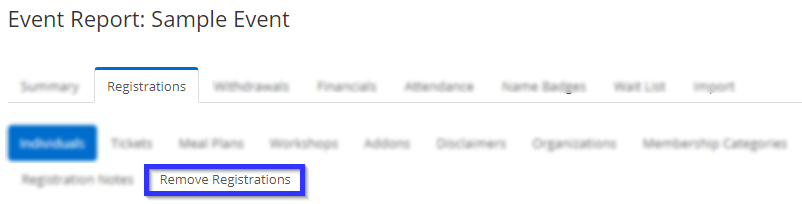
5. Click on the tab labelled “Registration”.

6. Click on the tab in the new sub-menu labelled “Remove Registration”.
7. Click the trash can icon next to the name of the contact whose registration you are cancelling.

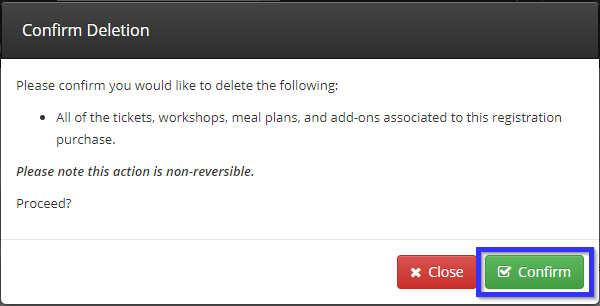
8. Press the “Confirm” button in the box that pops up to finish cancelling the registration.
Cancelling Through the Impersonate Tool
1. Access the contact’s profile by entering their name in the bar labelled “Search Contacts” in the top toolbar, then clicking their name when it appears in the drop-down box.

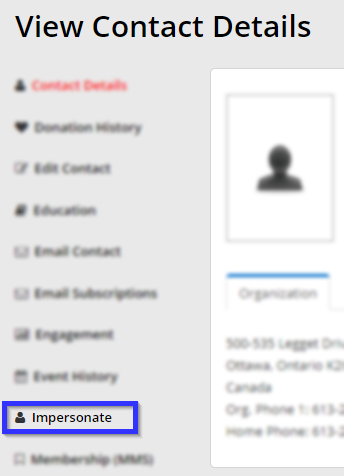
2. On the contact detail page, click “Impersonate” in the left bar, and then “Continue” in the box that pops up.
3. You are now viewing the interface from the perspective of that contact. Click “Events” in the top toolbar, then “Event Calendar” in the menu that appears.
![]()
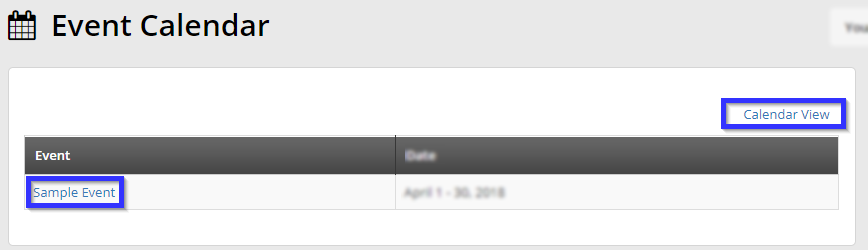
4. In the Event Calendar page, find the event by either looking for and clicking on its name in the list or finding it via the Calendar View option.
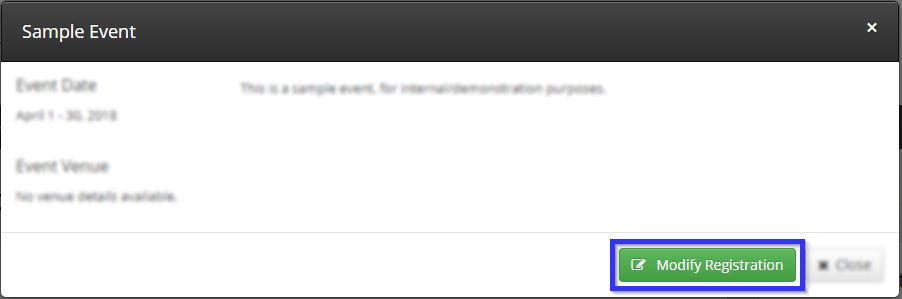
5. On the page for the event, click “Modify Registration”.
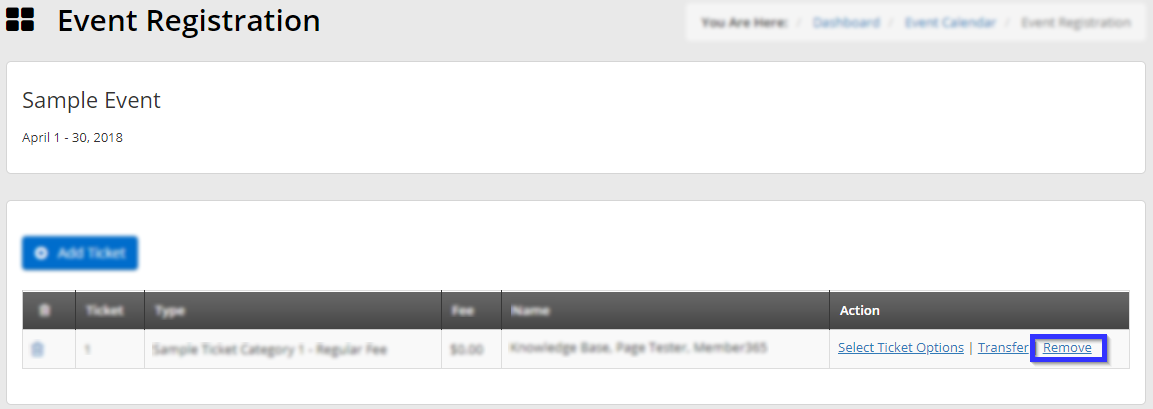
6. Click “Remove”, and then click the green “Confirm” button in the box that pops up.
Congratulations, you have successfully cancelled an event registration!