This article will guide you through allowing your members to edit the name of their listed organization.
Accessing Membership Category Configuration
1. Log in to your Member365 Administrator Dashboard.
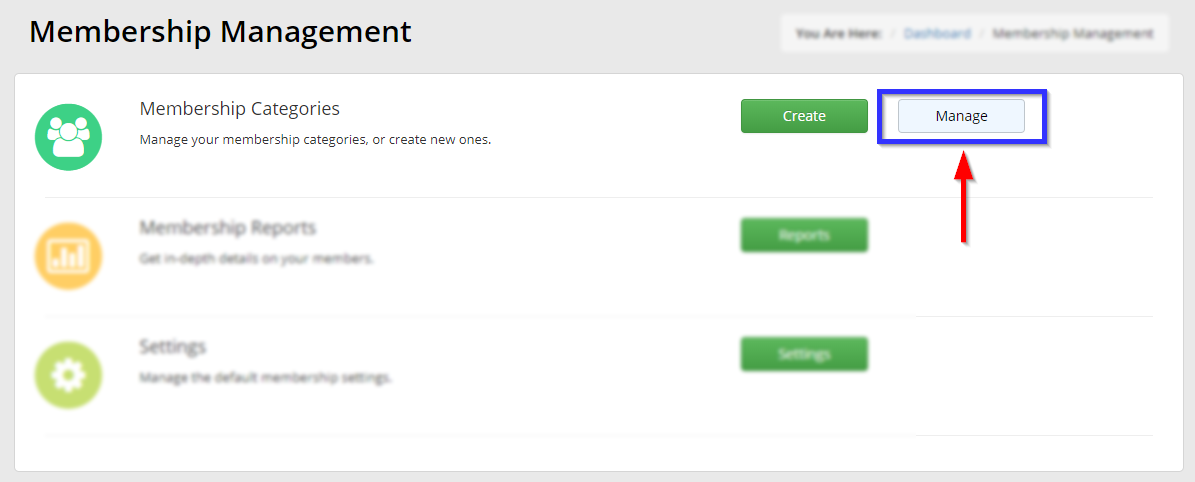
2. On the top bar, click ‘Membership‘.

3. Next to ‘Membership Categories’, click ‘Manage‘.
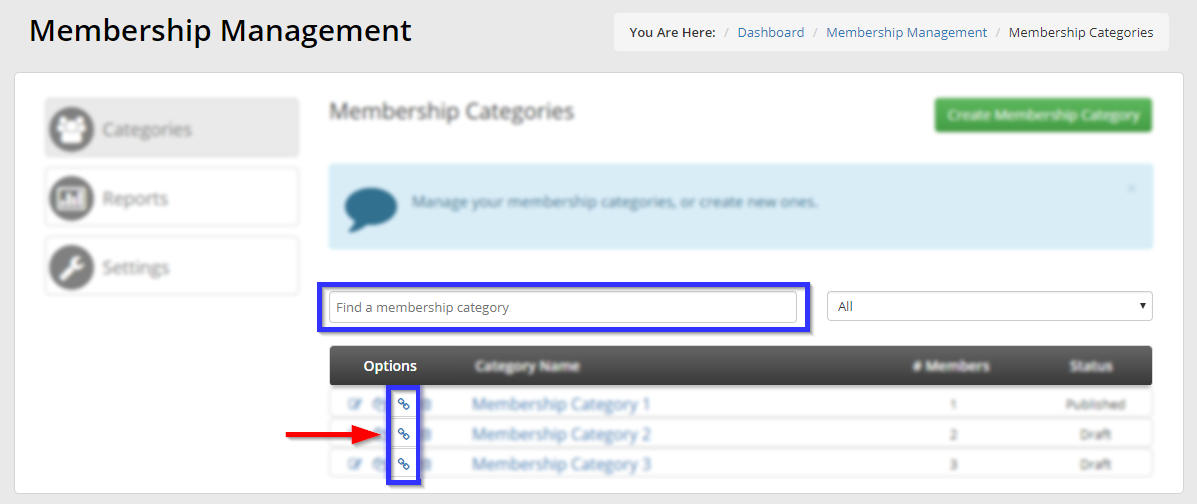
4. Find the membership category whose membership you are trying to edit either by typing its name into the search bar or by locating it in the list, and then click the chain-link icon to the left of its name.
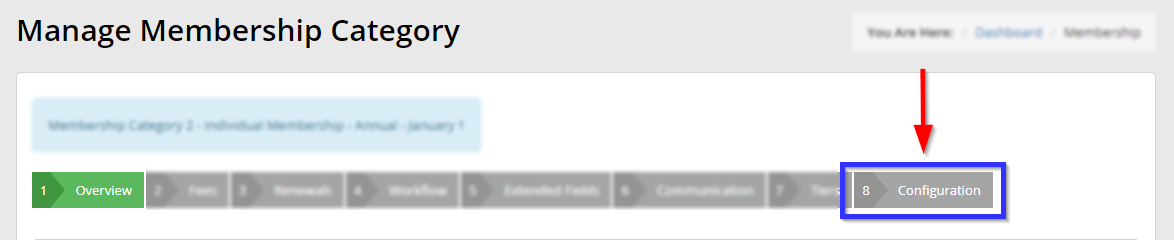
5. Click on the ‘Configuration‘ tab.
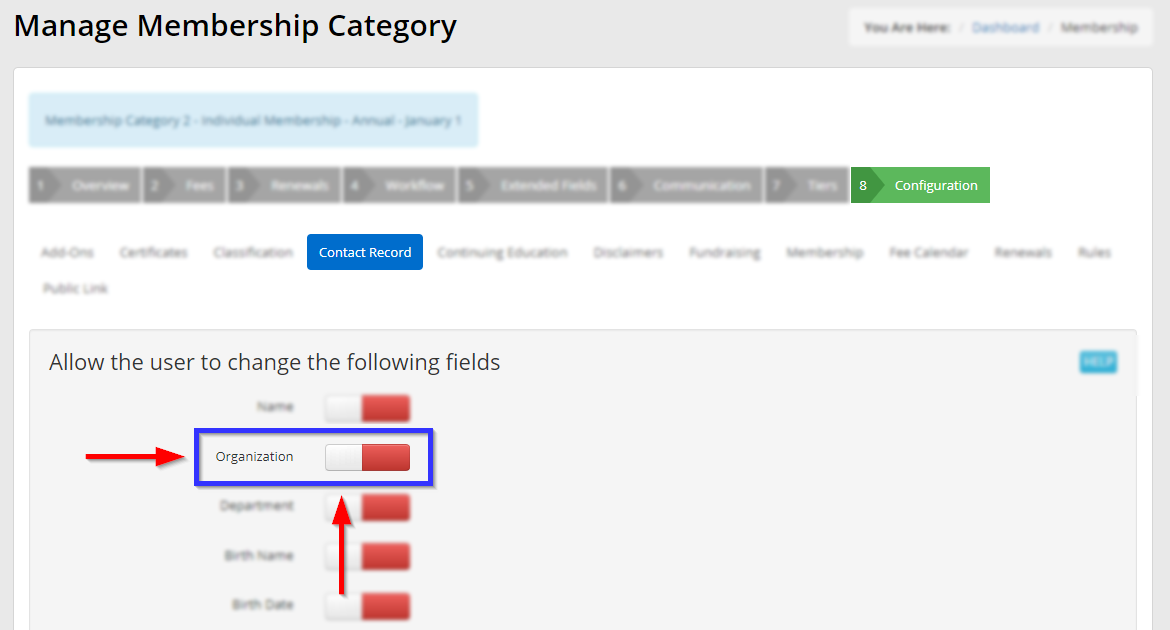
Configuring Edit Access
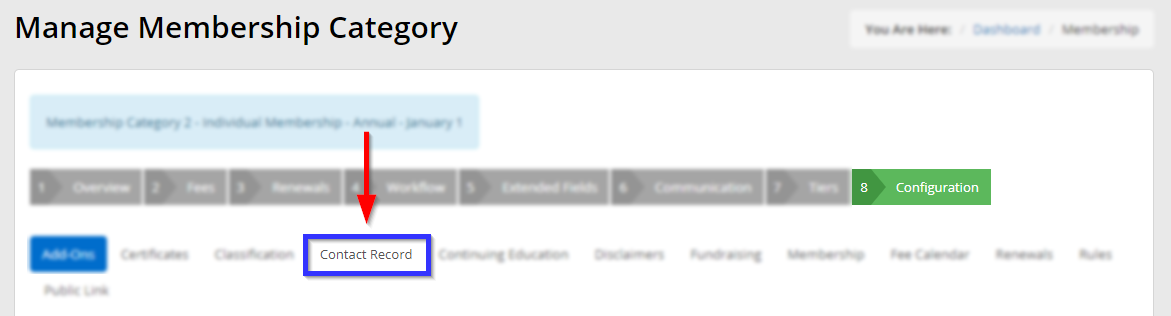
6. Click on the ‘Contact Record‘ sub-tab.
7. Find the heading ‘Allow the user to change the following fields’ and find the on/off toggle next to ‘Organization’. In the image shown below, the toggle is off; clicking the white part of the button to the left of the red part will turn the setting on; and the switch will appear green instead of red.
8. Scroll to the bottom and click the green ‘Publish‘ button in the bottom-left corner.
Congratulations, you have allowed all members of this membership category to change the organization listed on their profile!