This article will show you how to create a mailing list that contains Employee Accounts!
Group Members are added to lists with a slightly different filter than their Primary Contact, so this article will help you if you are looking to send newsletters to Group Members as well!
Access the List
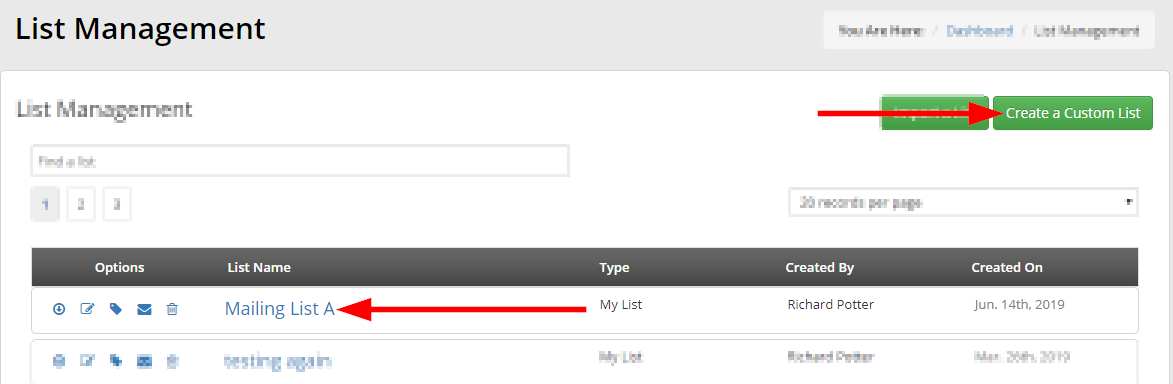
1. From the Member365 Administrator Dashboard, click ‘Lists’ at the top of the screen.
![]()
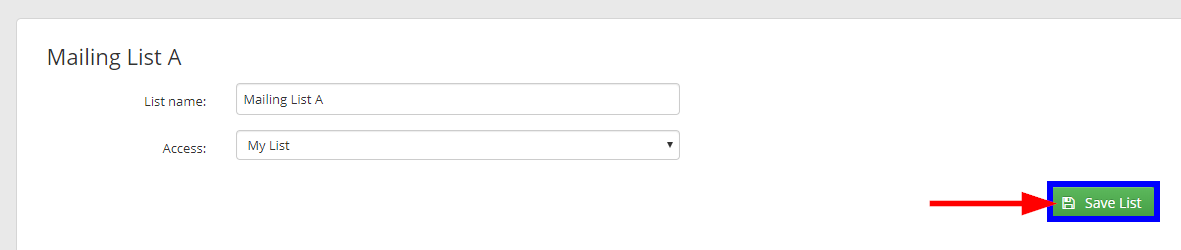
2. If you are creating a new list, click the ‘Create Custom List’ button and proceed as necessary. Otherwise, locate the List you are editing then click its name.
Add Group Members to List
You can populate your Mailing List with all Contacts of a Group Membership with just a few filters!
Add the Primary Contacts
Remember that the Primary Contact for a Group Membership is added using a different set of filters than the rest of the Group Members themselves.
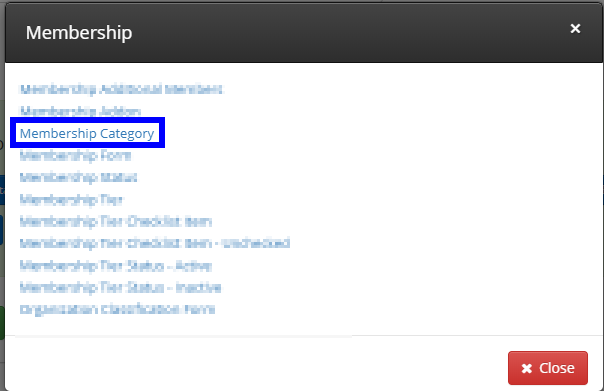
3. Click ‘Membership’ from the list of available filters.

4. Select ‘Membership Category’ when prompted.
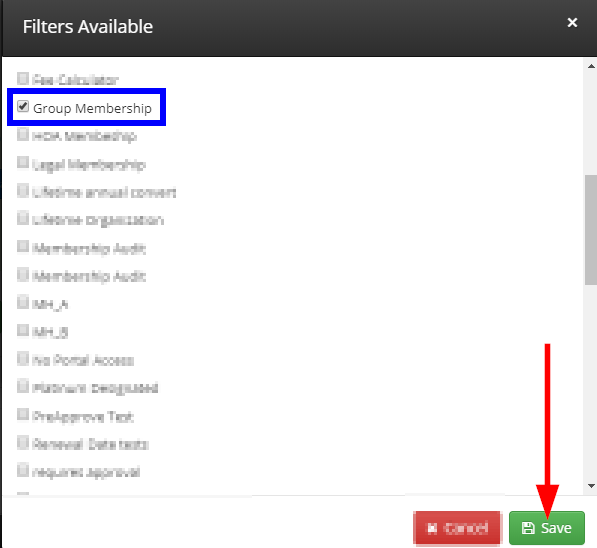
5. Check off the Membership Category whose Primary Contacts you are adding, then click ‘Save’.
Add the Group Members
Group Members – also known as ‘Employee Accounts’ in Member365 – are added using an additional set of filters.
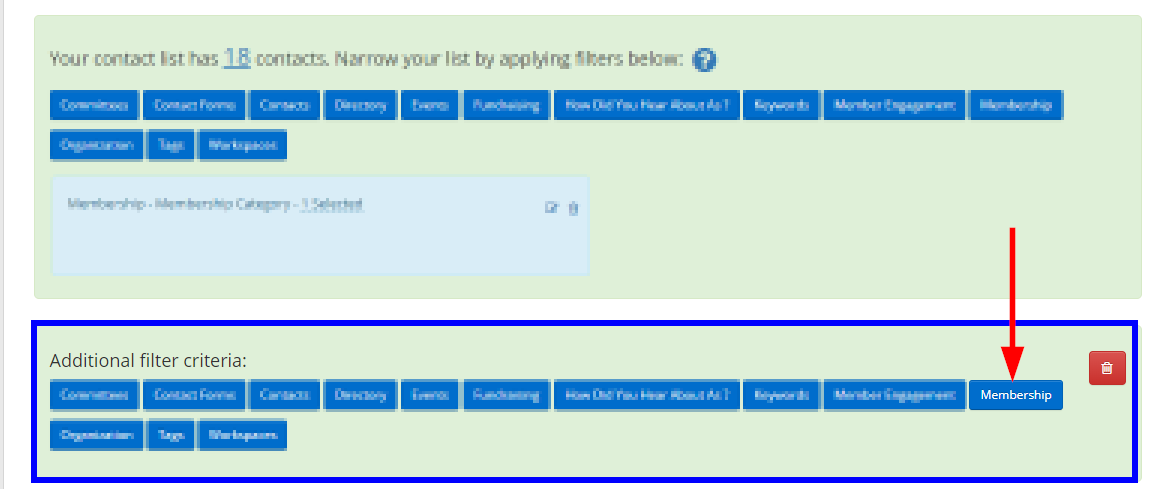
6. Click the ‘Add Criteria’ button to add additional filtering criteria.

7. Choose ‘Membership’ from the list of options in the new filtering criteria.
8. Select ‘Membership Additional Members’ when prompted.
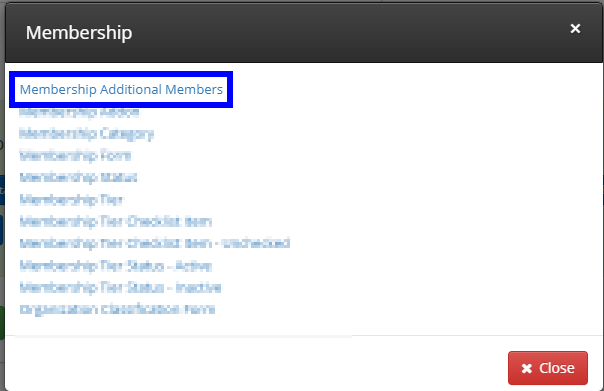
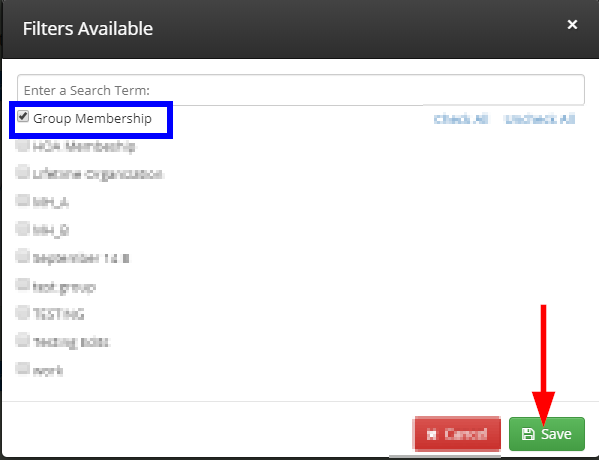
9. You will be presented with a list of your Group Memberships. Check off those whose Group Members you wish to include, then click ‘Save’.
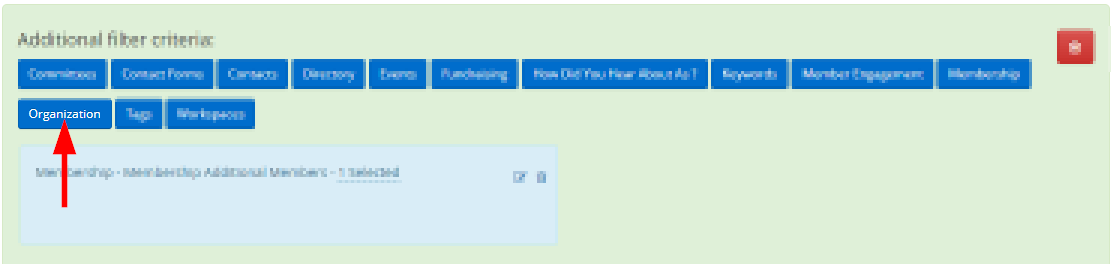
[Optional] Specify the Organization
If you want to pull only Group Members from specific organizations, then click the ‘Organization’ button from the list of additional filtering options.
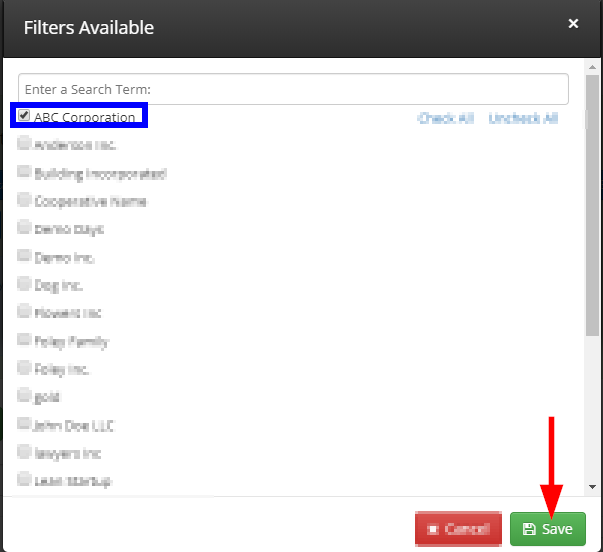
Select the ‘Organization Name’ option, check off all you wish to include, then click ‘Save’.
Congratulations, you now know how to create Mailing Lists for Group Members in Member365!