This article will guide you through adding a button to an email campaign.
Adding a Button
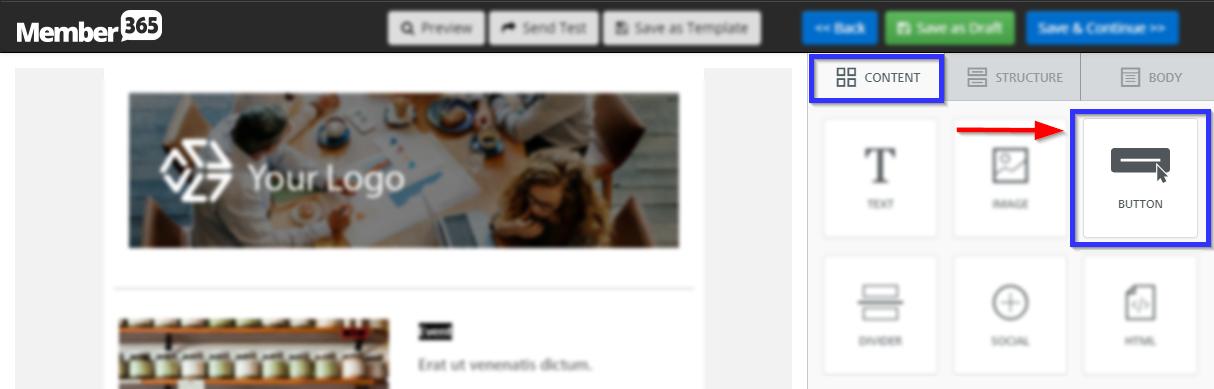
1. After opening the campaign you would like to edit in the campaign editor, ensure that you have the ‘Content’ tab selected, and find the ‘Button‘ option in the right-hand menu.
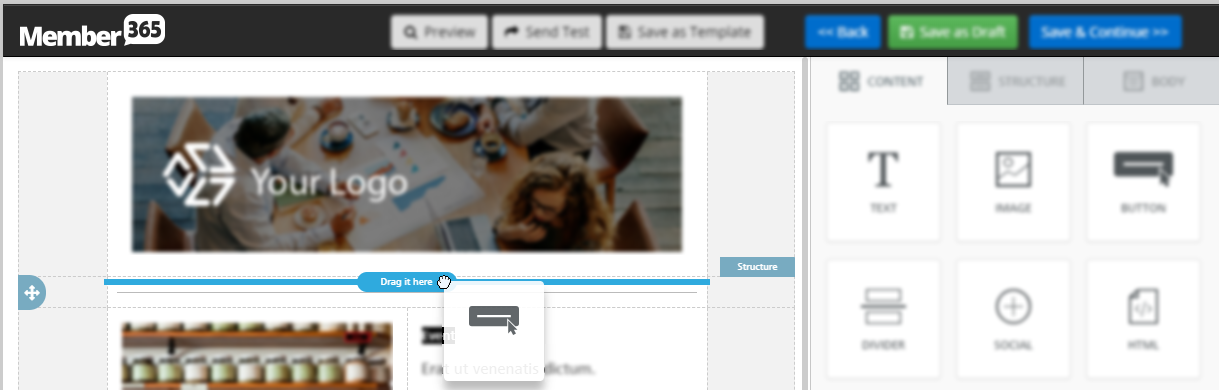
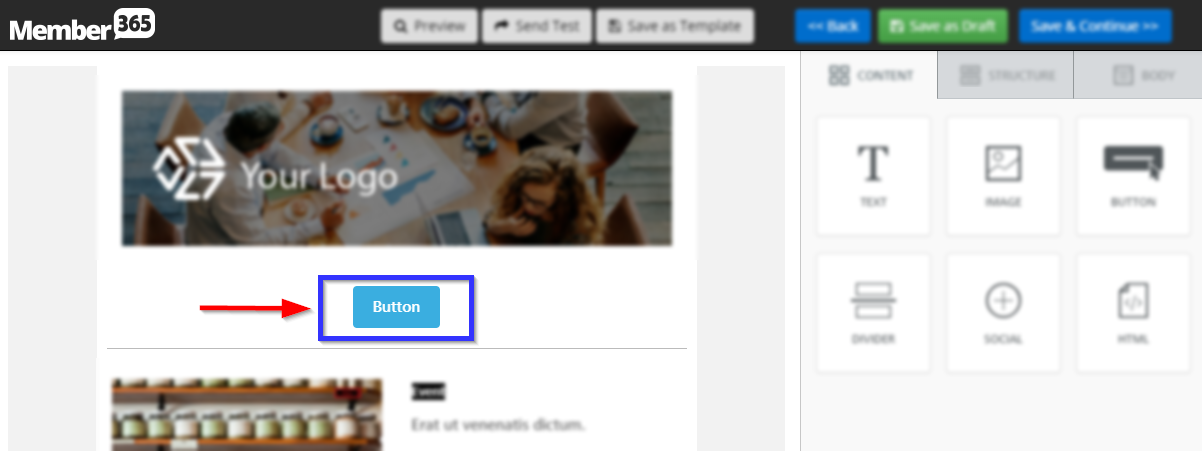
2. Click and drag this option to where you would like to add a button to the campaign. A blue indicator will appear in order to show you where the button will end up being placed. Clicking and dragging the button element to the location shown in the next image will lead to a button appearing in the location pictured in the one after it:
Turning a Button into a Link
3. Clicking the button will cause a number of content options to appear on the right-hand side, allowing you to customize a range of features including width, button and text colour, and of course the location your button will link to. Enter a URL in the indicated field in order to make the button link to a webpage.
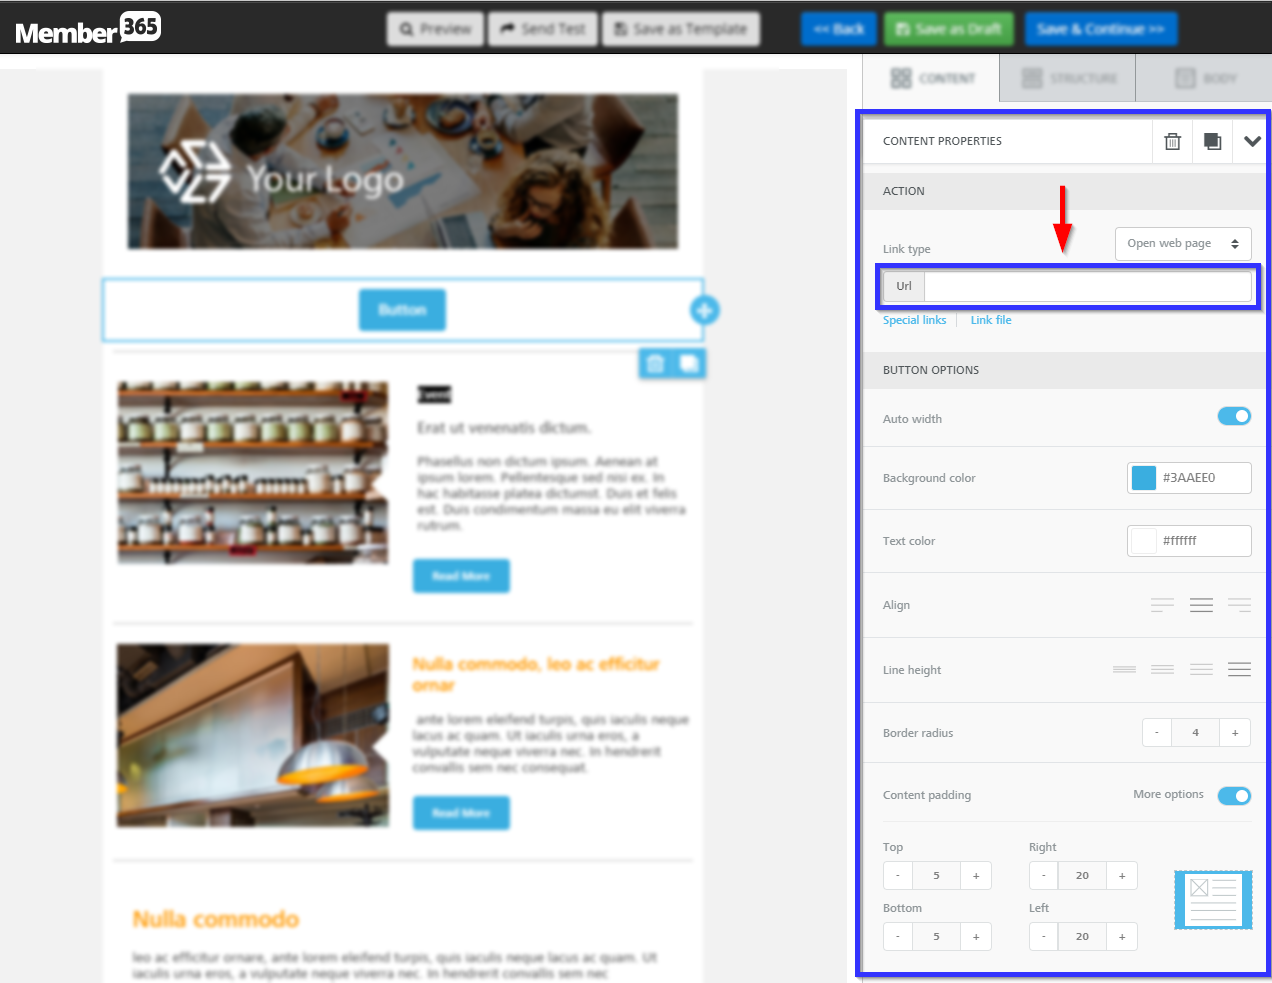
4. The changes you make will be automatically applied to the button; however, the new addition to your email campaign will not be saved until you click ‘Save as Draft‘ or ‘Save & Continue‘ in the upper-right corner of the email campaign editor.
Congratulations, you have successfully added a button to an email campaign!