This article explains how the event wait list feature works, how a contact adds their name to an event’s wait list, and how an administrator can view the wait list.
About the Event Wait List Feature
- It does not need to be enabled: it is automatically active for any event.
- When a contact attempts to purchase tickets, an option allowing them to add their name to the wait list will appear next to any type of ticket that is sold out.
- When a ticket becomes available, whether it is because an attendee has withdrawn or because more tickets have been released, everyone on the wait list will be notified.
- Newly available tickets are offered to contacts on the wait list on a first-come, first-served basis: if a single ticket is released, whoever gets to it first will get to take it.
- No email notification is sent to a user when they join the wait list, nor will they receive an email confirmation if they remove their name from the wait list.
Joining the Wait List
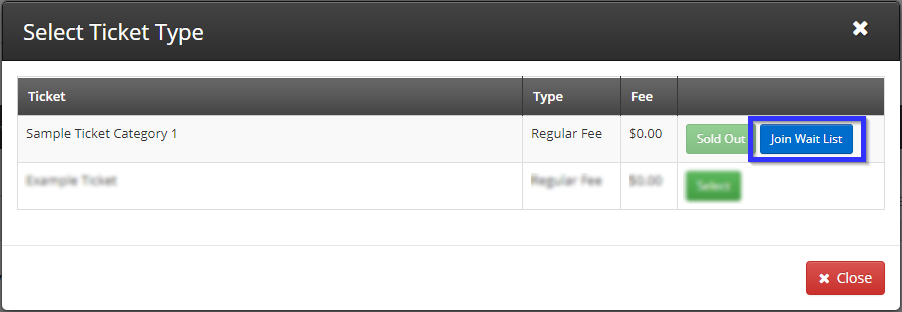
The following image is what a contact will see when they are viewing the sales page for an event that has sold out of a particular type of ticket:
Viewing the Wait List
As an administrator, take these steps to view an event’s wait list:
1. Login to the Member365 Administrator Dashboard.
2. On the top toolbar, click “Events”.

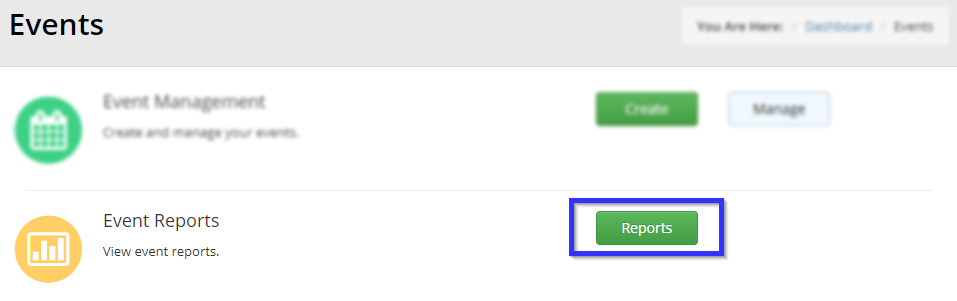
3. Next to “Event Reports”, click “Reports”.
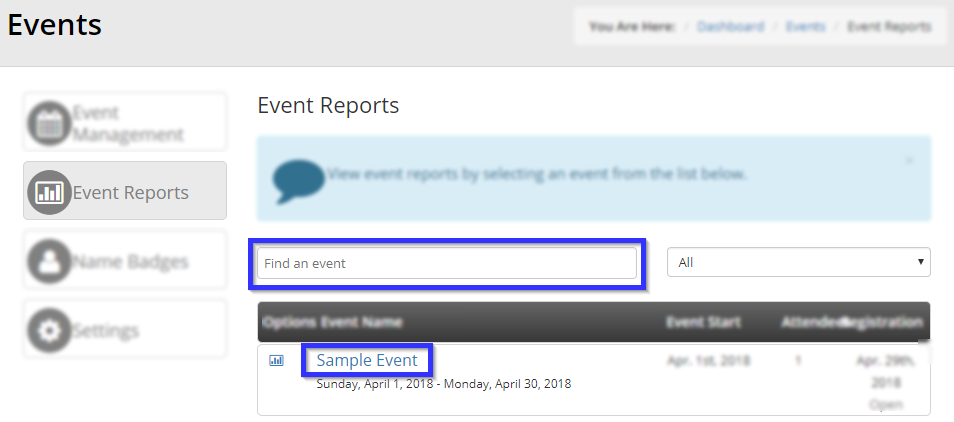
4. Click the name of the event whose wait list you wish to check.
5. Click the tab labelled “Wait List”.
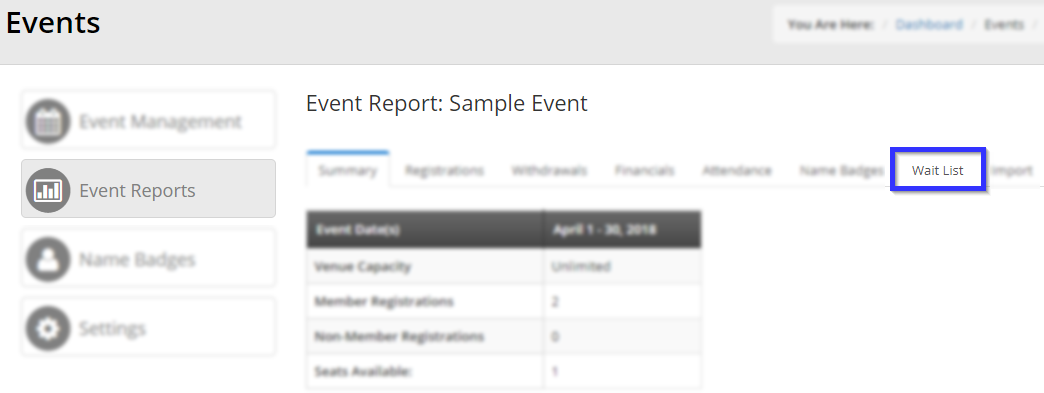
Congratulations, you are now viewing the event wait list!