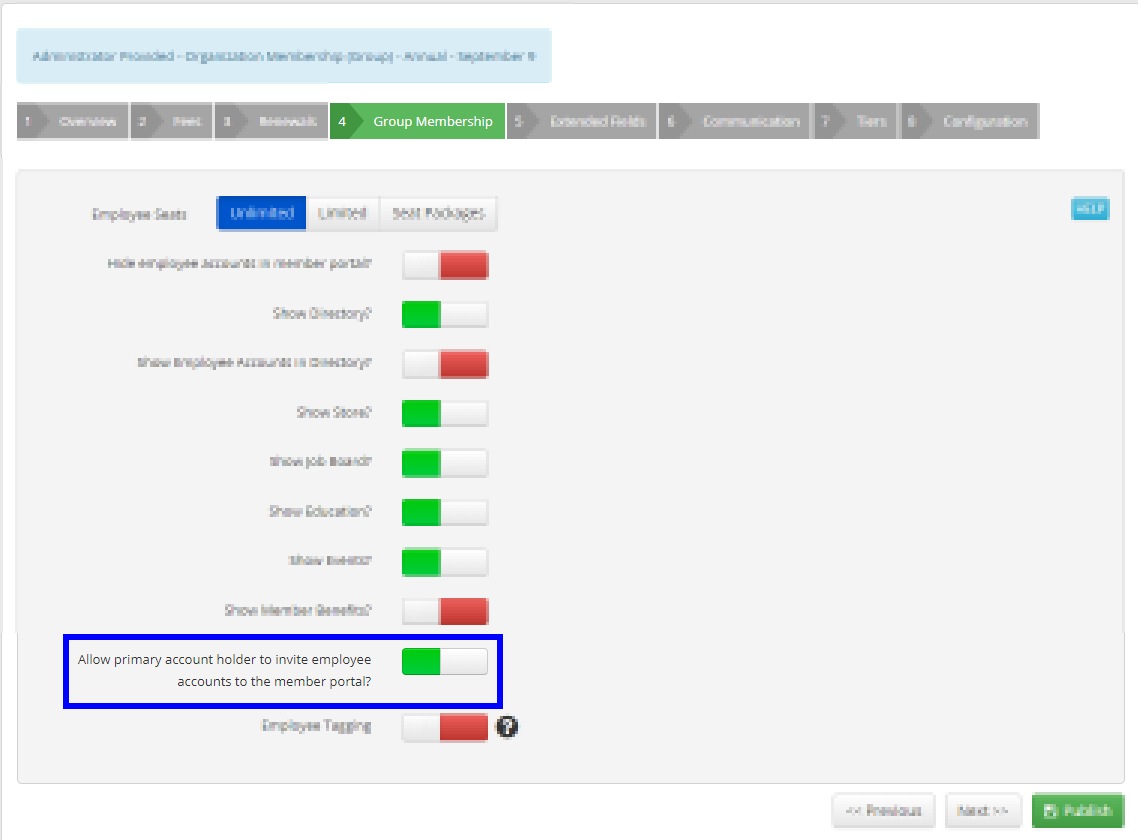
If you are familiar with Group Memberships, you know that its Primary Contact can add Employee Accounts depending on the Membership Category’s permission settings.
Primary Contacts can add members to their group directly. Upon following the steps in this article, there will be no need for the new Employee Accounts to sign up or fill out their profiles themselves: the Primary Contact can take care of all of that, and add group members as quickly as they please!
This article will detail the steps a Primary Contact will follow when adding members to their Group Membership. As an Administrator, you can also follow these steps if you are using the Impersonate tool.
Access the Employee Account Page
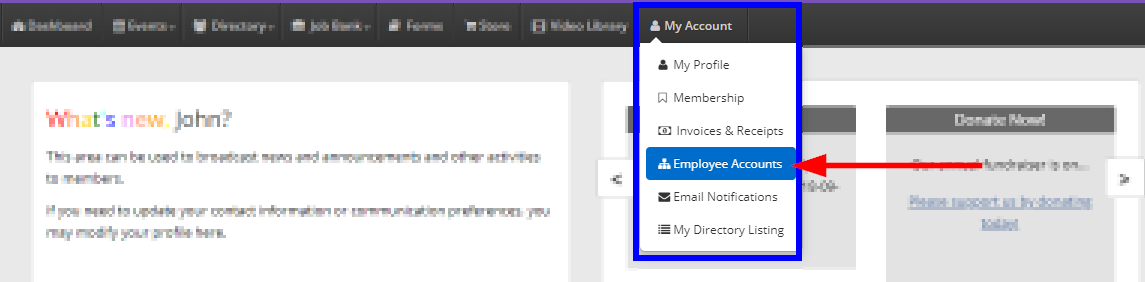
1. From the Member Portal, click ‘My Account’ on the bar at the top of the screen.

2. Click ‘Employee Accounts’ from the drop-down menu that appears.
3. The resulting page will list all Group Memberships for which the user is a Primary Contact.
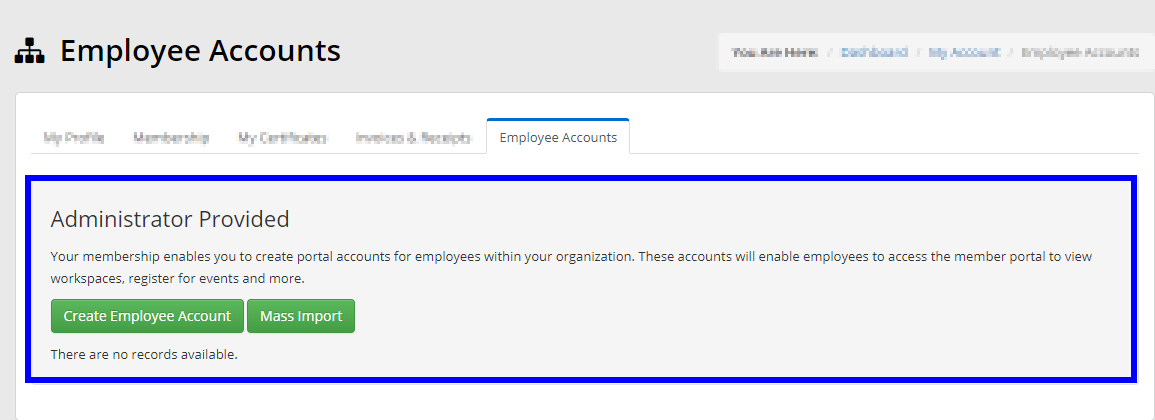
In the example we are using, the user is a Primary Contact for a Group Membership named ‘Administrator Provided’.
Adding Employee Accounts
The Primary Contact can now click either the ‘Create Employee Account’ button or the ‘Mass Import’ button to populate their Group Membership.
Mass Import
When the Primary Contact clicks ‘Mass Import’, they will be prompted to copy and paste a list of email addresses.

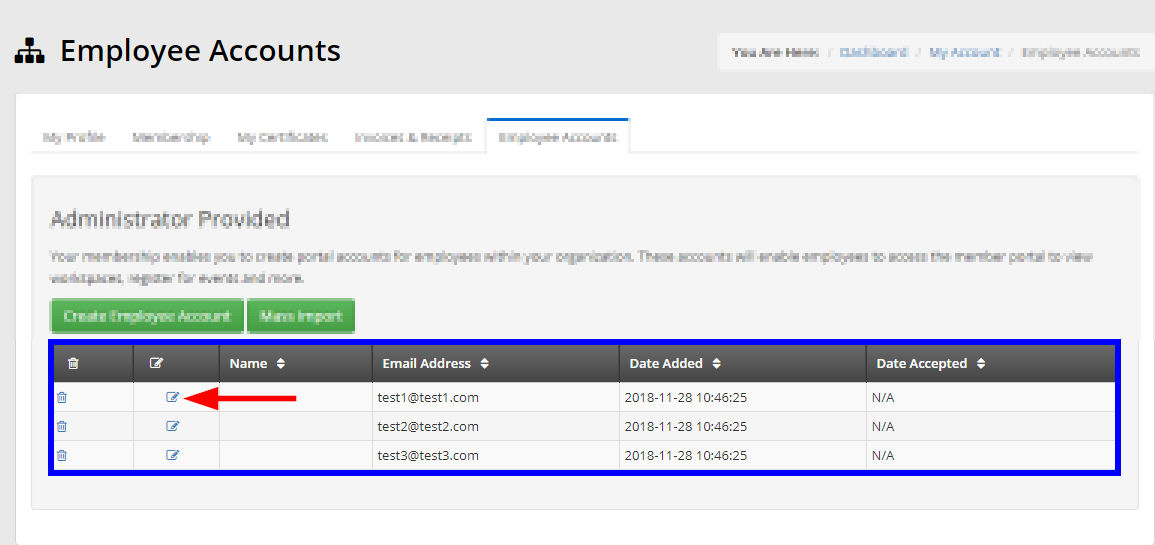
Upon filling out the window and clicking ‘Create Accounts’, Employee Accounts corresponding to the email addresses will be created and added to the Group Membership automatically.
Create Employee Account
When the Primary Contact clicks the ‘Create Employee Account’ button, they will be taken to a new page.
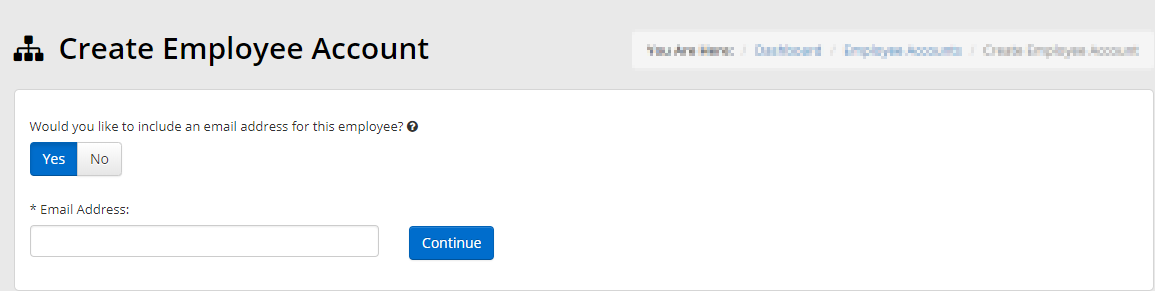
The Primary Contact can choose whether or not they want to include an email address for the new Employee Account.
If they selected ‘Yes’ for the ‘Would you like to include an email address for this employee?’ question, there will be a text box below to enter an email.
Alternatively, there will be no text box. In either case, click the ‘Continue’ button to proceed.
Configure Employee Account
The Primary Account holder can now configure the contact details of the new Employee Account. This allows for the new members to be added immediately, and removes any steps or sign-up on their end!
Basic Contact Information
Fill out the contact information as necessary. The Primary Account holder can specify the new Employee Account’s name, job title, etc.
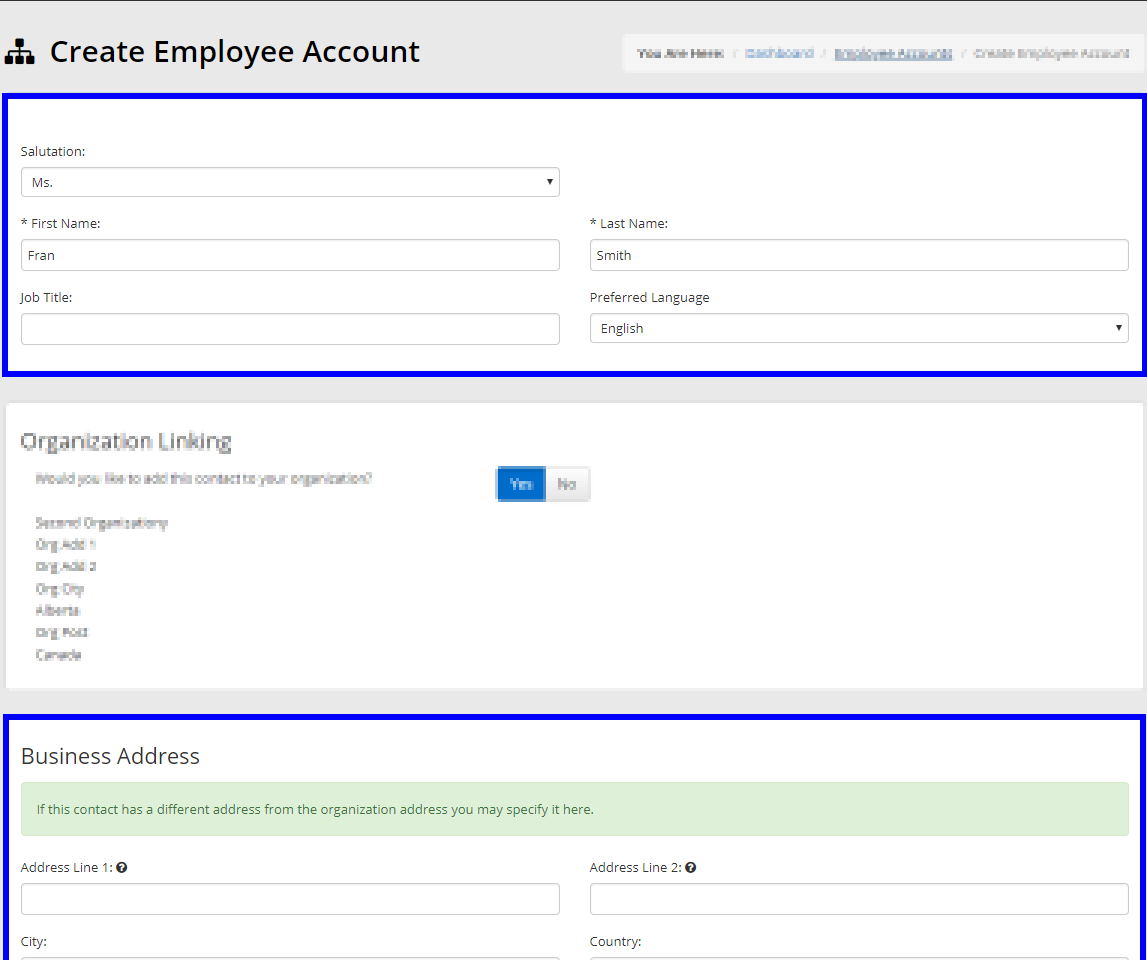
Fill out the ‘Business Address’ fields if the Employee Account’s address is different from your Organization’s address.
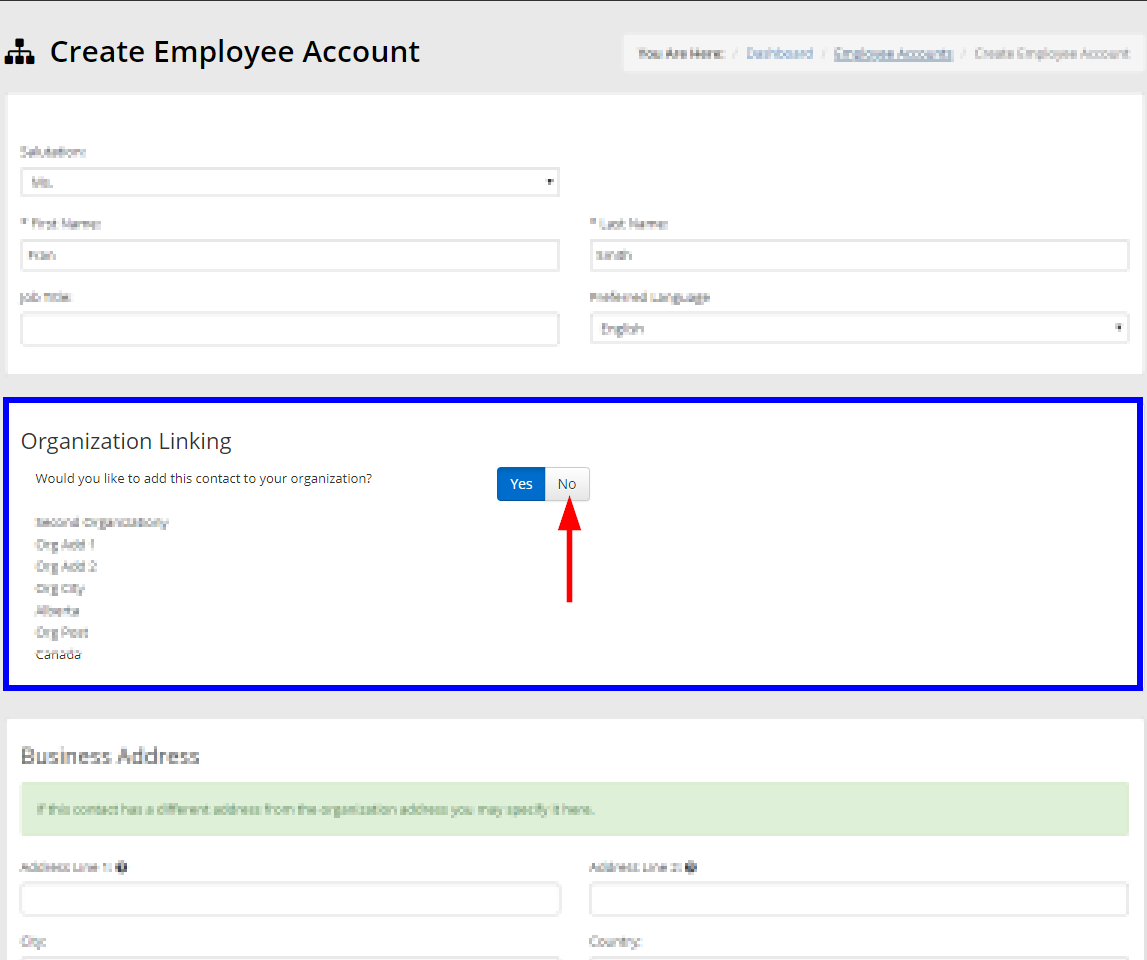
Organization Linking
The ‘Organization Linking’ feature gives Primary Contacts the power to choose whether or not the Employee Account will be linked to their Organization. An Employee Account linked to the Organization will show up on its Related Contacts list.
Selecting ‘No’ on this option will allow the new member to be added without forcing them to be a part of the Organization in the system.
Congratulations, you now know how to populate a Group Membership from the Primary Account’s Member Portal side!