Your members will typically receive automated Welcome Emails upon signing up for a Membership Category. Where are these emails located in the system? Can you change them as an Administrator? Continue reading to find out!
Accessing the Membership Category
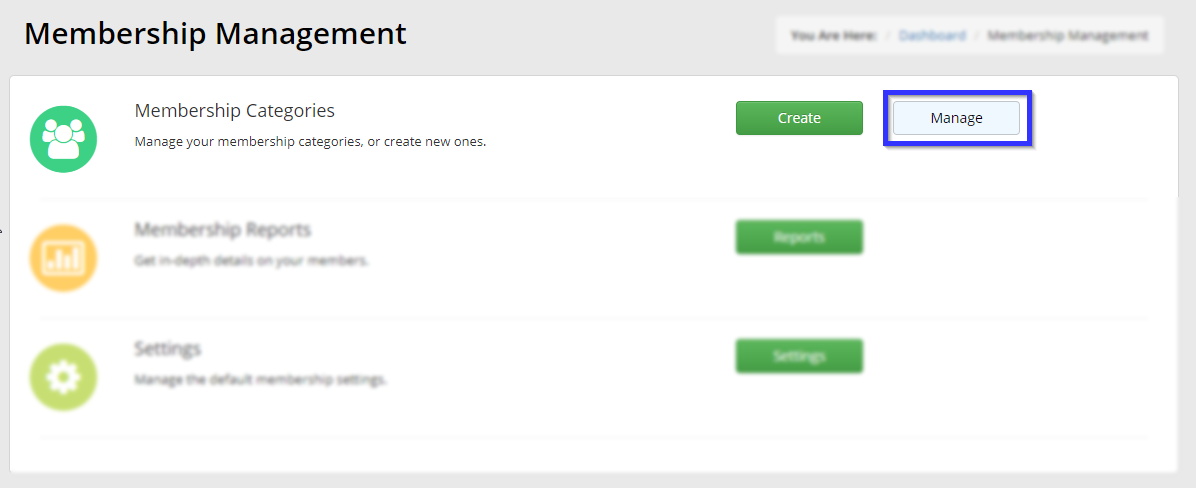
1. From the Member365 Administrator Dashboard, click ‘Membership’ on the bar at the top of the screen.

2. Click ‘Manage’ next to ‘Membership Categories’ on the page that follows.
3. Locate the Membership Category whose emails you wish to edit, using the search bar if necessary, then click its name.

Editing the Automated Email Messages
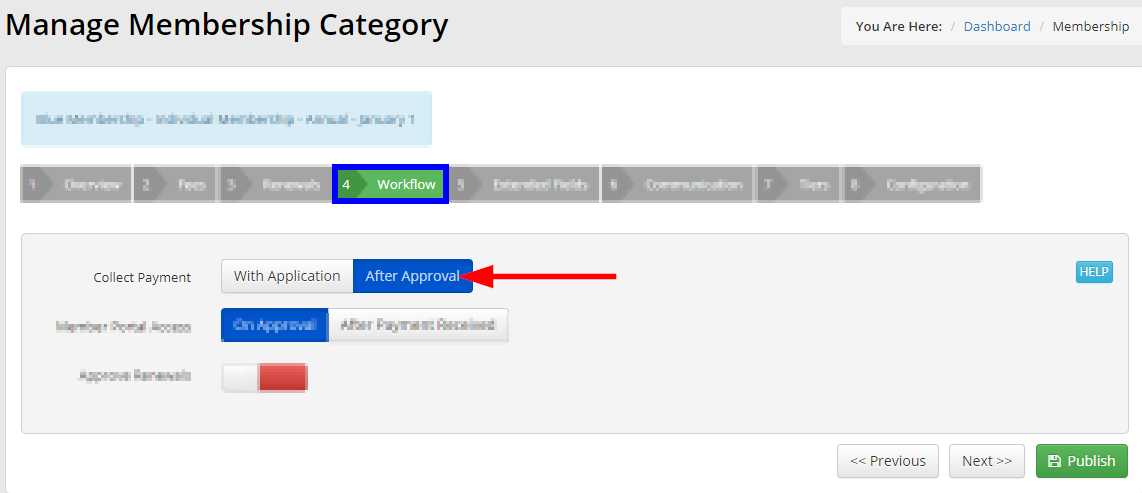
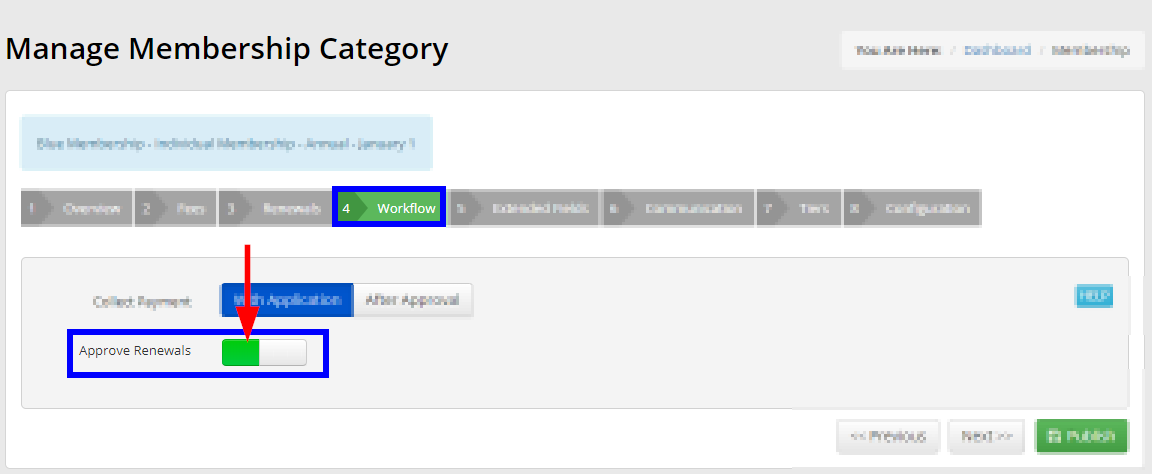
The automated Membership Emails will be located under the ‘Communication’ of your Membership Category.
Accessing the Communication Tab
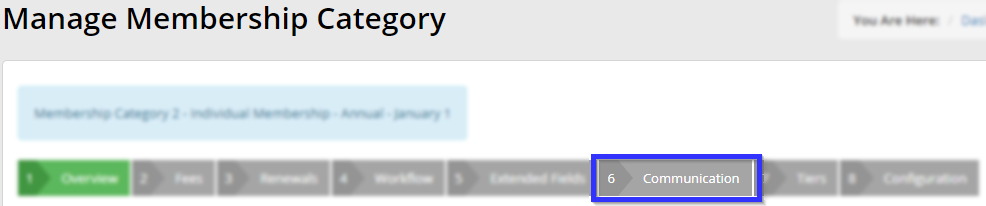
The ‘Communication’ tab is the sixth tab in the screenshot example above, but the number indicated for you will vary depending on your Membership Category setup.
Editing an Email
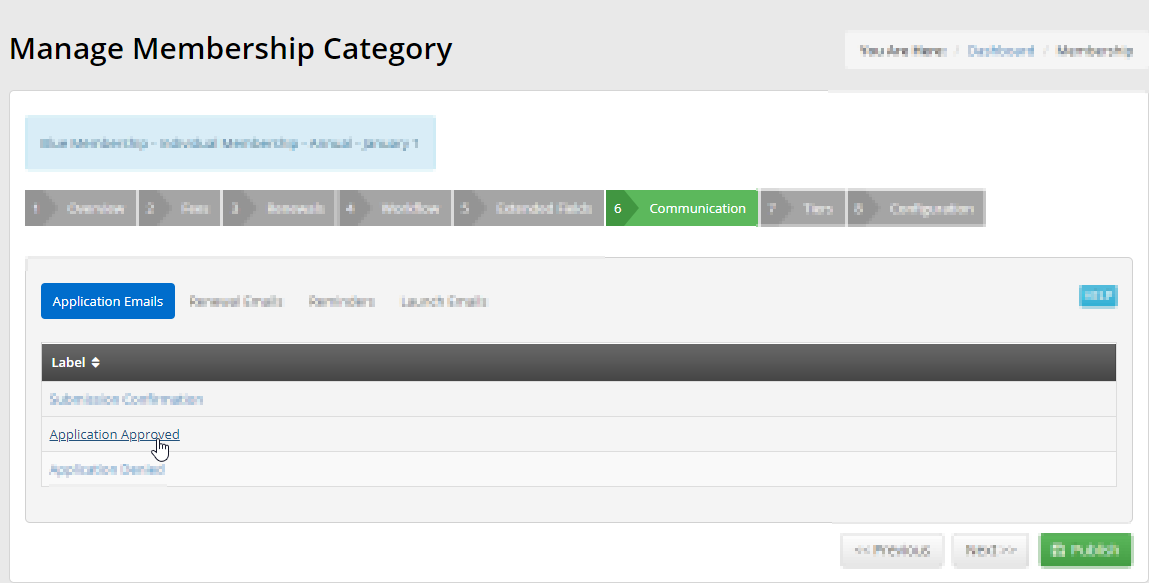
Click the name of any email to edit it.
A window will open, in which you can edit the contents and subject line of the email in question.
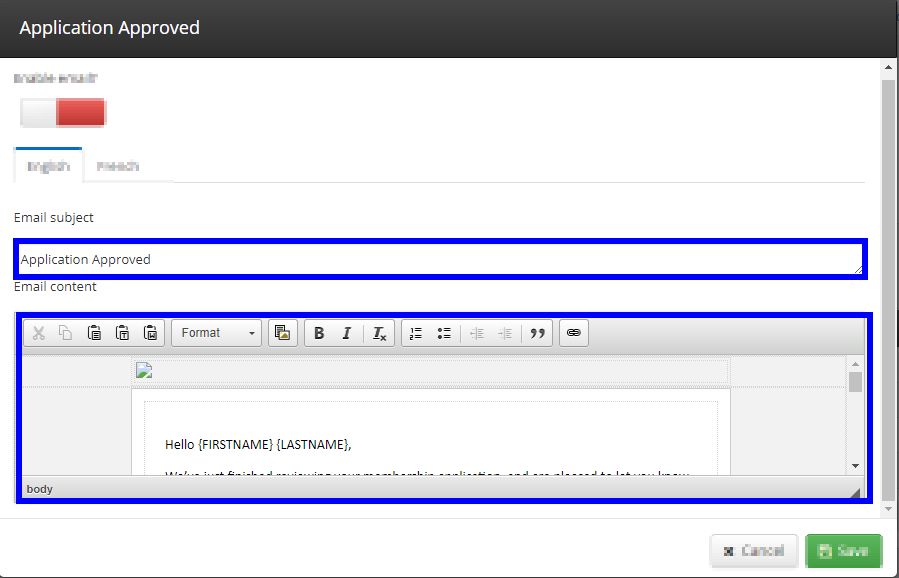
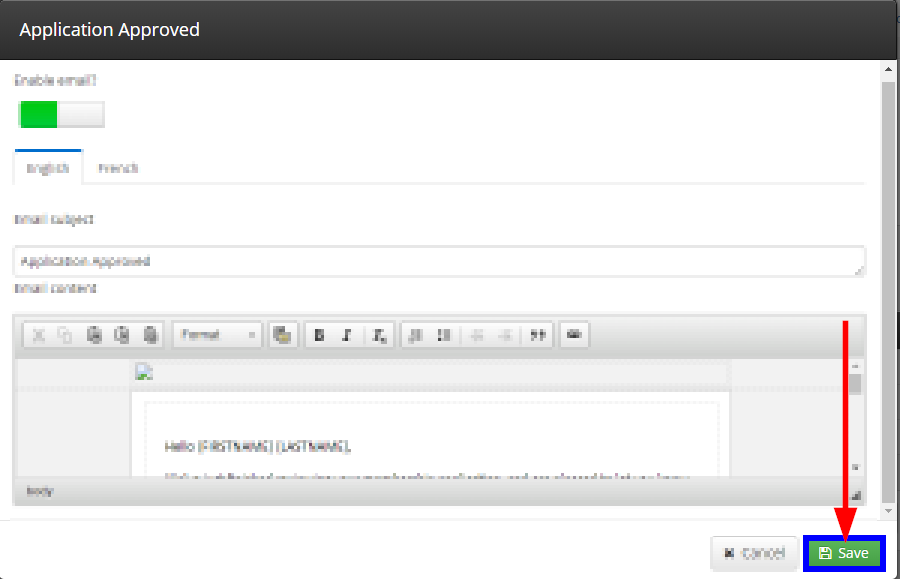
The ‘Enable Email?’ toggle at the top of the window determines whether or not this automated email will be sent to members. An email toggled OFF to red will not send. An email toggled ON to green will send.

Lastly, remember to always click the ‘Save’ button at the bottom of the window to confirm any changes you make.
Types of Automated Emails
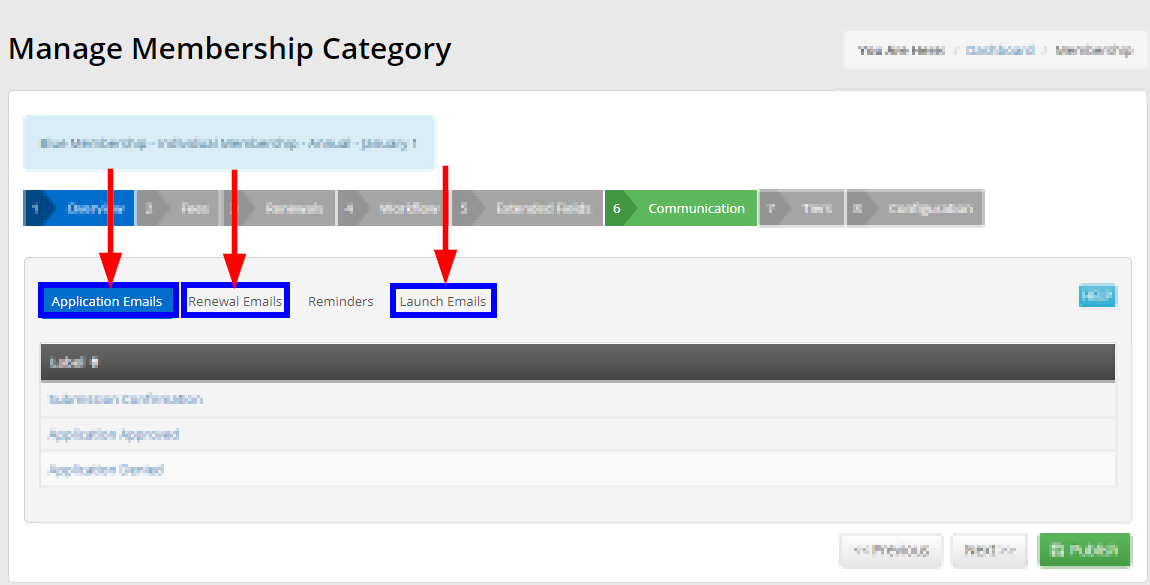
As mentioned earlier, this article will cover the ‘Application Emails’, ‘Renewal Emails’, and ‘Launch Emails’ sub-tabs. Each of those three email types serves its own purpose.
Application Emails
You will want to edit your Application Emails if you wish to change the messages your members receive upon signing up for a membership. These are typically the emails letting your members know they have been approved, or thanking them for applying for the membership.
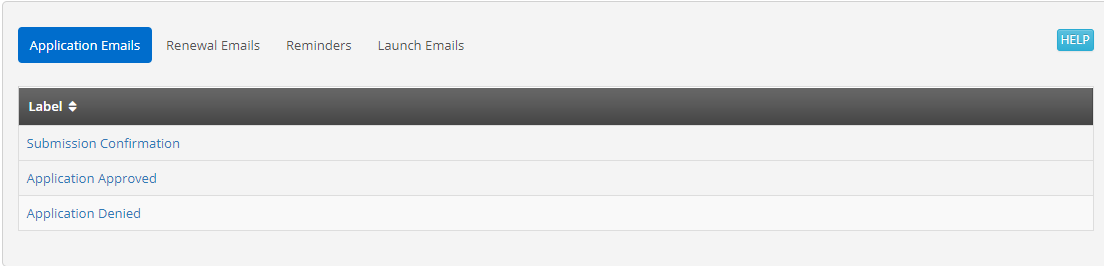
The emails seen under the Application Emails tab will vary depending on your Membership Category set up. The screenshot above is not a comprehensive list. With that said, we will still cover what each email shown is responsible for.
Always remember that you can edit the contents and subject line for any and all of these email templates!
Renewal Emails
Even though there is a sub-tab for Renewal Emails, remember that your Renewal Reminders are actually managed under the ‘Reminders’ sub-tab. Our Knowledge Base article on the Reminders sub-tab can be found here.
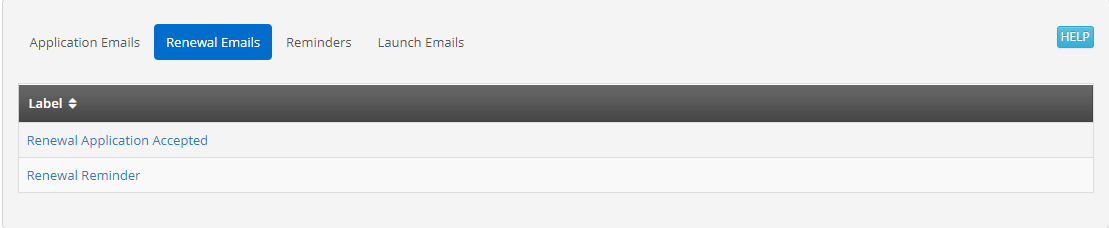
With the above said, we still still go over each of the emails in the screenshot above.
Always remember that you can edit the contents and subject line for any and all of these email templates!
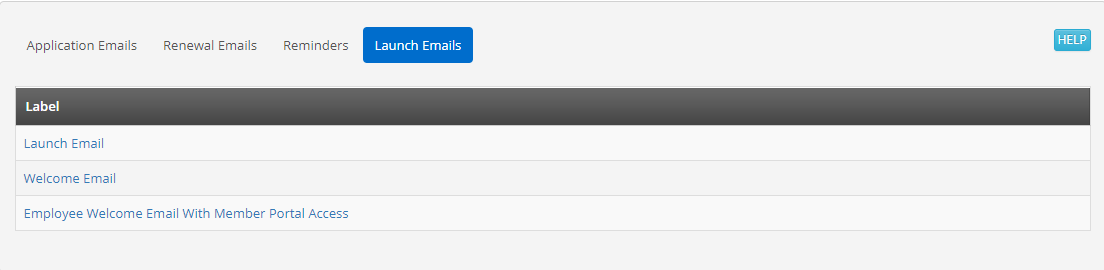
Launch Emails
The templates under the Launch Emails sub-tab typically deal with log-in credentials, passwords, and links to the Member Portal. You don’t normally need to touch these emails, unless you want to add something specific as part of the Member Portal welcome message.
Confirm your Changes
Always remember that any email template you change will not save unless you click the ‘Publish’ button on the bottom of the screen.
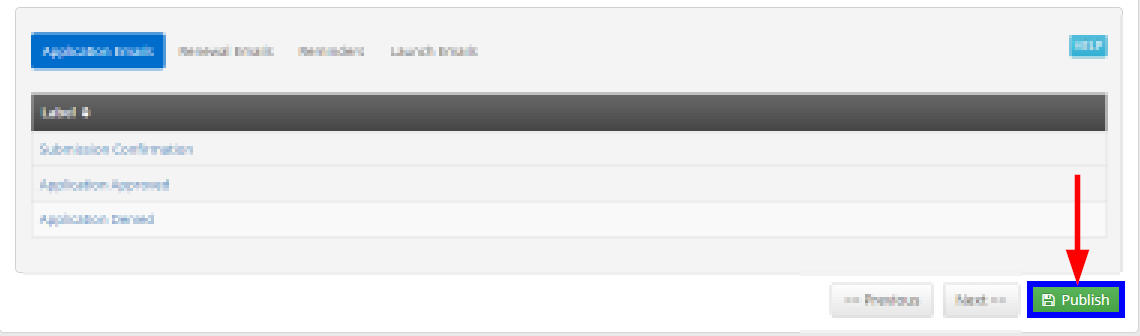
Click ‘Publish’ to take the changes to your Membership Category’s automated emails live.
Congratulations, you now know where to edit the automated membership emails!