This tutorial will teach you how to provide and manage Member365 administrator privileges to any one of your existing contacts. If the contact is new you can refer to the following article to create a new contact.
1. Log into your Member365 administrator account.
2. After landing on your Member365 dashboard, click the ‘Contacts’ tab near the top of the page.
![]()
3. In this screen, beside ‘Contacts’, you’ll see two buttons. Click ‘Manage’.

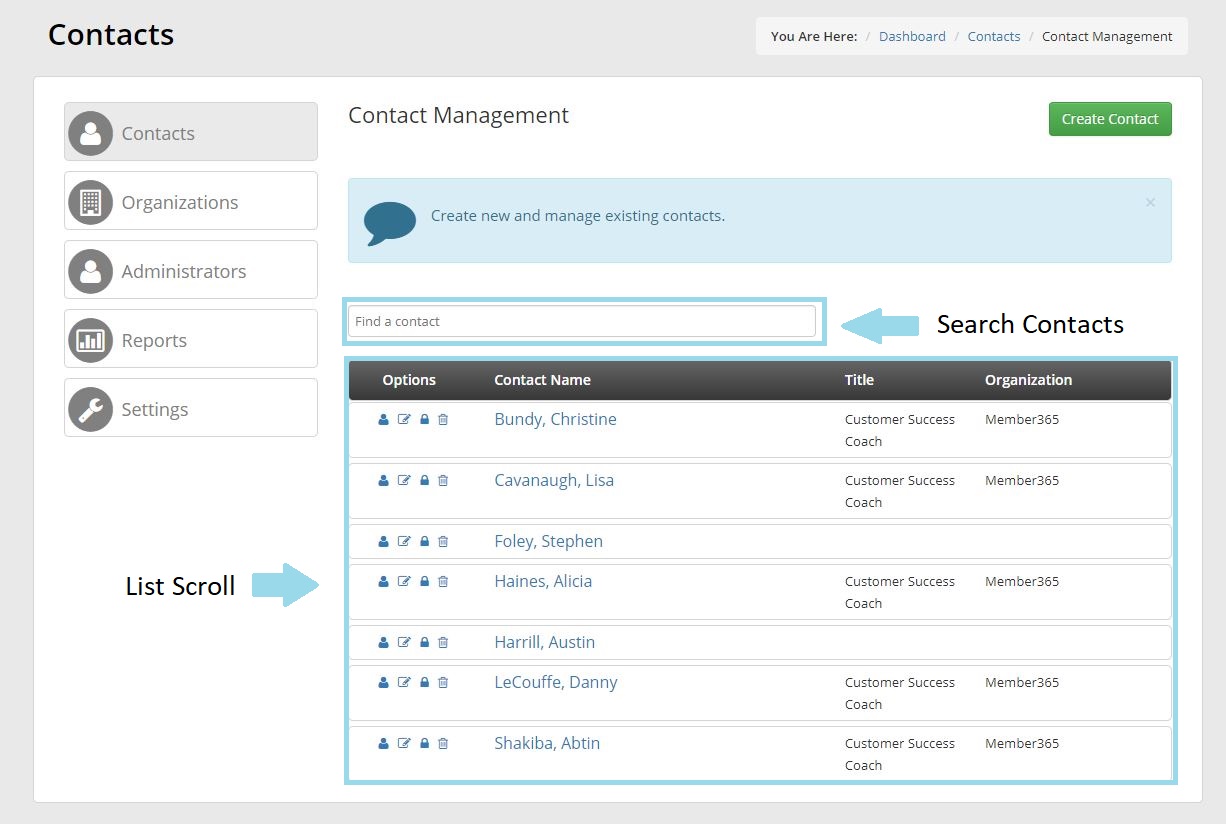
4. This screen will present a list of all your contacts. You can use the search bar, or scroll through the list, to find and click the contact you wish to convert to an administrator.
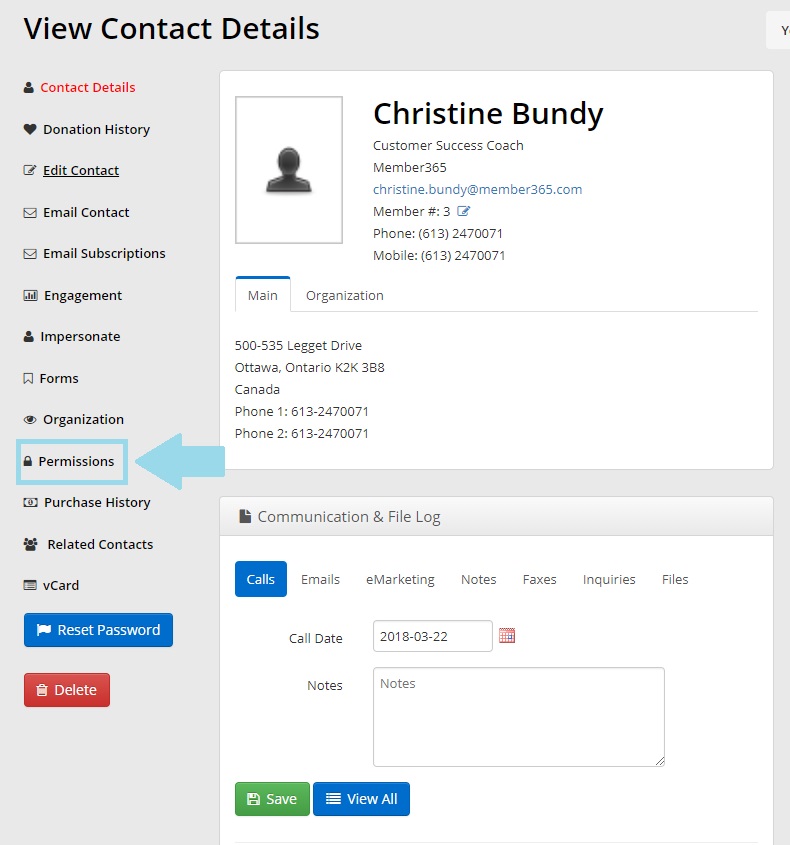
5. Clicking this contact will bring you to their details and settings. From the side-bar on the left side of the page, click ‘Permissions’
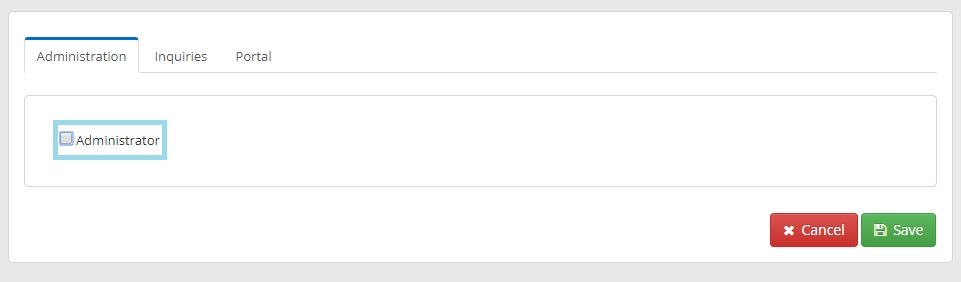
6. On the ‘Permissions’ screen, you’ll find a small checkbox next to the word ‘Administrator’. Click it.
7. After clicking this box, an extensive list of sub-settings will drop down. Checking these will allow you to specify which administrative privileges you wish to grant to your contact. Choose these at your discretion.
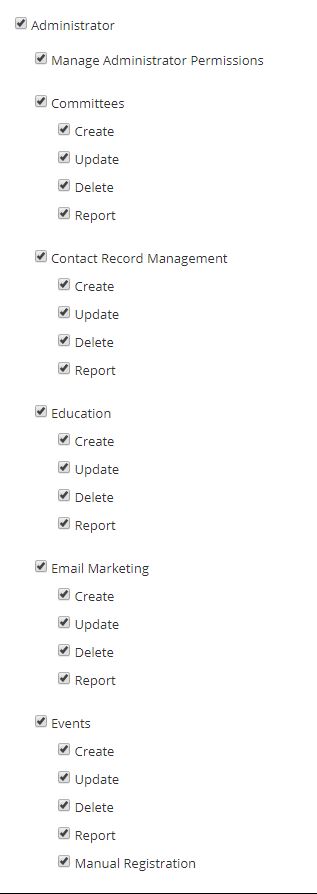
8. After you’ve chosen which administrator privileges you wish to grant your contact, click ‘Save‘ at the bottom of the page!
![]()