This article will guide you through adding a disclaimer that appears during event registration.
Accessing Event Configuration
1. Log in to your Member365 Administrator Dashboard.
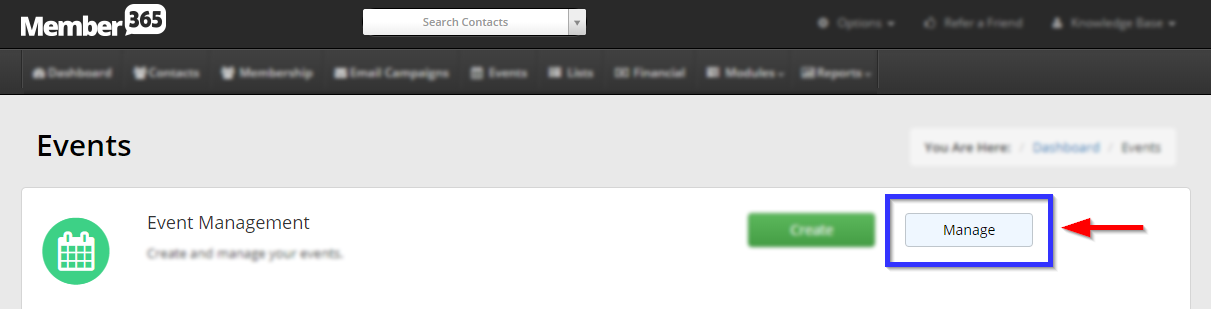
2. On the top bar, click ‘Events‘.

3. Next to ‘Event Management’, click ‘Manage‘.
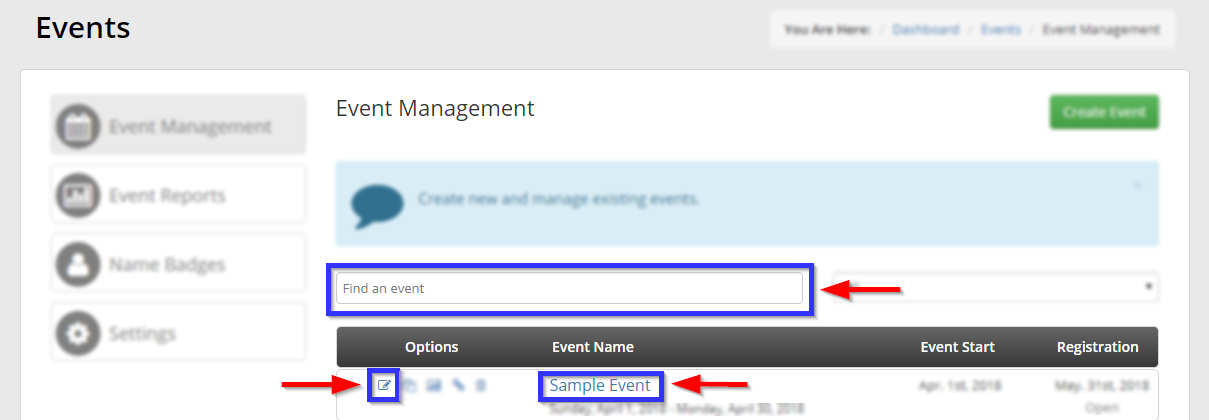
4. Find the event by typing its name into the search bar or finding it in the list, and then select its name or the pencil icon next to it.
Adding a Disclaimer
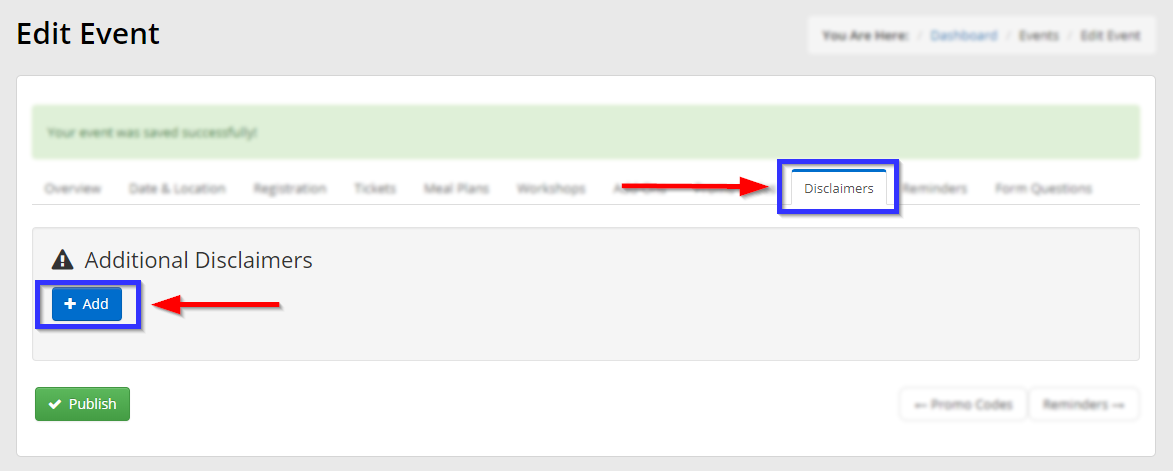
5. Click the ‘Disclaimers‘ tab, then click ‘Add‘.
6. In the new window, note the following fields or features:
Link: Allows you to enter text for a label/hyperlink to the disclaimer. When the registrant clicks these words, they will be brought to the disclaimer.
Content: Enter the message you wish the user to read when they click the disclaimer link.
Mandatory: If you would like to require the user to read the disclaimer, toggle this on (left/green).If the disclaimer is not mandatory keep this toggle off.
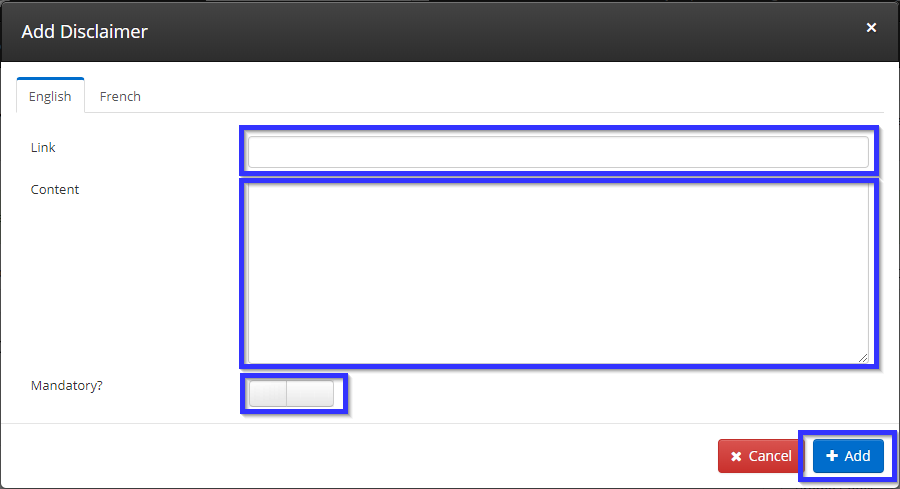
Once you are satisfied, click ‘Add‘.
7. Ensure that your disclaimer appears in the list, and note the re-order, edit and deletion options indicated on the right side of this image. Then click the green ‘Publish‘ link.
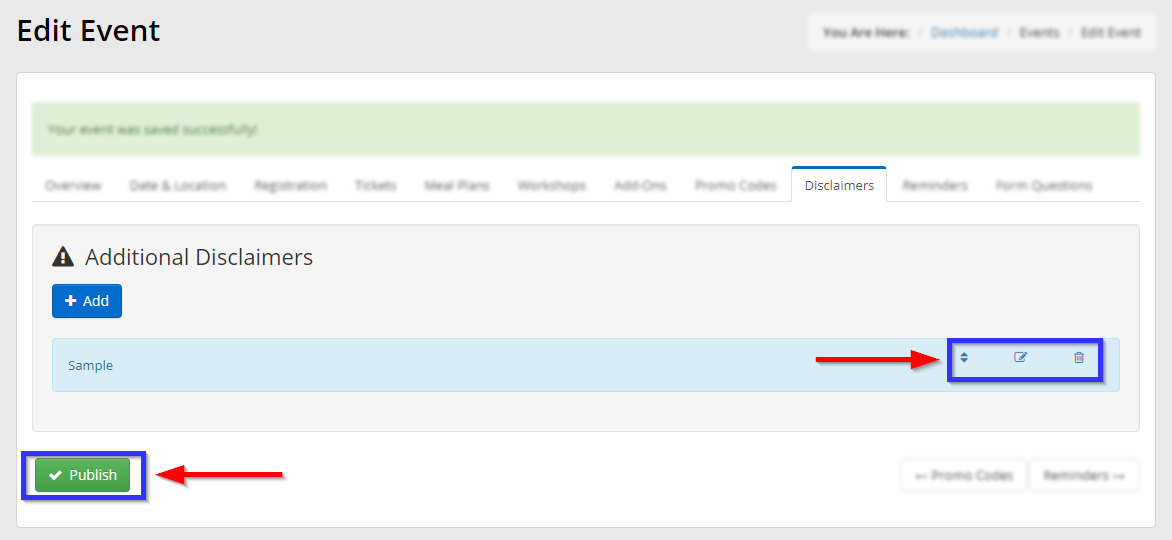
Congratulations, you have added a disclaimer to this event!